These summer fruit popsicles are the perfect treat for a hot day. They whip up super fast and are way healthier than what you can pick up in the store. You can use any fruit or even other ingredients like yogurt or chocolate. My favorite …
Salsa is a variety of sauces used as condiments for tacos and other Mexican and Mexican-American foods, and as dips for tortilla chips. They may be raw or cooked, and are generally served at room temperature. Tortilla chips with salsa are a common appetizer in …
Steak can be an intimidating thing to cook for some. It can also cause family feuds when that one person loves their steak well done! There are many different ways to prepare steaks, but this recipe will cover my favorite method, the cast iron skillet. This 20-minute recipe is done on the stovetop in one pan (no need to finish it in the oven). This is one of my favorite steak recipes and I make it year-round because it’s such a quick and convenient cooking method. So let’s get started and I’ll equip you with all the knowledge you need to make this easy and delicious pan seared steak!
The Technique:
So there are several different cooking methods for steak, as I mentioned before. There’s just something irresistible about cooking it in a well seasoned cast iron skillet. Plus the cleanup is a lot easier than grilling them and you don’t have to worry about the weather!
Skillet:
If you don’t already own a cast iron skillet, then what are you waiting for? Go buy one! I have many recipes on here that use a cast iron and that’s because it is one of the most versatile and reliable cooking vessels you can have in your kitchen. If you treat it right, your cast iron skillet can last several lifetimes.
The reason a cast iron is perfect for steak, is because it heats evenly, quickly and can get super hot. Which is perfect for getting a beautiful crust on your steak. If seasoned properly it’s also non-stick and requires only a little oil to help it along.
Basting:
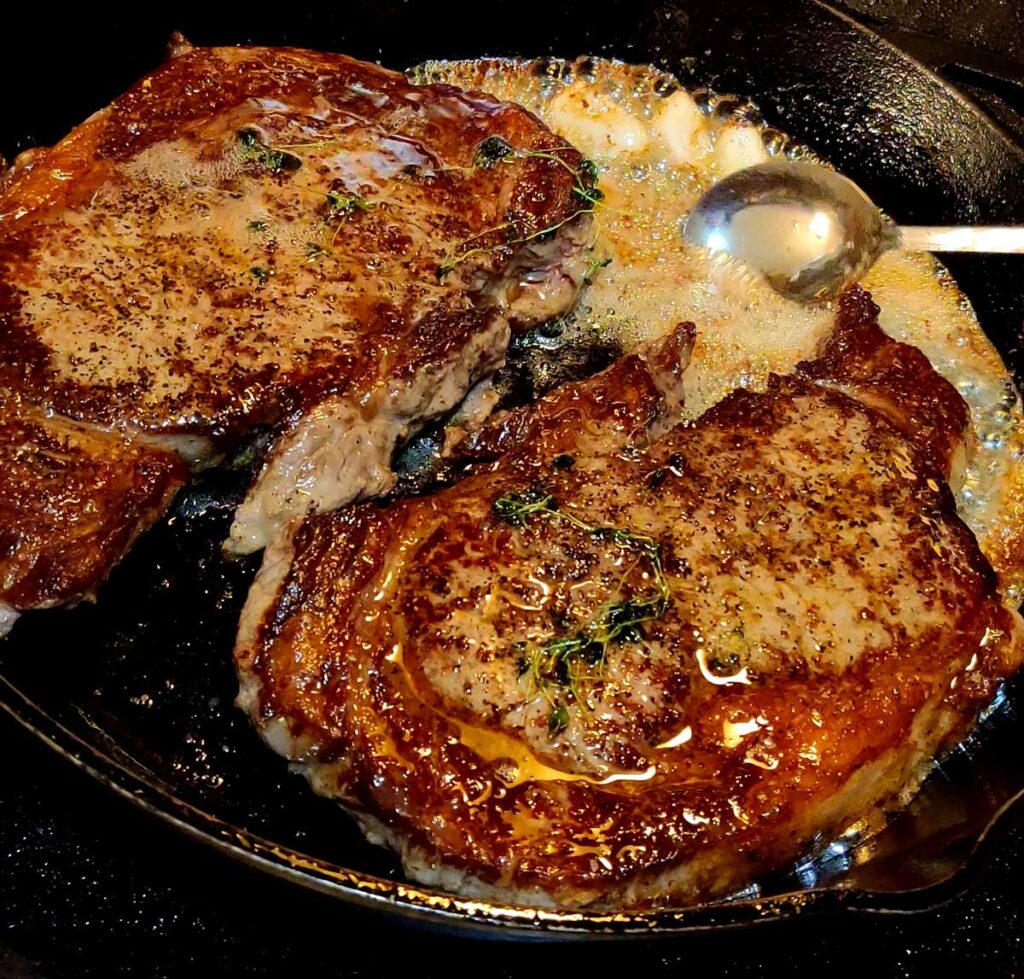
But what really makes this method foolproof is the butter basting. Basting your steaks after they are seared allows all the fat and flavor from the butter and aromatics to infuse the entire steak. This is because when you rest the steak it reabsorbs all of its juices and it will also soak up some of that delicious butter. Basting it with butter also deepens the crust on the outside and helps the steak cook more quickly.
Searing:
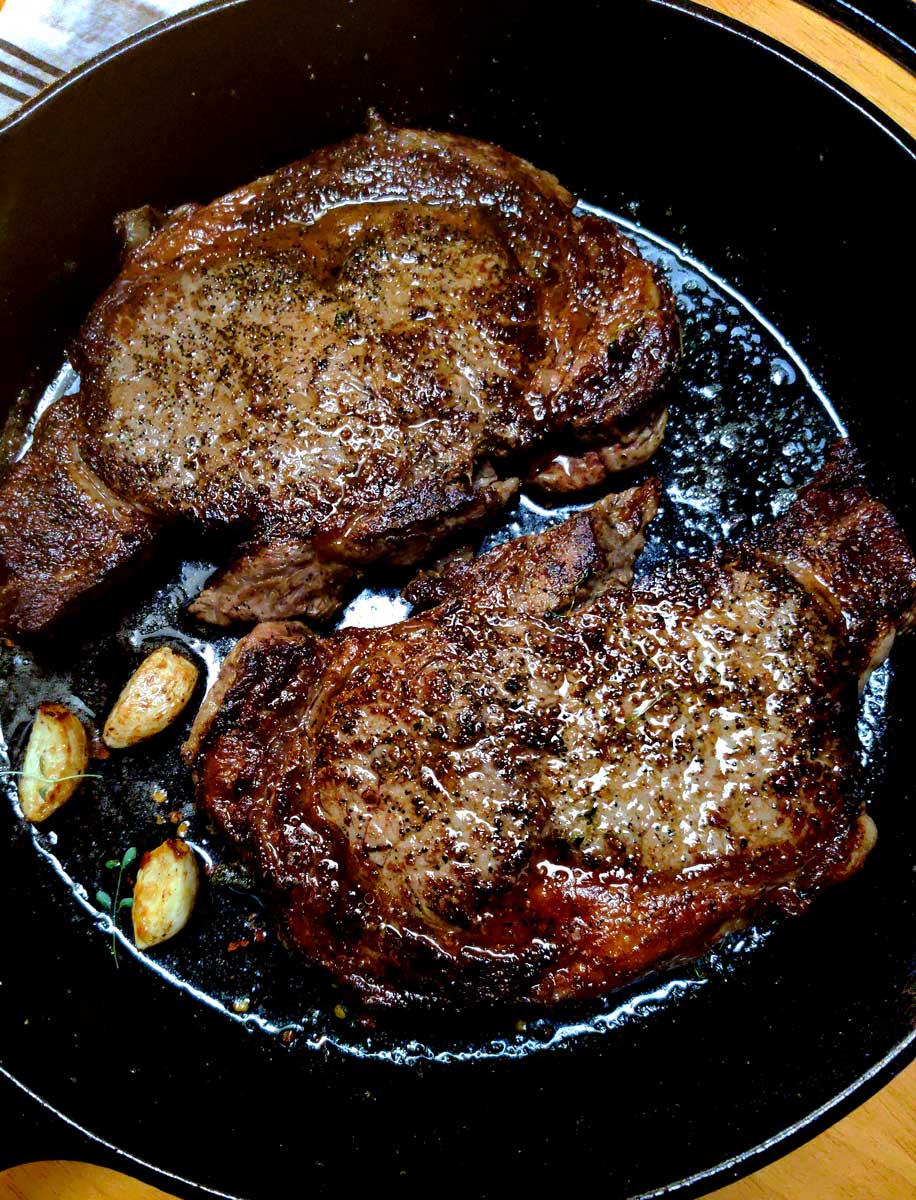
Getting a good crust on a steak is paramount. Starting off with a dry pan and turning it to a higher heat will allow you to sear the steaks quickly. This is especially useful for thinner cuts like top sirloin. If you are cooking with, say a rib-eye, I would put the heat at medium high instead of high. This will allow the steak to have longer contact with the pan and cook correctly on the inside.
Cooking Temp and Time:
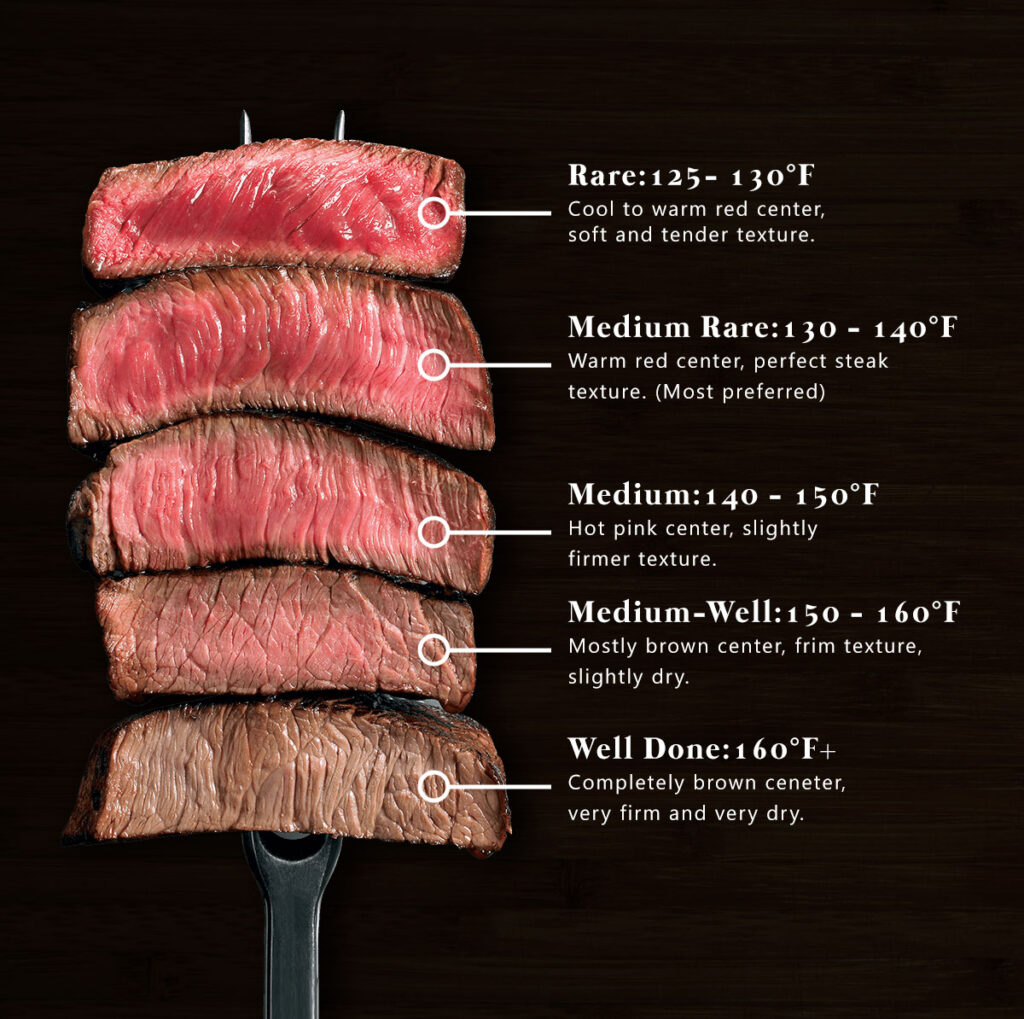
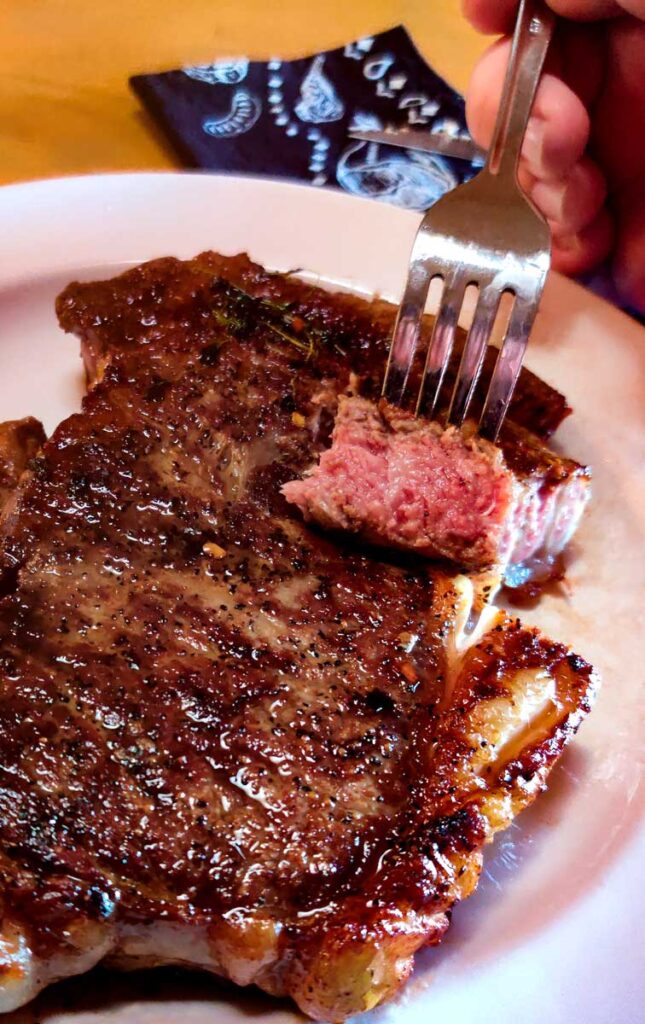
Everyone has their preferred temperature on a steak, however if it isn’t medium rare, then they’re wrong! Most people don’t know that the “blood” that you see in lower temp steaks isn’t actually blood. The “juice” in your steak is called myoglobin, and it’s a protein that’s only found in muscle tissue. You want to see this, because that means that you’ll be getting one tender and juicy bite out of that steak.
A steak’s internal temperature continues to rise as it rests, so remove steaks from the pan about 5-10 degrees before reaching your desired doneness. You can determine a steak’s doneness by testing with aninstant read thermometer. Or if you’re practiced enough you can tell by the way as steak feels on the outside. The more done it is, the more firm it feels. Be careful when poking your steak. Too many holes and all the juices will run out and we definitely don’t want that!
Here is a visual guide for doneness and temp on pan seared steaks:
Pan Seared Steak Step by Step:
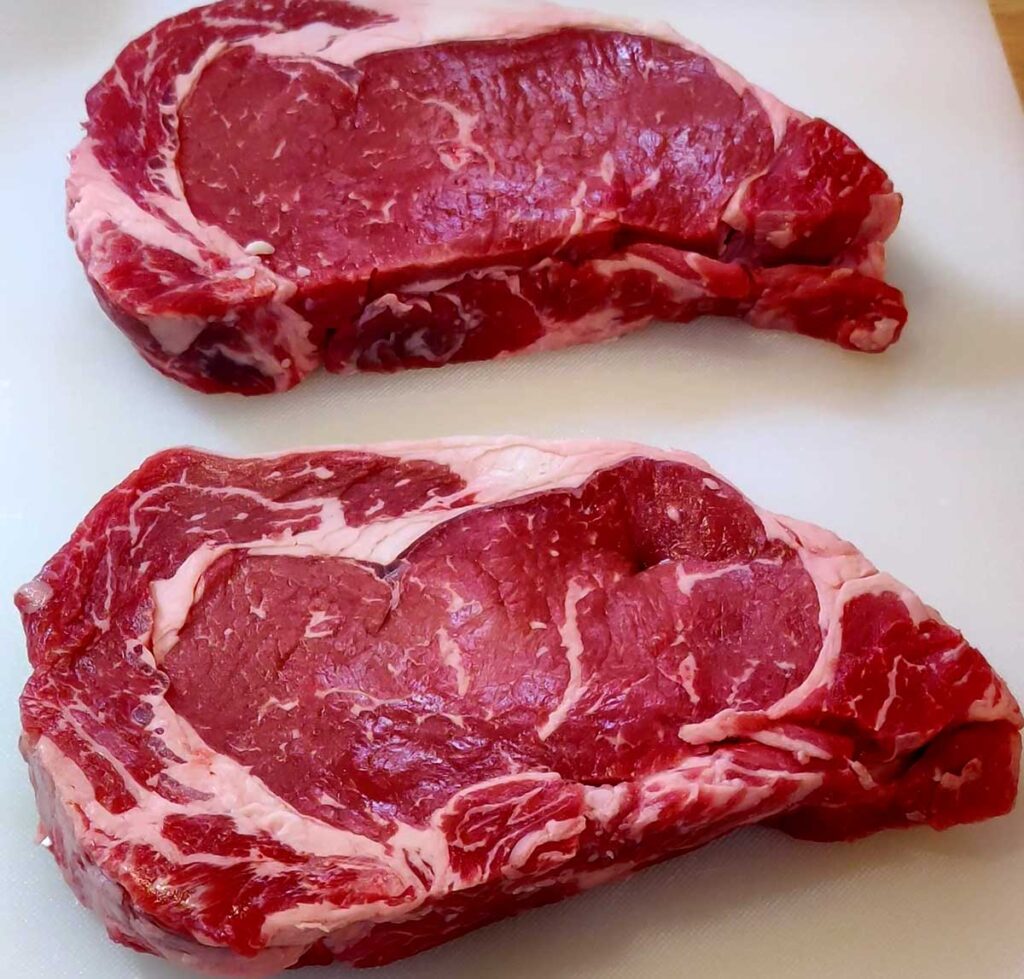
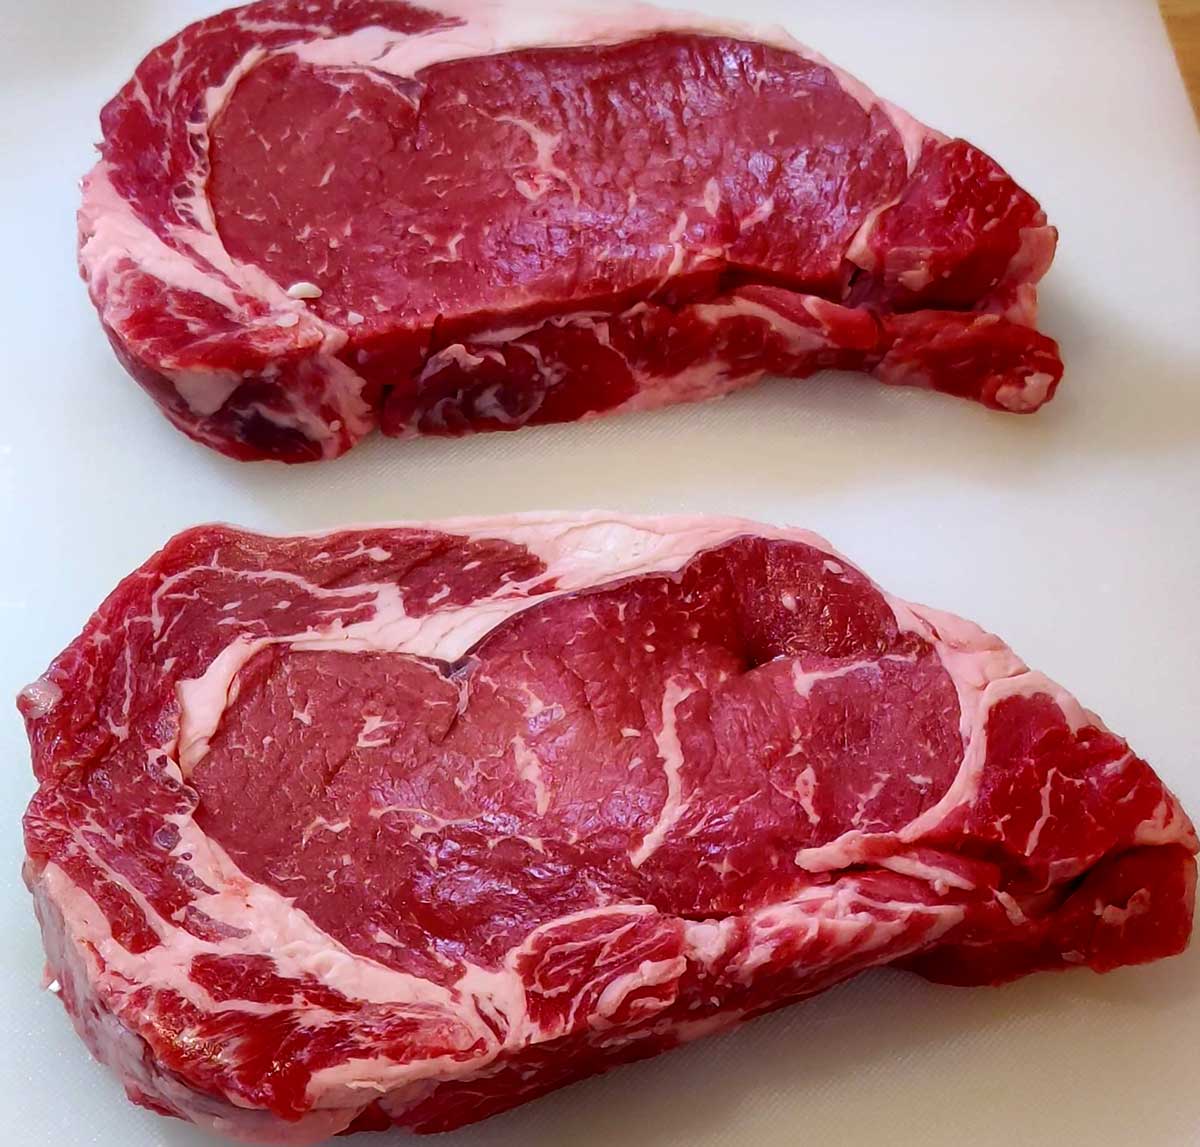
Let steaks stand for 30 minutes at room temperature. This will help ensure the proper internal temperature when cooking the meat. This is not from frozen, this is from the refrigerator. You must let your steaks thaw completely before cooking.
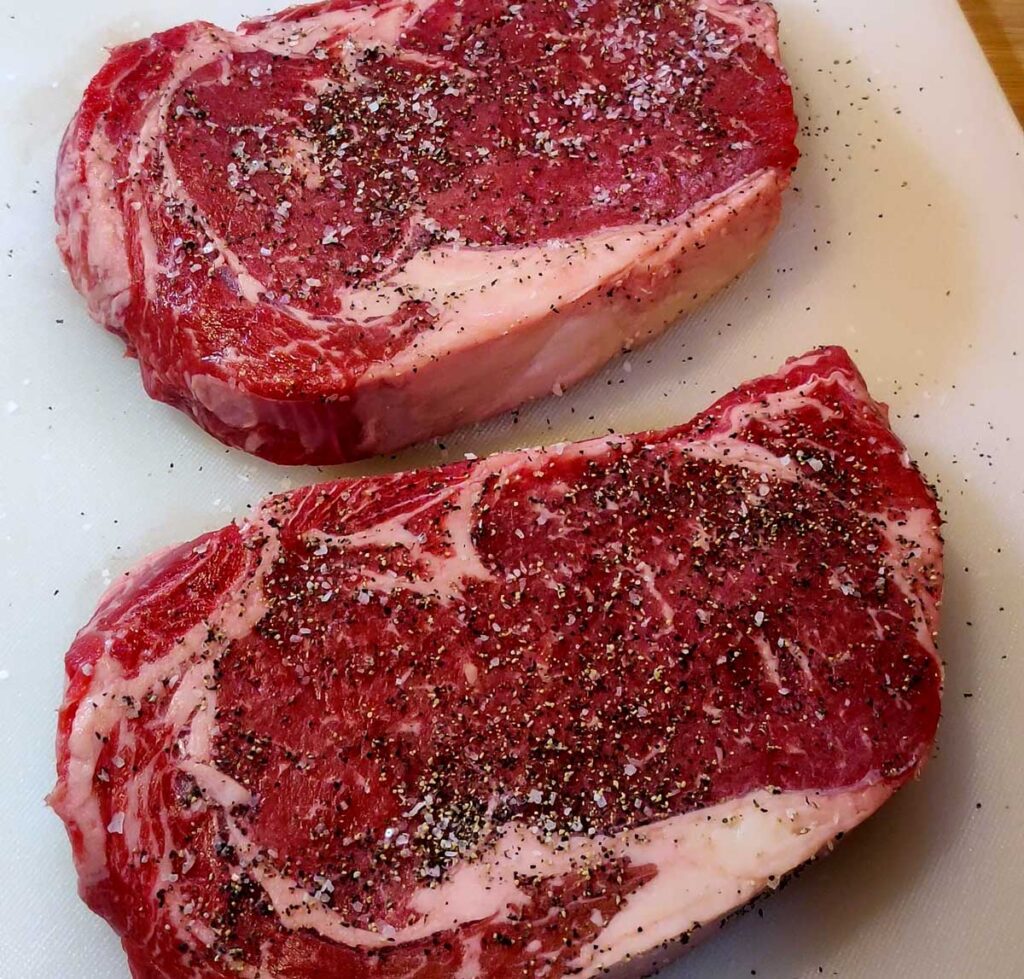
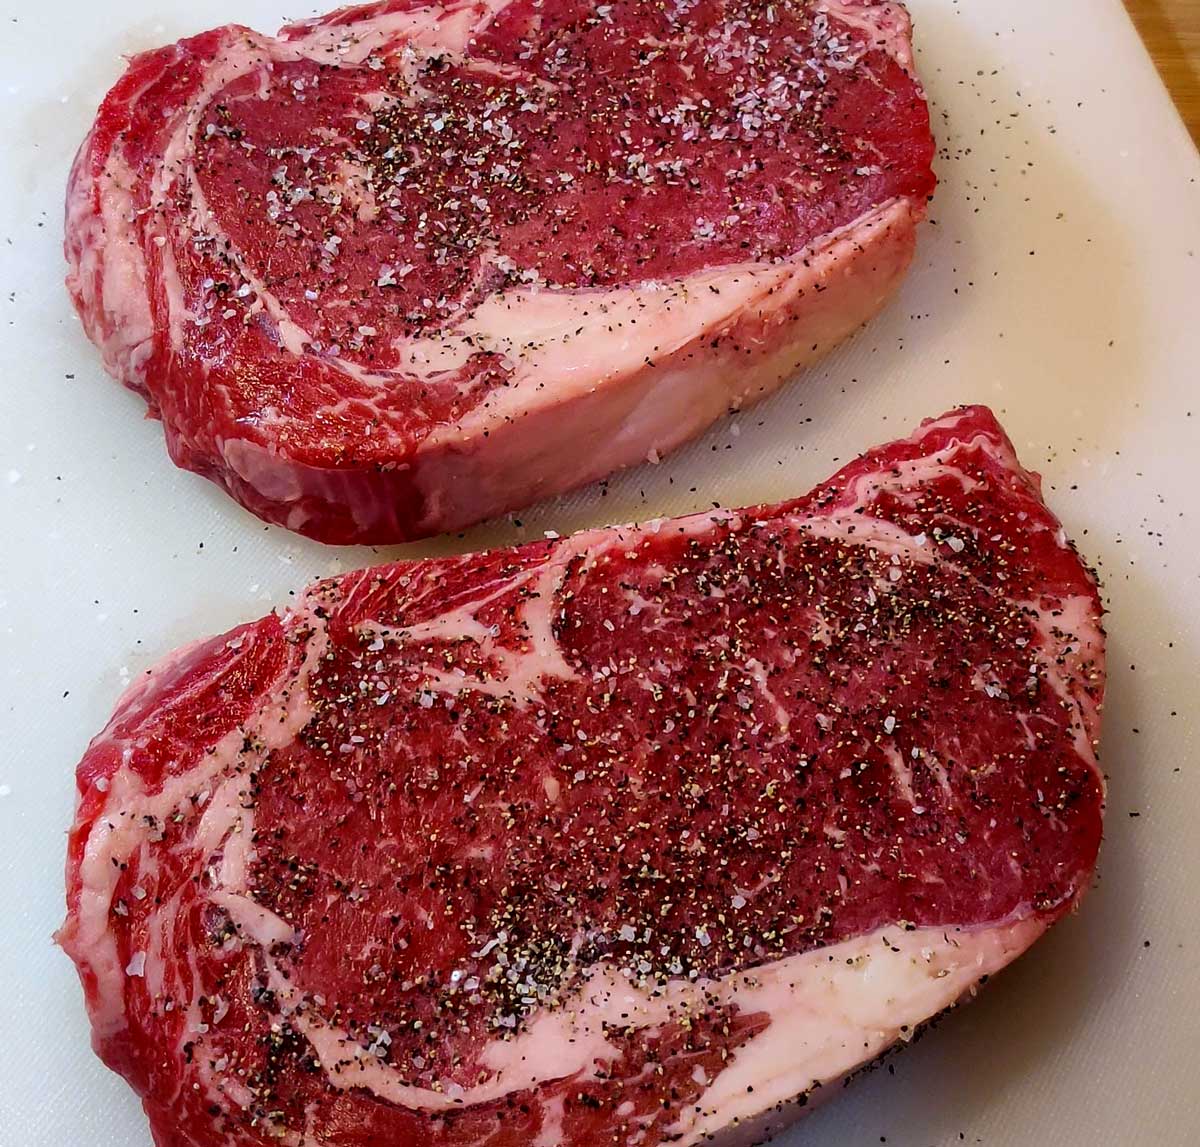
Sprinkle salt and pepper evenly over steaks. I also like to use rubs on my steaks. Just try to avoid seasonings that turn bitter when hit with high heat, like paprika.
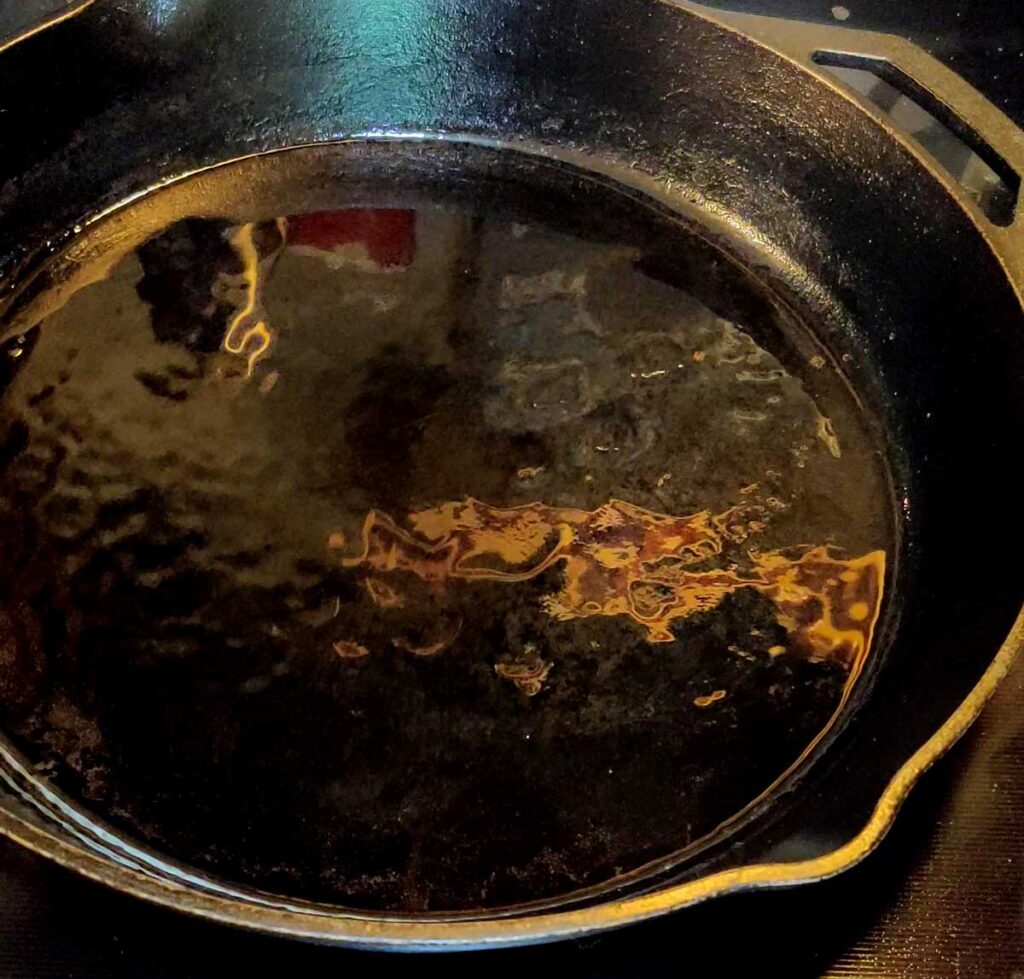
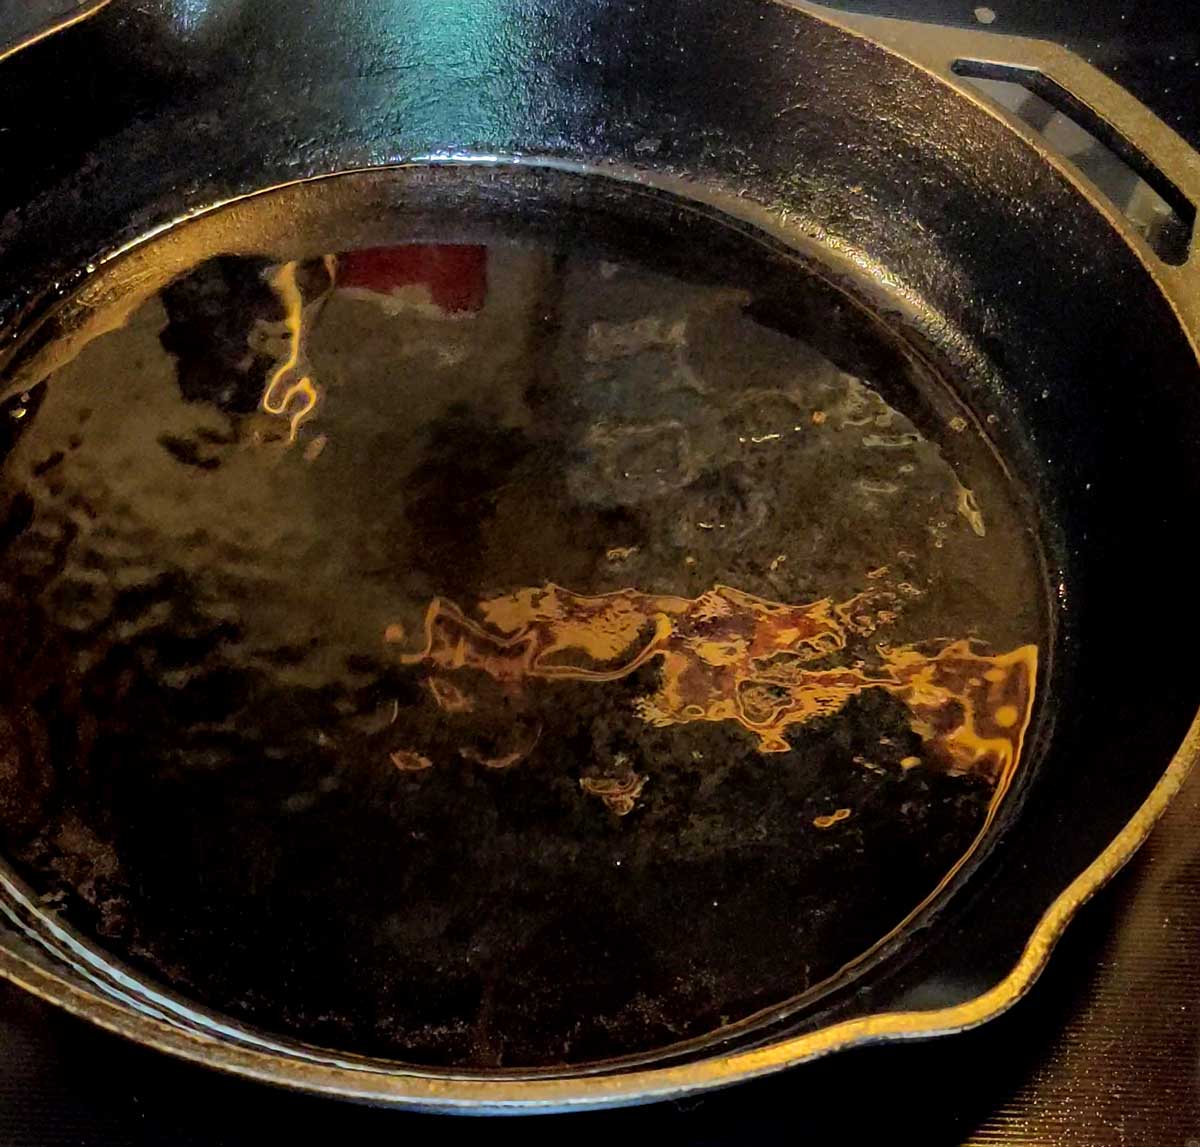
Heat a large cast-iron skillet over medium high heat. Add oil to pan; swirl to coat. You should only need about 1 or 2 tablespoons of oil to evenly coat the bottom of the pan. You do not want too much oil.
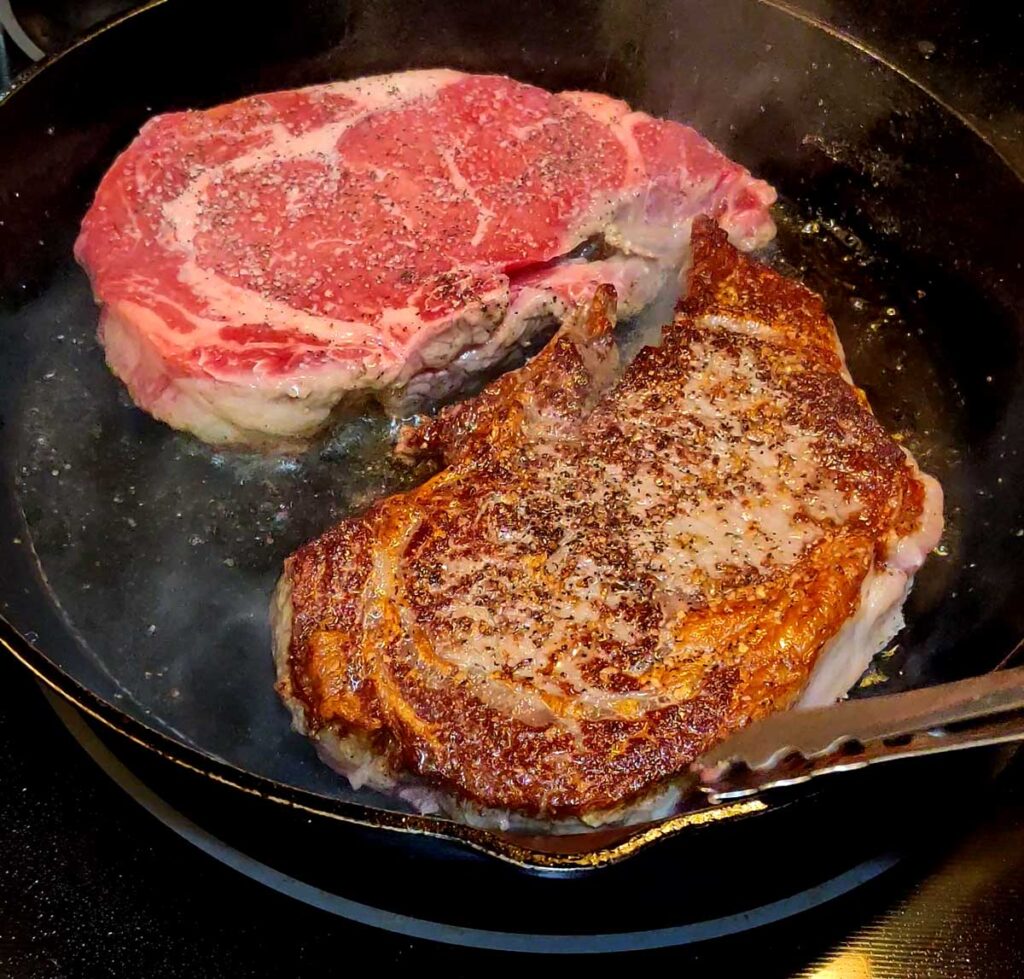
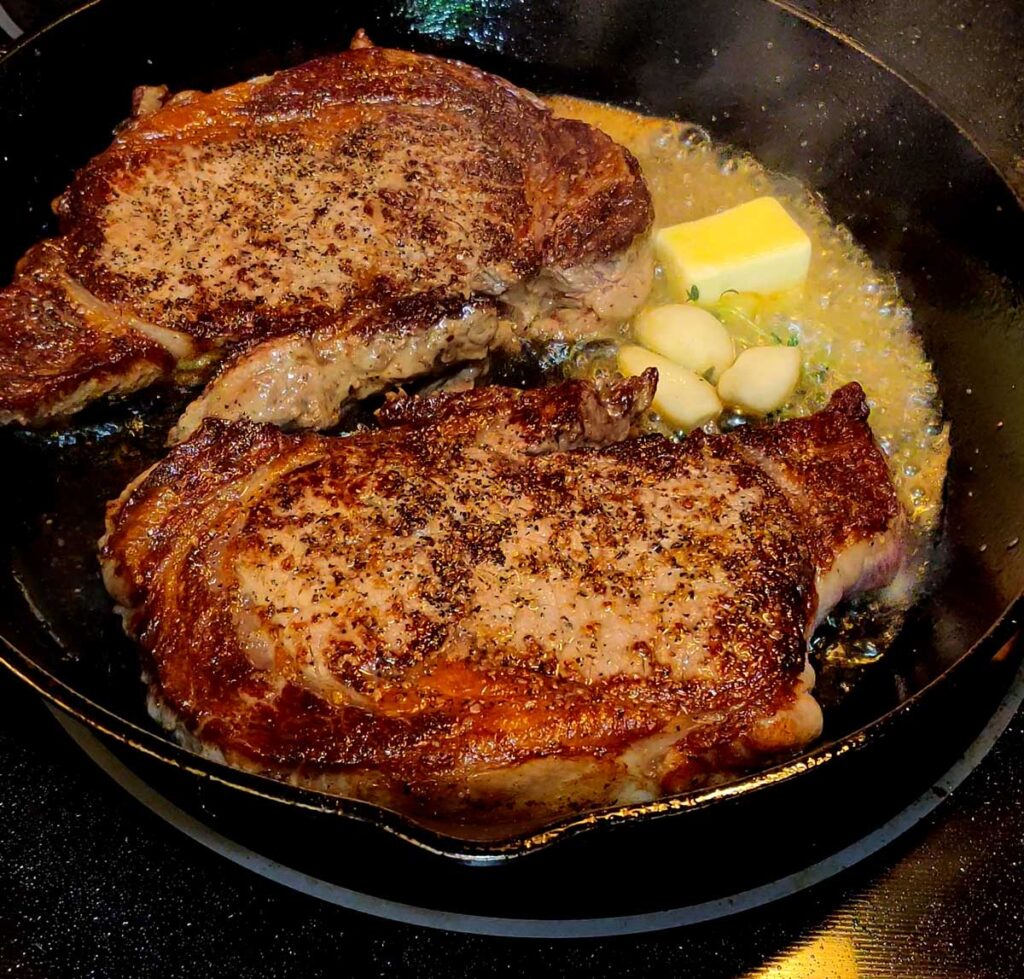
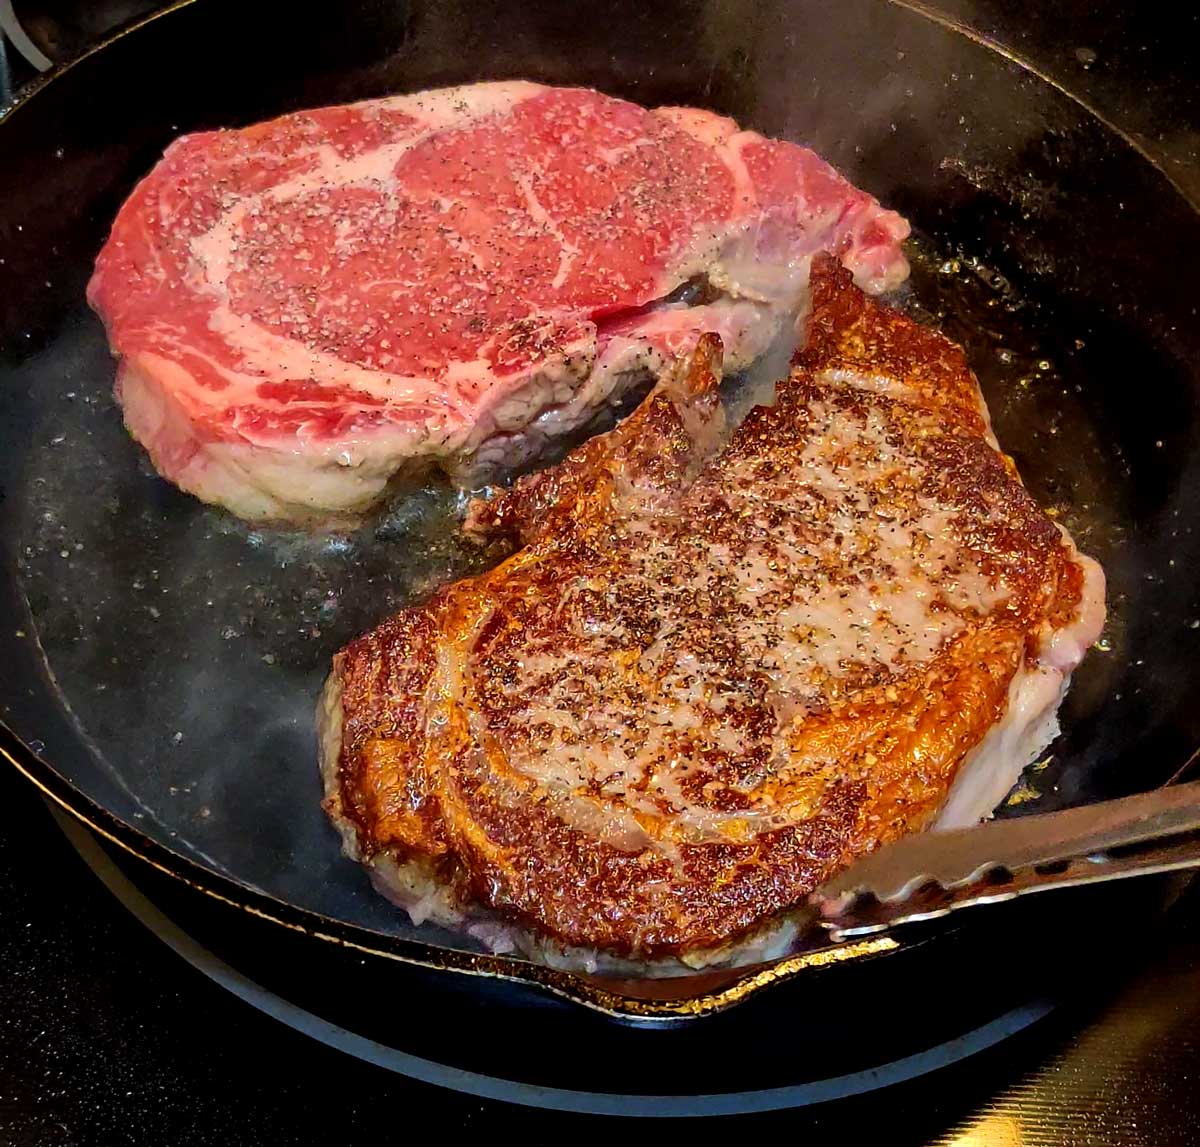
Add steaks to pan; cook 3 minutes on each side or until browned. This time is for rib eye steak at about 1 -1 ½ inch thickness. You will have to adjust the time and heat depending on the cut of meat. Feel free to use a quick read thermometer to get an accurate reading.
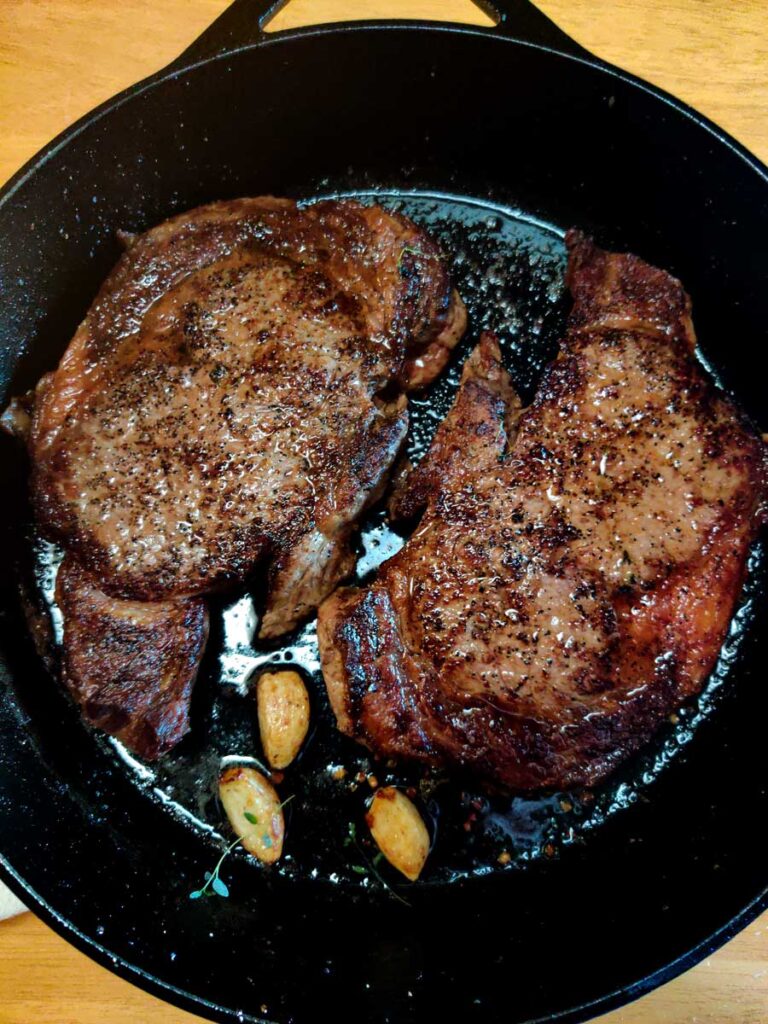
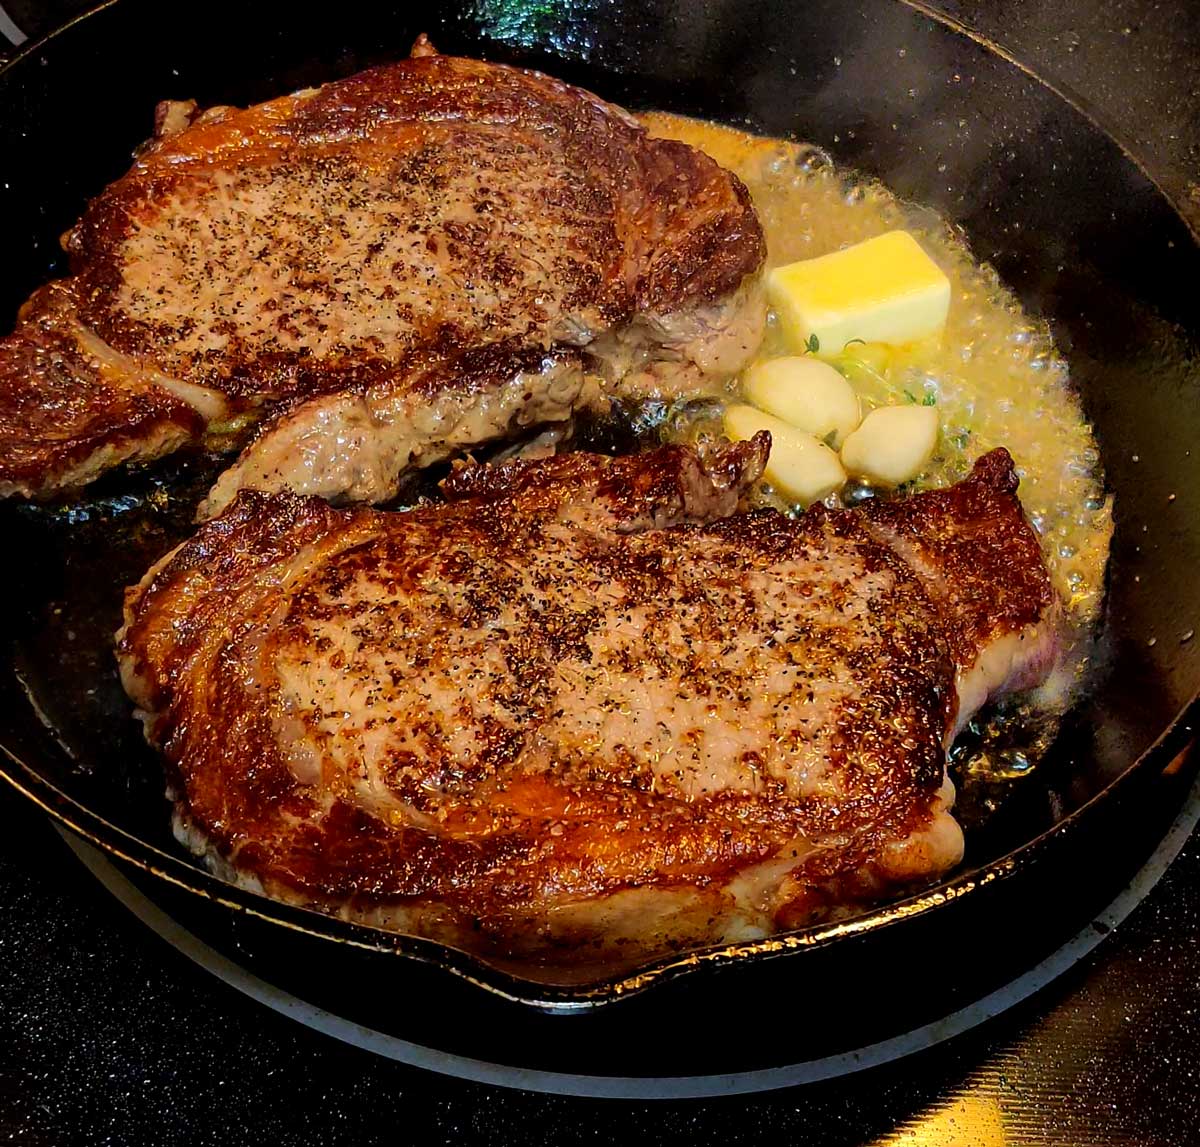
Reduce heat to medium-low; add butter, thyme, and garlic to pan. Carefully grasp the pan handle using an oven mitt or folded dish towel.
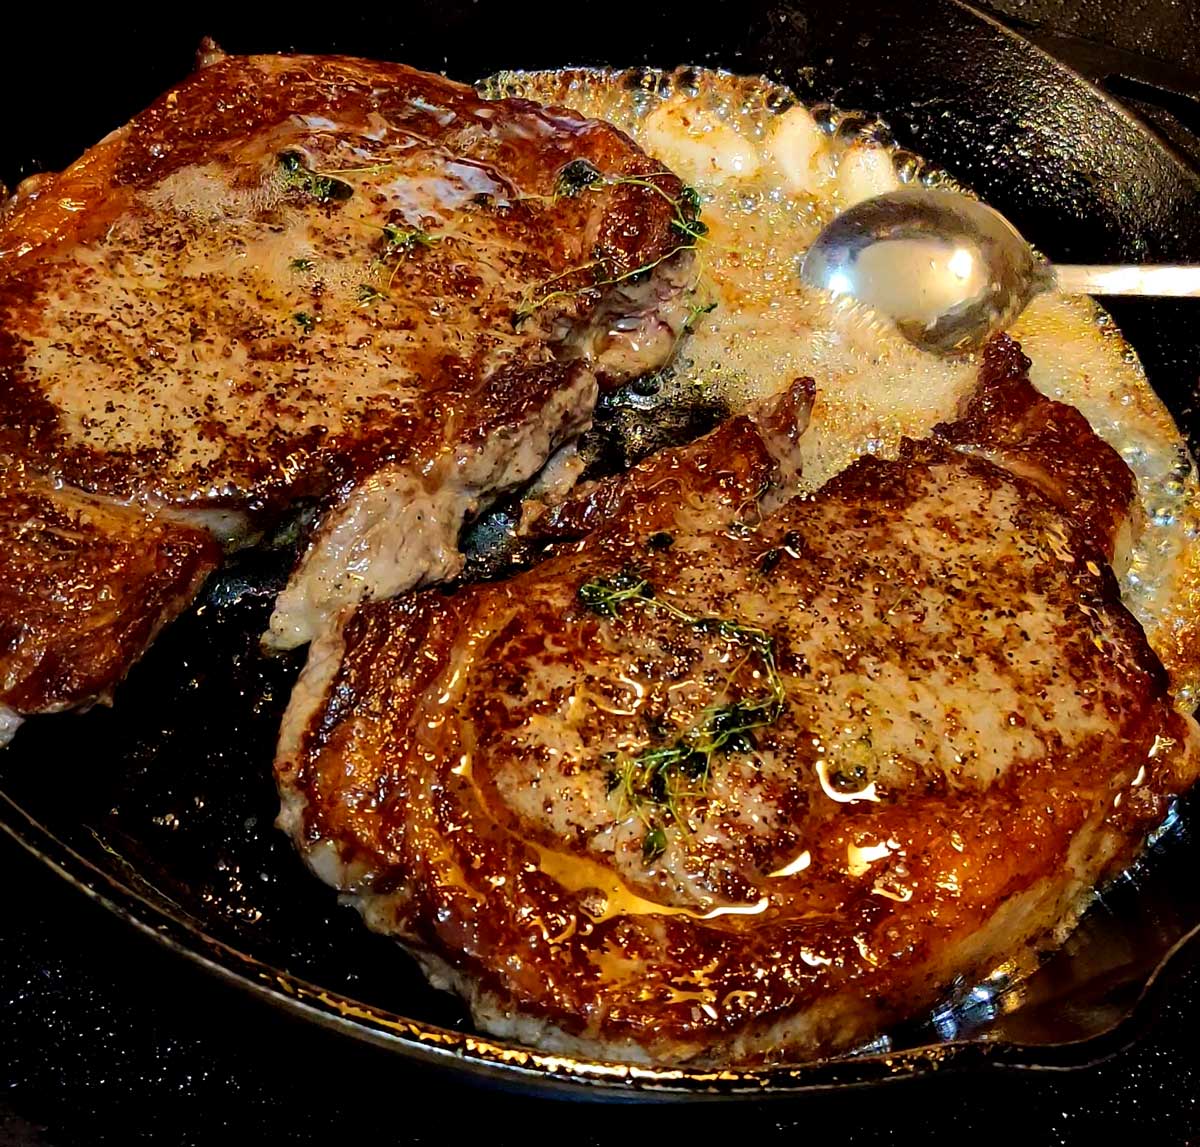
Tilt pan toward you so butter pools; cook 1 1/2 minutes, basting steaks with butter constantly.
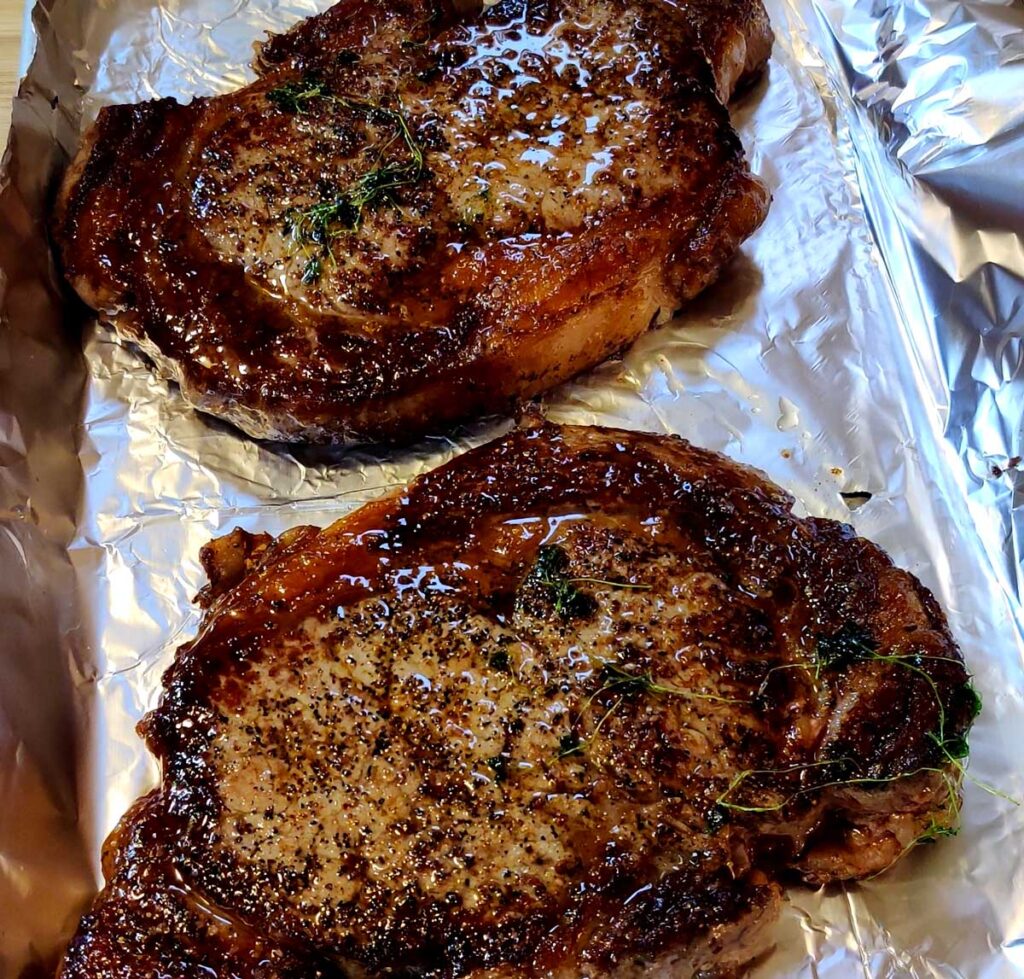
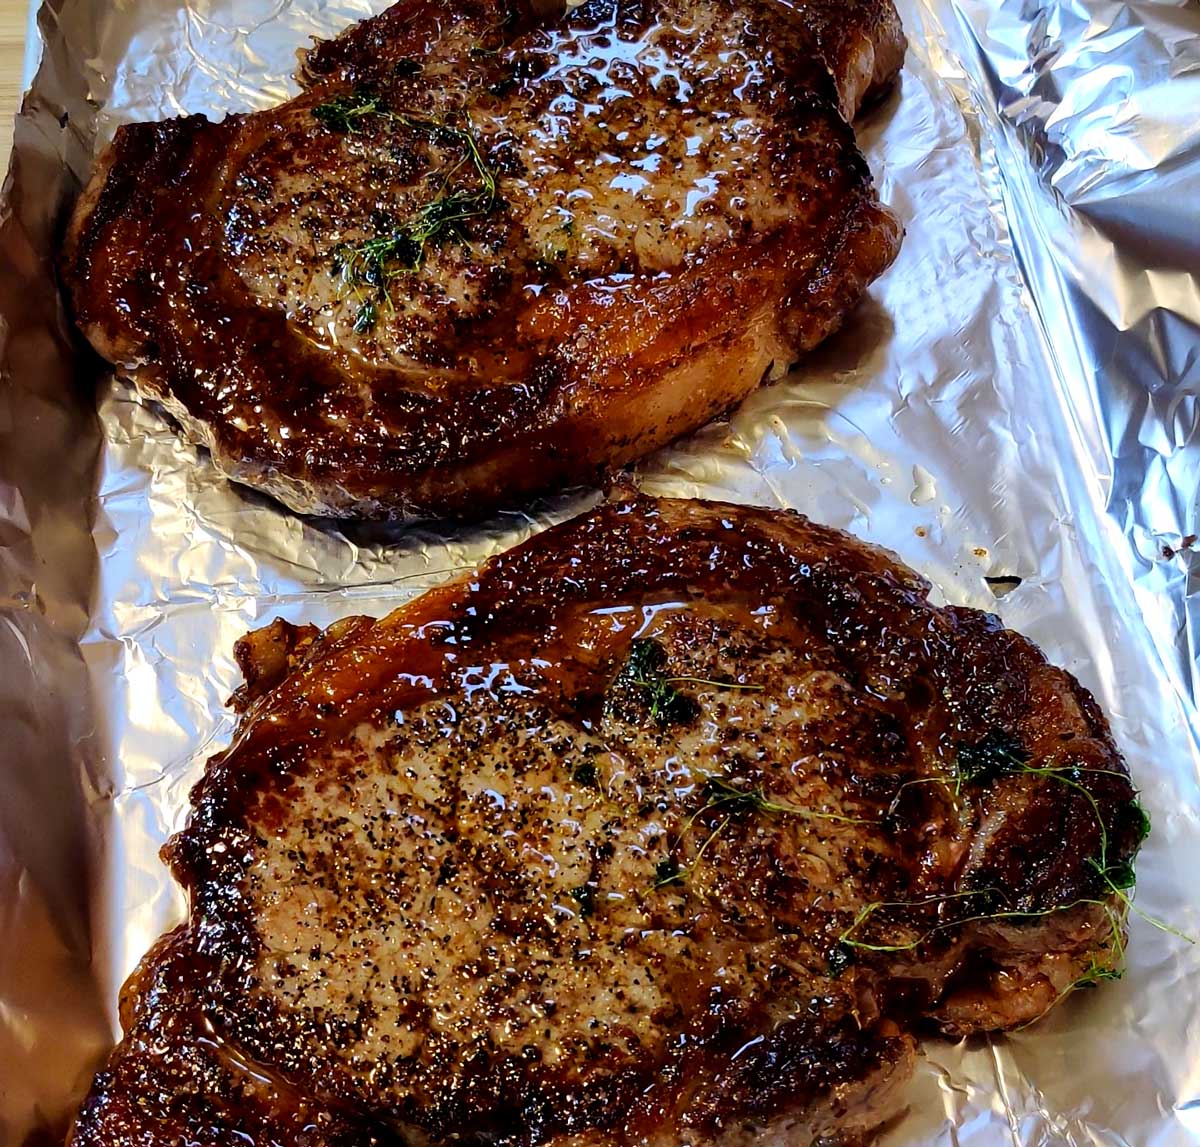
Remove the steaks from pan; cover loosely with foil. Let stand for 10 minutes. Reserve butter mixture. Letting your steaks rest is a super important step. This will allow all the juices to evenly distribute throughout the steak. If you cut a steak prematurely all those juices will run out over your cutting board, drying out the steak.
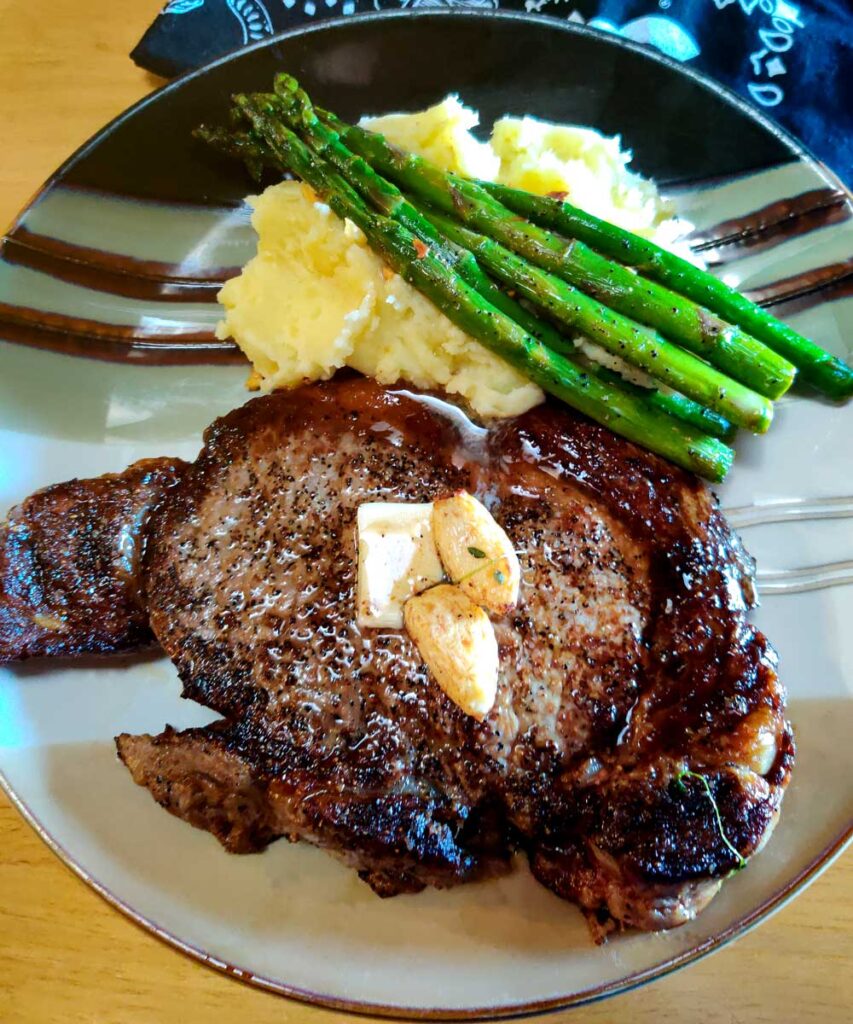
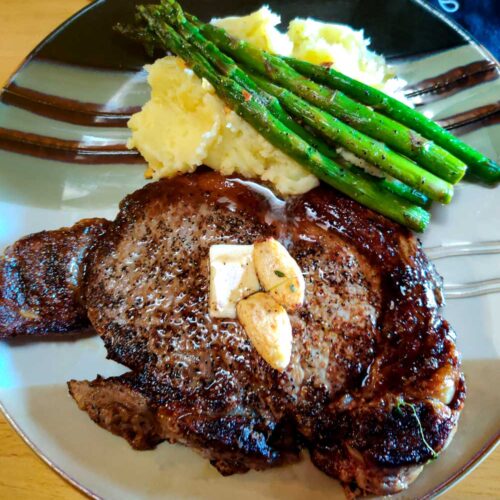
Cut steak diagonally across grain into thin slices, optional. Discard thyme and garlic; spoon reserved butter mixture over steak.
This is a cooking technique that is essential for anyone who loves beef. Making steak is not as hard or scary as it may seem. In just a few steps you can have, juicy perfectly cooked steak.
Let the steaks rest for 30 minutes at room temperature. Pat them dry if necessary.
Sprinkle salt and pepper evenly over steaks. Heat a large cast-iron skillet over high heat. Add oil to pan; swirl to coat. Add steaks to pan; cook 3 minutes on each side or until browned. Make sure to render an extra fat on the sides, if necessary.
Reduce heat to medium-low; add butter, thyme, and garlic to pan. Tilt the pan so the butter pools; cook 1 1/2 minutes, basting steaks with butter constantly.
Remove the steaks from pan; cover loosely with foil. Let stand for 10 minutes. Reserve butter mixture.
Cut steak diagonally across grain into thin slices, optional. Discard thyme and garlic; spoon reserved butter mixture over steak.
Notes
The 3 minute cooking time will vary, this is an estimate for steaks that are approximately 1-1 1/2 inches thick at medium rare. Adjust according to your steaks thickness and personal preference for doneness.
About the recipe: Many recipes have ambiguous origins and Red Beans and Rice is one of them. There are many rumors’ and claims, but no one singular story. You’ll find a bean and rice dish in almost every culture, as it’s inexpensive and filling. The …
About this recipe: Beer bread is something my family has been making my whole life. It’s quick, easy and cheap, so basically it’s perfect. It’s also a great staple, because thanks to the yeast inside of the beer you don’t need to let it proof. …
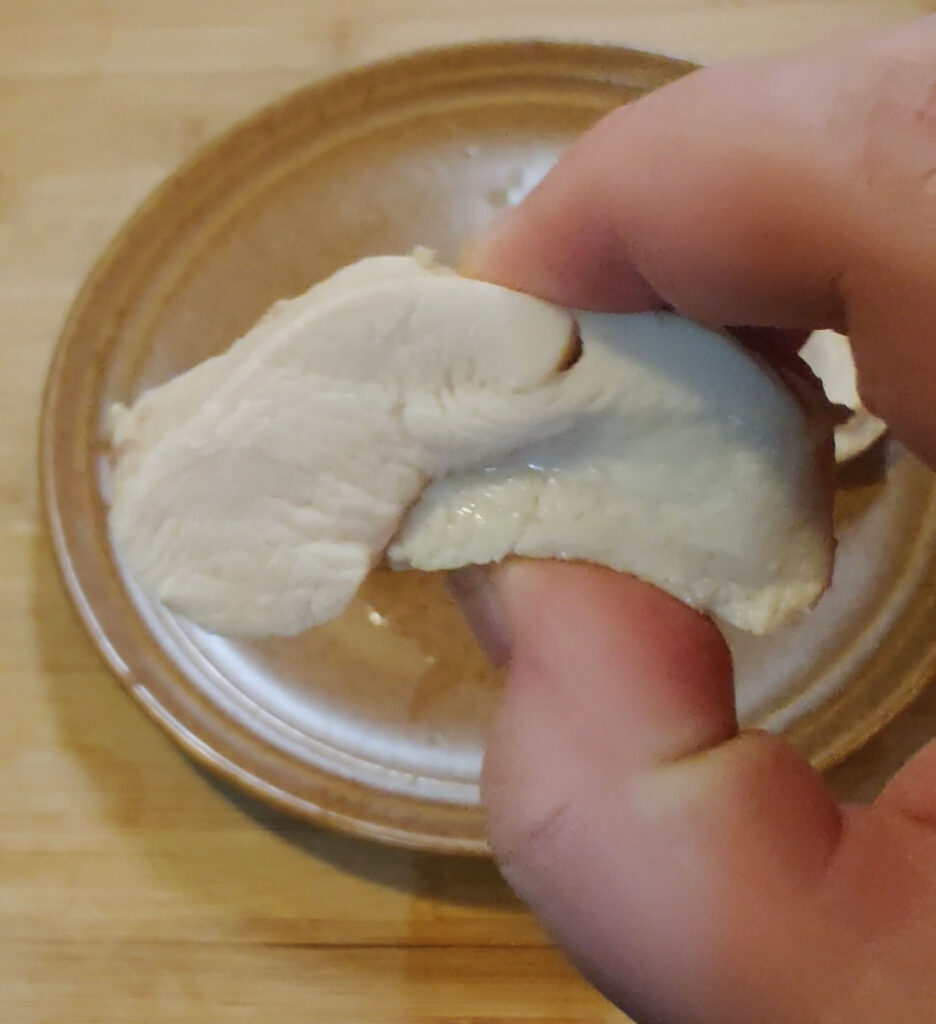
So when you see Poached Chicken, it usually doesn’t look very appetizing. The reason is that just boiling chicken in water is guaranteed to result in dry and stringy chicken. This recipe will show you the few ingredients and changes you can implement to turn bland boiled chicken into something tasty and juicy. This recipe is a great base technique for shredded chicken. It is a great base for meal prep and as a delicious protein in other recipes like chicken salad, quesadillas and more!
The trick here is to use ingredients that are similar to when you marinate chicken. You need two key things to keep your chicken moist and to help enhance flavor and that is fat and acidity. Fat always equals flavor but it also helps keep in the natural juices of the chicken when it’s being boiled. This is why I add butter to my poaching liquid. Next, the acidity helps break down those tough fibers in meat to naturally tenderize it. My go to for this is lemon juice, but you can swap this out for any acid that you prefer. Butter and lemon juice are great neutral ingredients that enhance the flavor and make it a versatile starter for other recipes.
The rest of the ingredients in my Poached Chicken Recipe are customizable. They are mainly used to add different flavor profiles to the chicken. Herbs, spices and even the white wine can be changed out for other ingredients depending on what you need this recipe for. For example, you can add more fragrant spices like star anise and cinnamon if you’re needing this for an Indian/Chinese recipe or even for some fall inspired dishes.
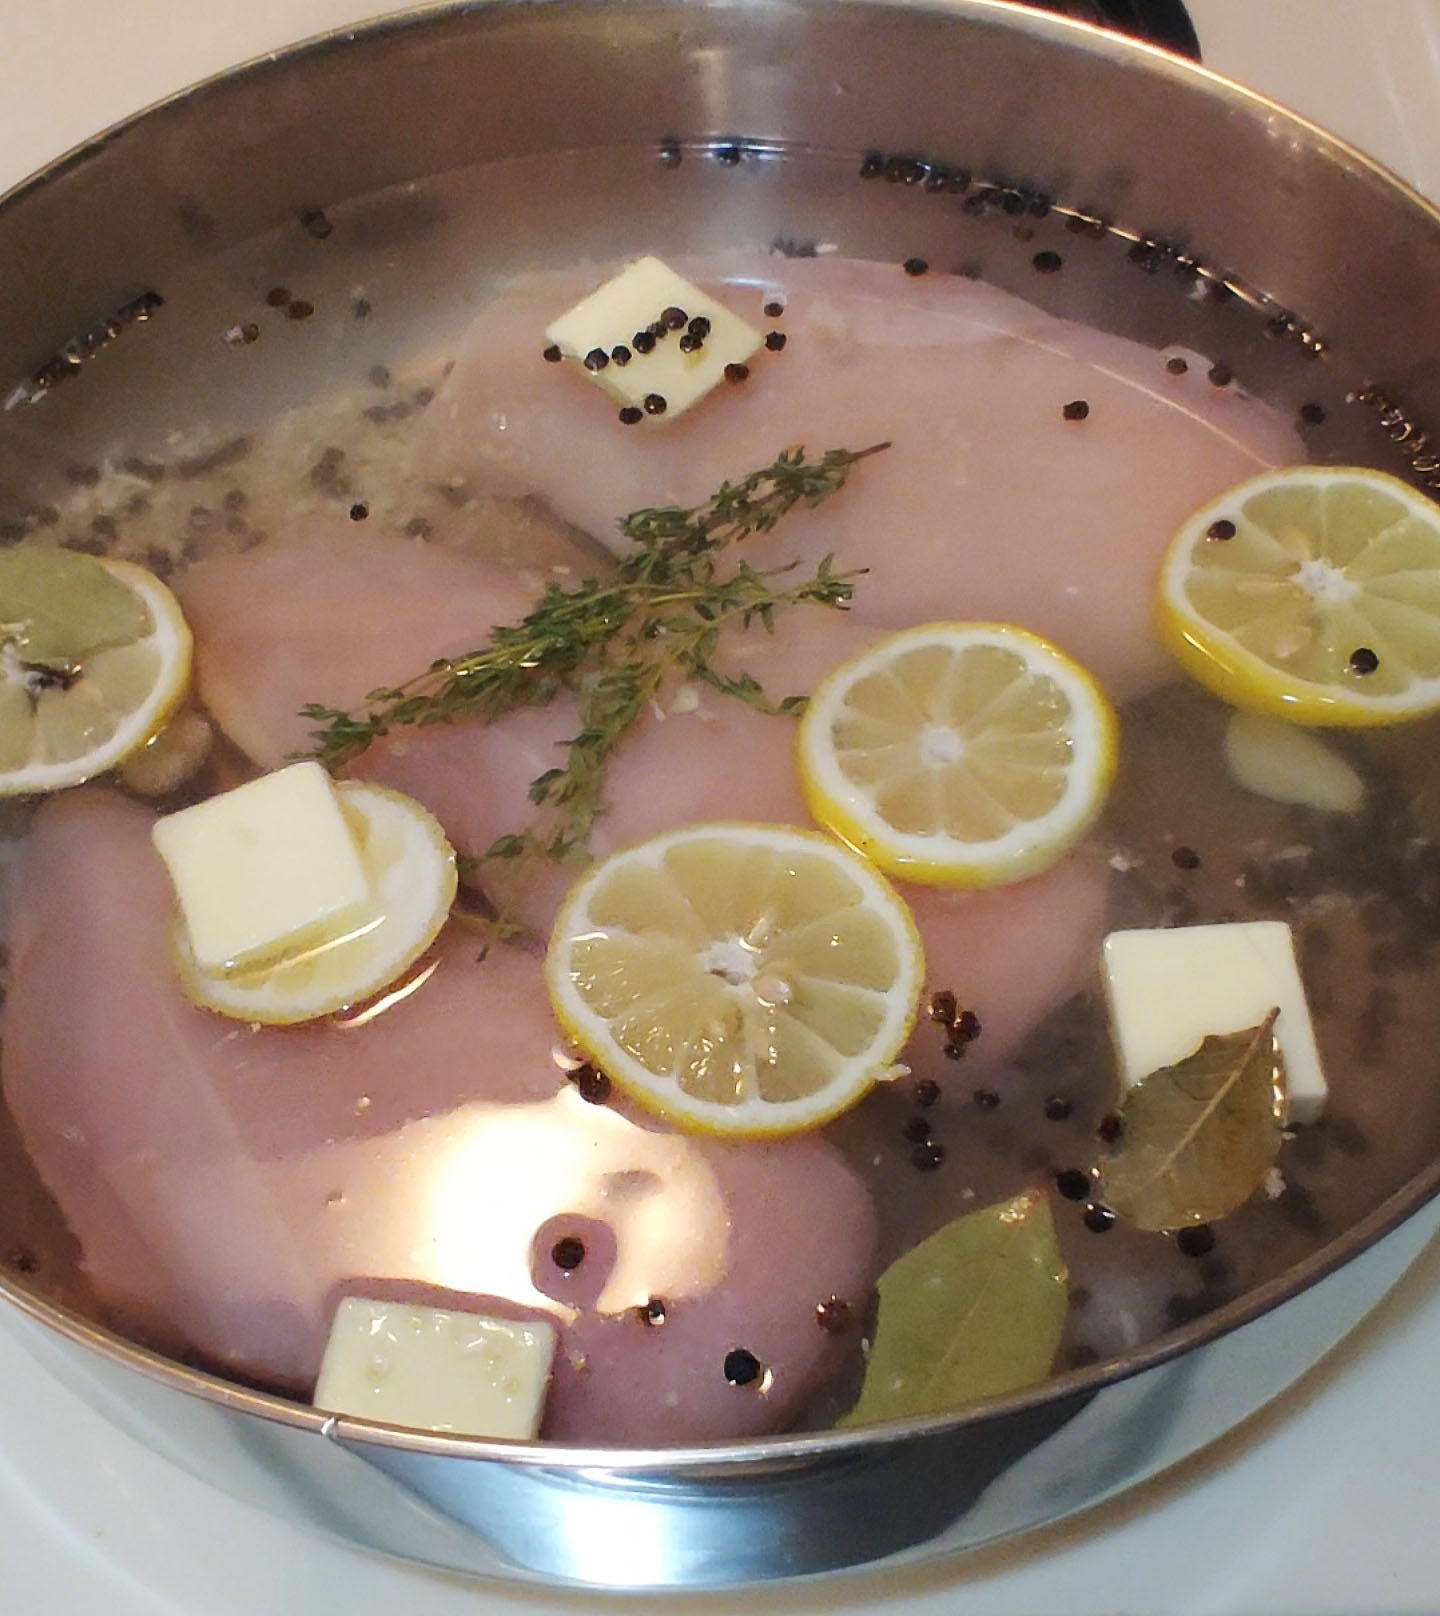
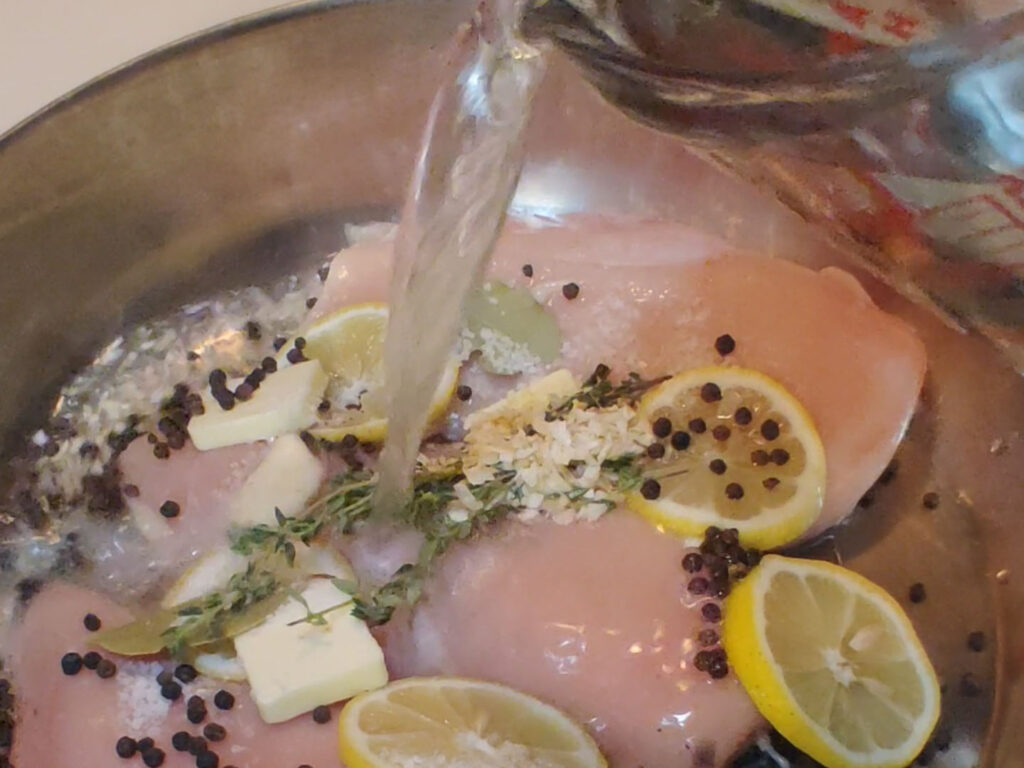
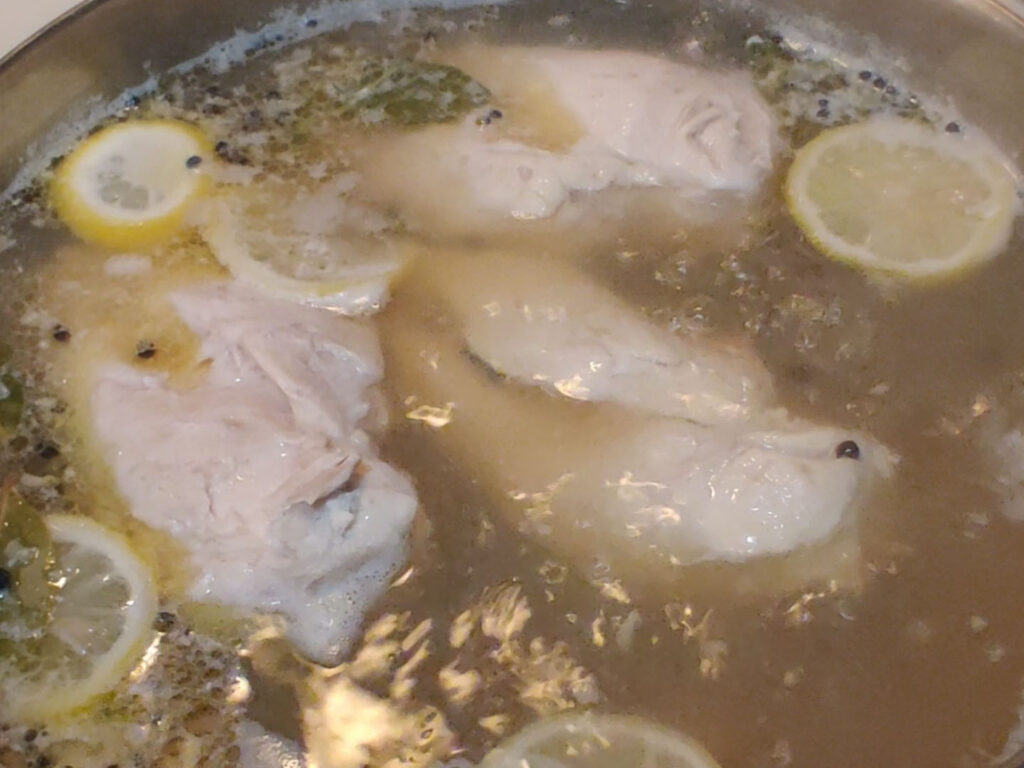
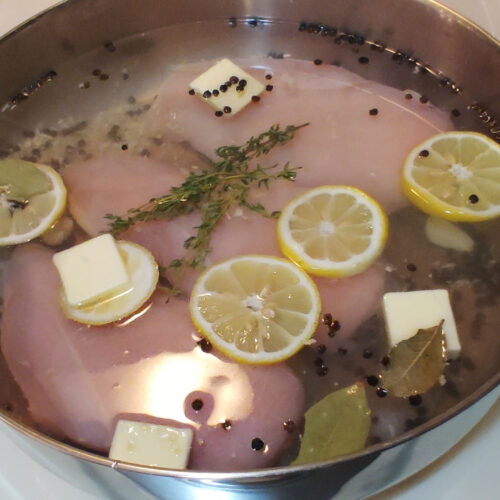
Place the chicken breasts in a wide/deep pan and cover with water by about two inches. Add the splash of wine (if using), and then the aromatics, lemon slices, garlic, butter, and thyme. Bring to a gentle boil over medium-high heat for ten minutes (uncovered). Remember you can change out the herbs and seasonings to suit your needs.
Cover the pan and take it off the burner. Let the chicken breast sit in the poaching liquid for about 15 minutes, depending on their size. It’s important to make sure that the chicken is as equal in size as possible to ensure an even cook. Letting them rest in the poaching liquid allows the internal temperature to come to the necessary 165 and also to help prevent a loss of moisture in the chicken.
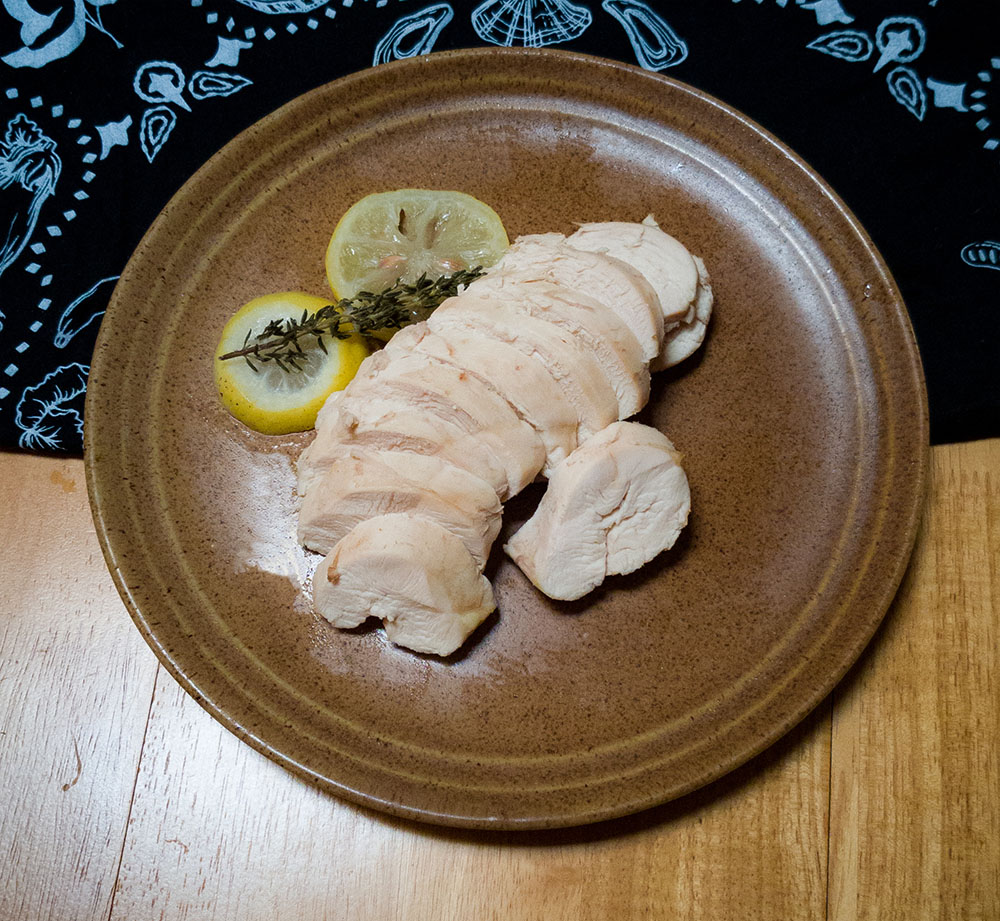
Slice or shred and store for up to a week or eat immediately.
A simple technique for poaching chicken. This recipe is a great base for a plethora of other recipes. You can take what is normally a dry and bland way of cooking chicken and with a few ingredients make it juicy and tasty.
Place the chicken breasts in a wide pan and cover with water by about two inches. Add the splash of wine (if using), and then the aromatics, lemon slices, garlic, butter, and thyme. Bring to a gentle boil over medium-high heat for ten minutes (uncovered).
Cover the pan and take it off the burner. Let the chicken breast sit in the poaching liquid for about 15 minutes, depending on their size.
You can slice or shred and eat immediately, or add it to another dish later. This recipe is a great base recipe for making shredded chicken for other recipes. Tacos, casseroles, nachos, sandwiches, the list goes on and on.
Notes
You can also cook the recipe in a slow cooker. Add all of the same ingredients into a slow cooker and cook on high for 2 to 3 hours or low for 4 to 6.