Birria Queso tacos blew up on the internet in 2021 and for good reason, they’re delicious! Birria is slow cooked beef in a roasted chili sauce. To make the tacos, you dip corn tortillas into the jeux leftover from the meat then fry them and …
These summer fruit popsicles are the perfect treat for a hot day. They whip up super fast and are way healthier than what you can pick up in the store. You can use any fruit or even other ingredients like yogurt or chocolate. My favorite …
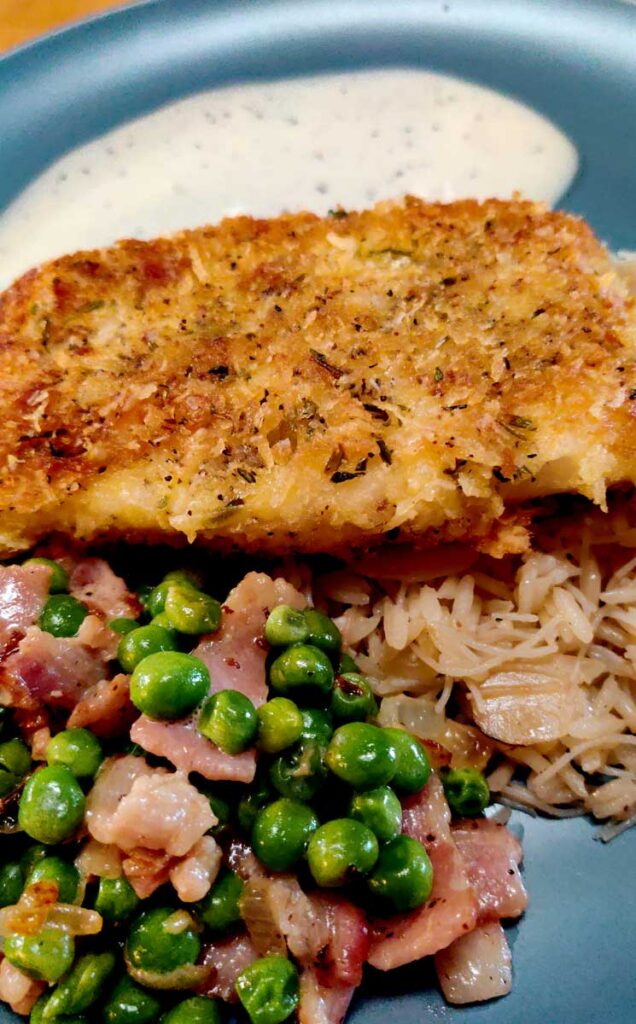
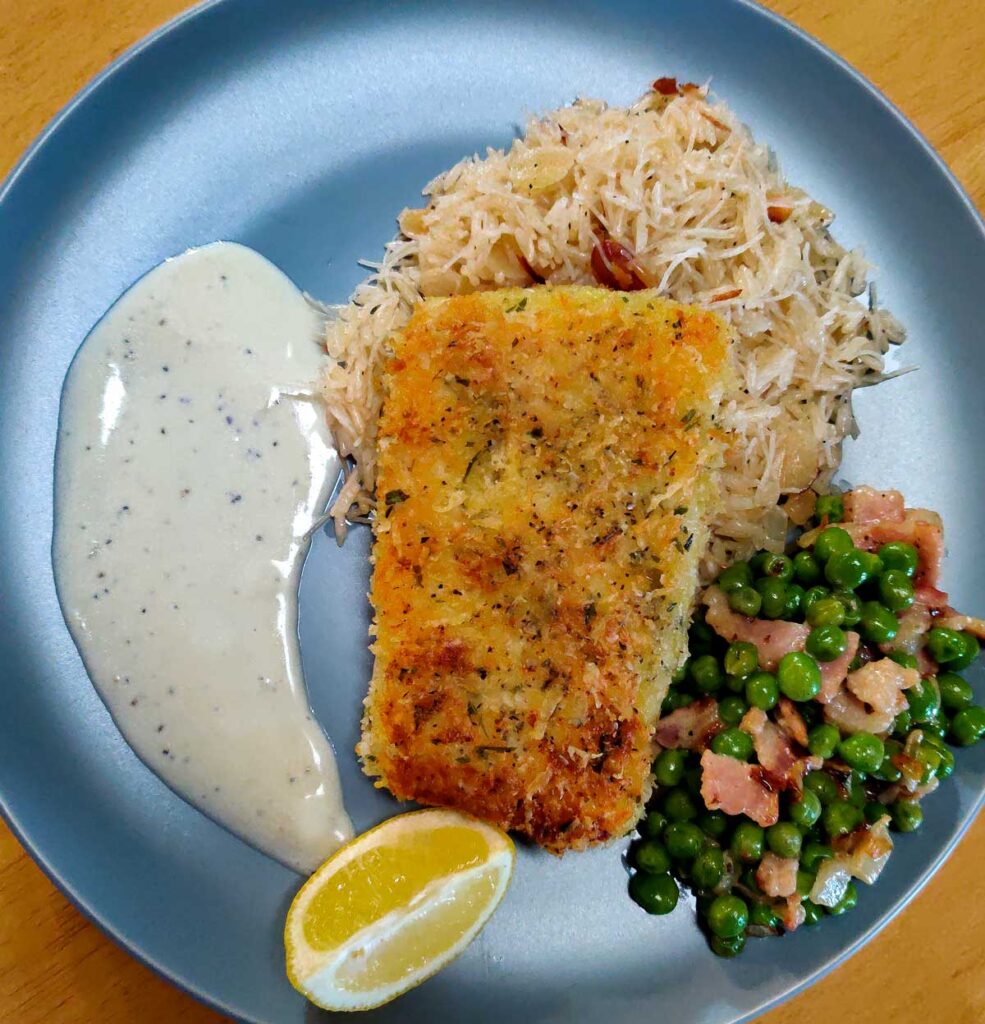
If you love fish you definitely have a favorite. Most people tend to go for the classic fish and chips and don’t get me wrong I love a good fried fish, but this parmesan crusted cod with lemon butter sauce beats them all! It’s flaky and buttery fish with a crispy, salty and beautifully herbed crust. The lemon butter sauce adds some great flavor from the fat and wonderful acidity from the lemon.
This recipe was born from a desire to eat healthier but still have the things I loved. As I mentioned before I do love fried fish and this dish kicks the craving I get for that to the curve. Now don’t misunderstand, I said “healthier” not healthy. I realize the butter in the sauce might raise some eyebrows but the dish needs that fat, I’m telling you!
Parmesan Crusted Cod Recipe Tips:
Make sure to pat the fish dry, don’t skip this step or you won’t get that delicious crispy crust. Cod holds a lot of moisture so if you can get it fresh, you’ll have an easier time. If you’re like me and live in a landlocked state, not to worry, you can still use frozen. It’ll just take a few more pats to get all that extra water.
When frying the fish you might be tempted to move them or shift them before it’s time to flip. DON”T! If the crust isn’t fully cooked it will stick to that pan like glue. This also means you shouldn’t cook too many at once in the same pan. I personally wouldn’t cook more than two at a time in a single pan.
When cooking the lemon butter sauce you want to watch your heat. Butter likes to separate so if you cook it too hot you might end up with a broken sauce. It’s also a good idea to keep stirring the butter through every step as much as possible to keep those fat solids inside it happy.
Alterations and Substitutions:
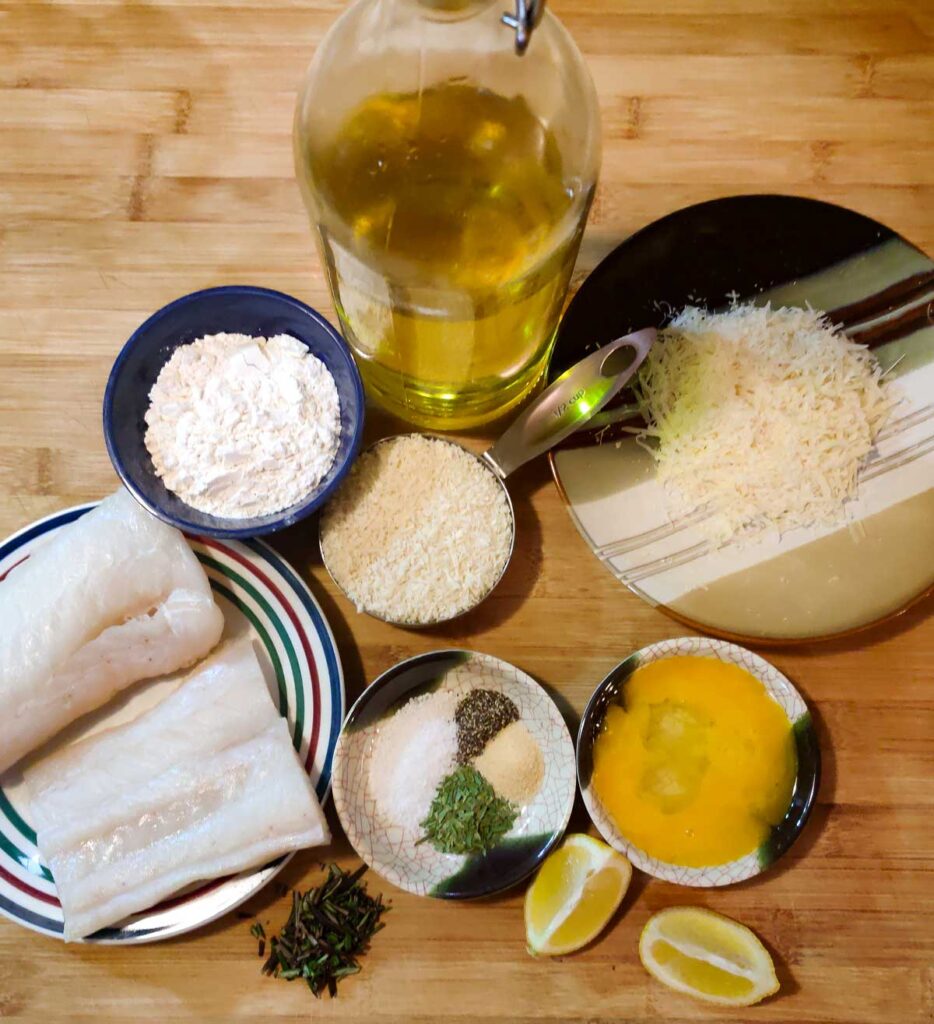
All Ingredients for the Parmesan Crusted Cod
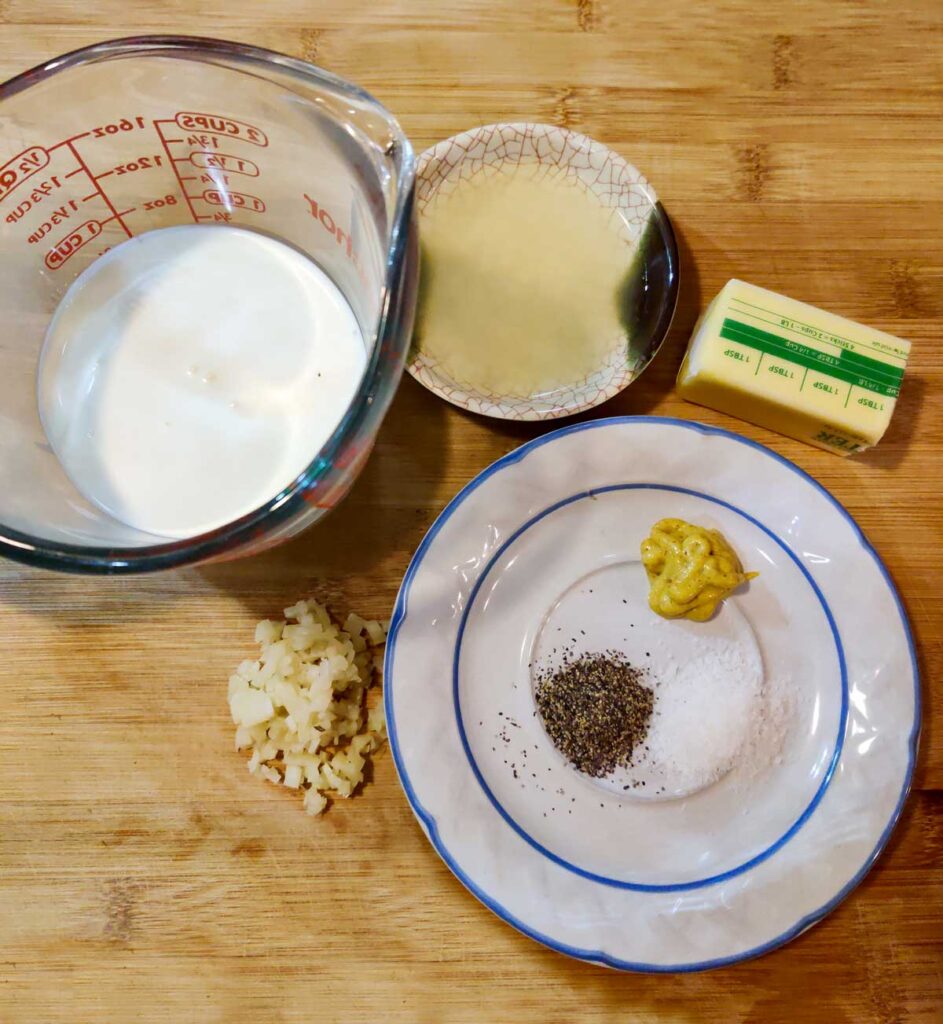
Lemon Butter Sauce Ingredients
So the cool thing about this parmesan crusted cod is, it doesn’t have to be cod. Really any white fish will work, tilapia, sole etc.. If you use a thinner one, make sure to adjust the heat/time accordingly.
You might have heard that fish and cheese is a no go, but it really depends on the type of cheese in my opinion. Parmesan is salty and nutty which pairs perfectly with fish. I wouldn’t recommend experimenting with the cheese by swapping it in this one though.
Now let’s talk about herbs. I love the fragrant combination of tarragon and rosemary but I understand that one or both of those herbs might not agree with you. Some good substitutions for them are; thyme, oregano, basil and parsley.
Parmesan Crusted Cod Step by Step:
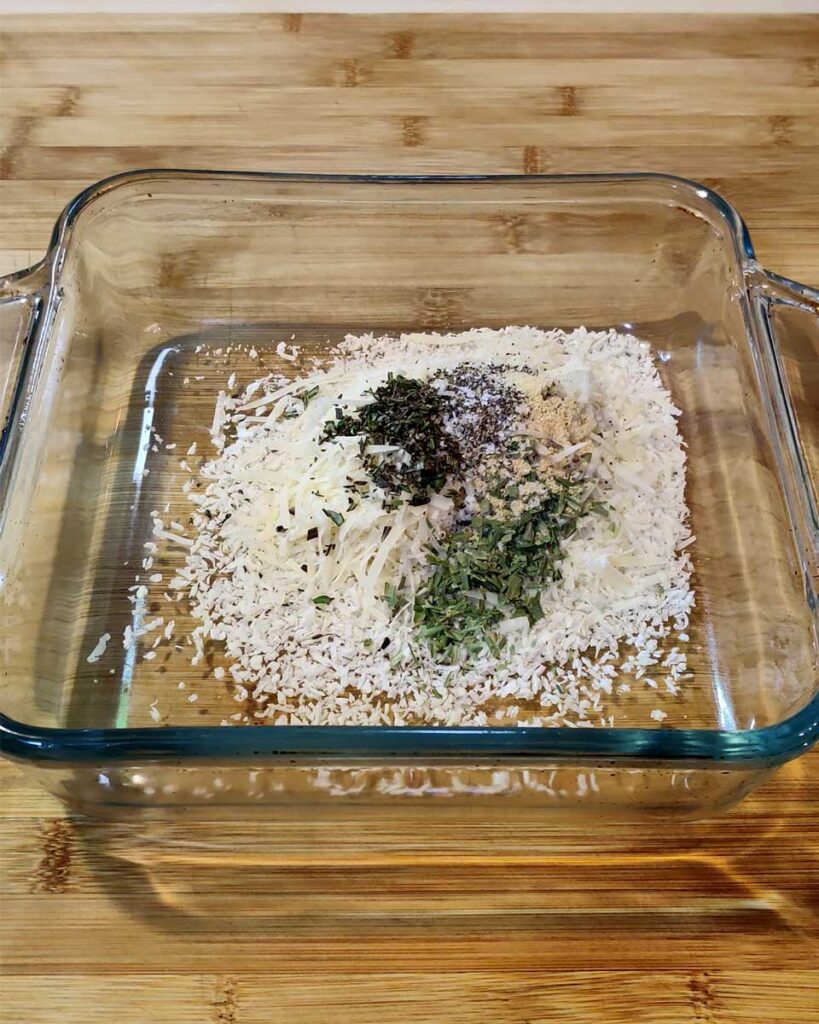
In a shallow bowl, stir together panko, salt, pepper, flour, parmesan, rosemary, tarragon, and garlic powder. Set aside In another shallow bowl, lightly whisk the egg.
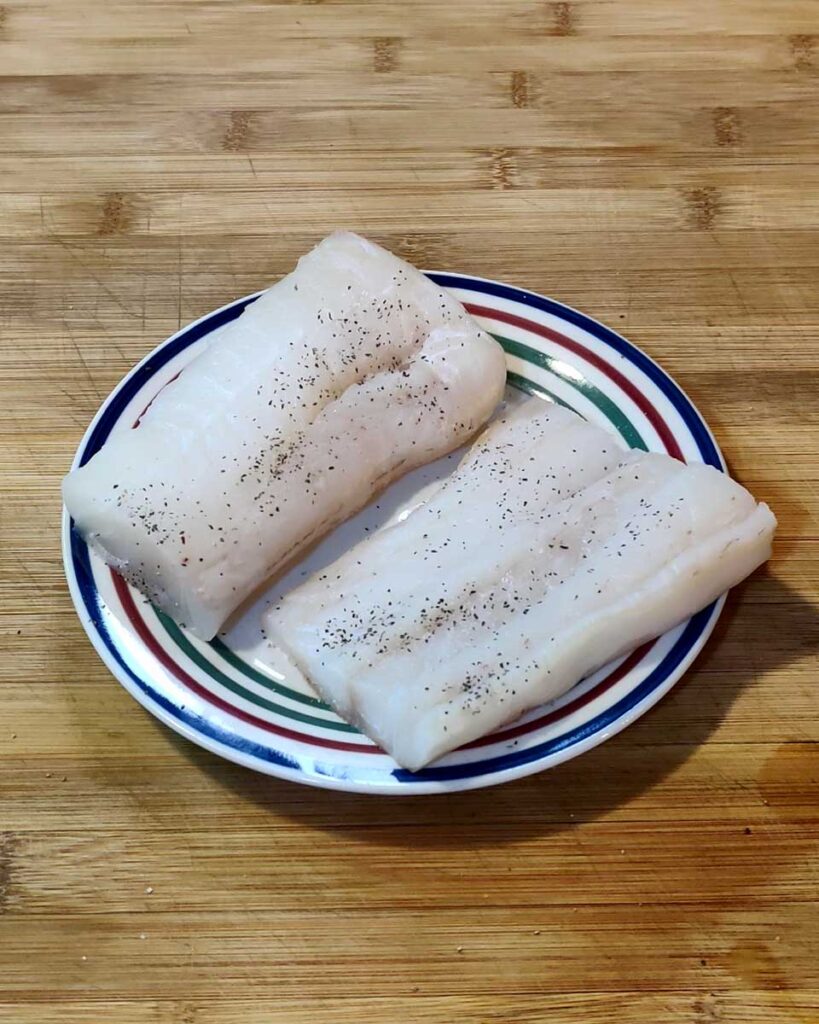
Pat the fish fillets dry, as needed, and sprinkle with salt and pepper.
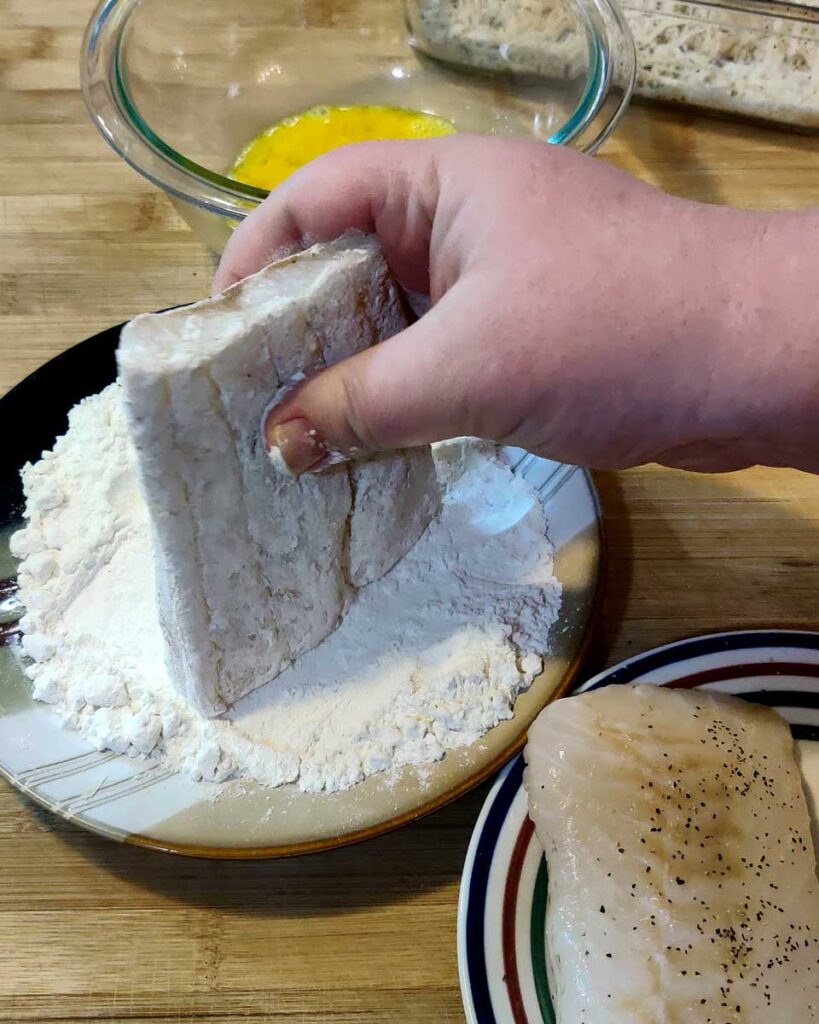
Put the 1/2 cup of flour in a shallow bowl. Coat the fish with flour and shake off the excess.
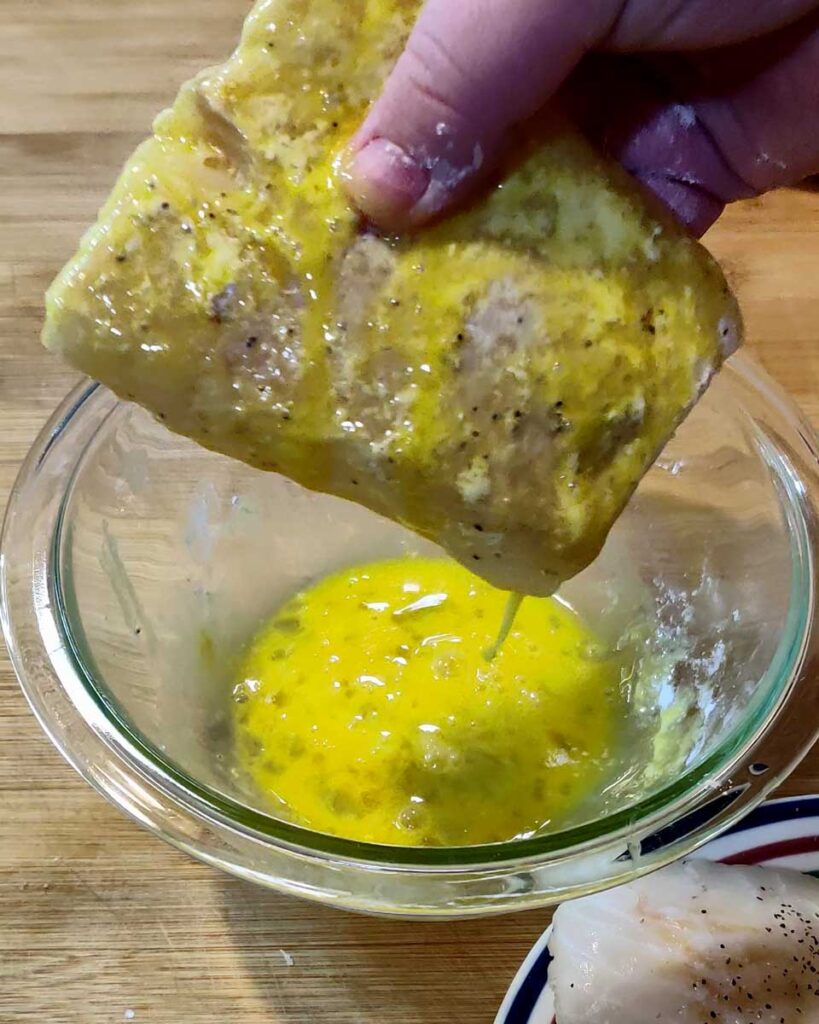
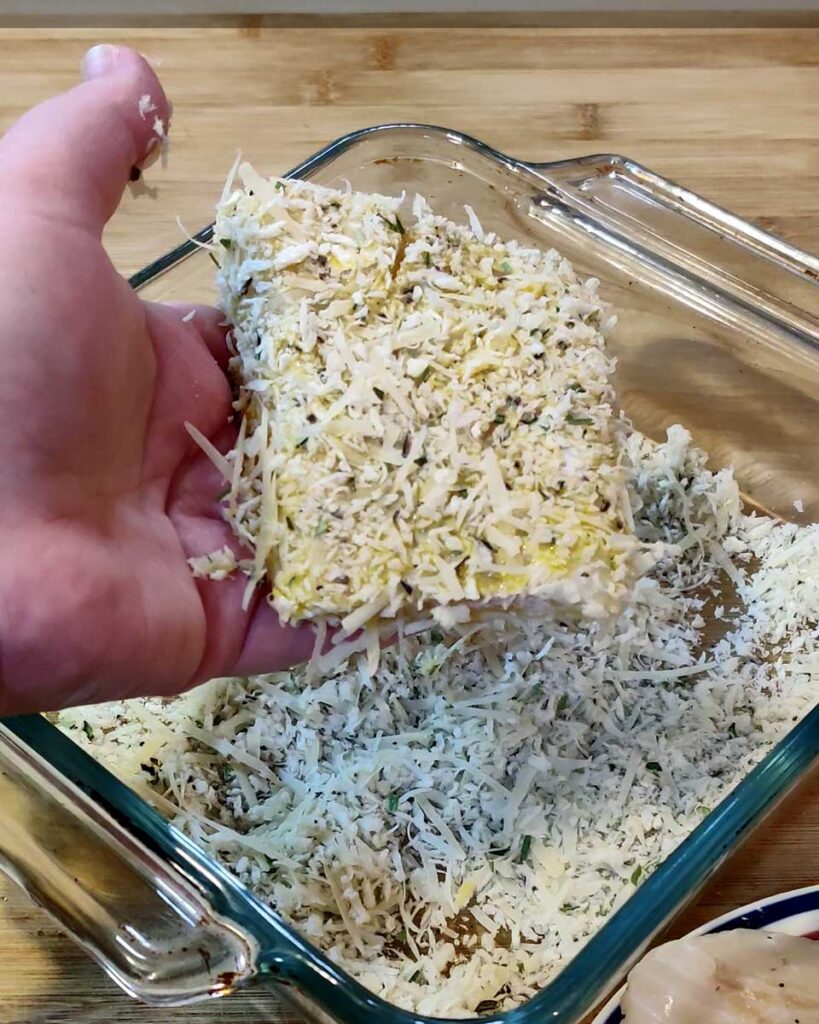
Dip the fillets, one at a time, in the egg mixture, and then the panko mixture to coat. Set aside.
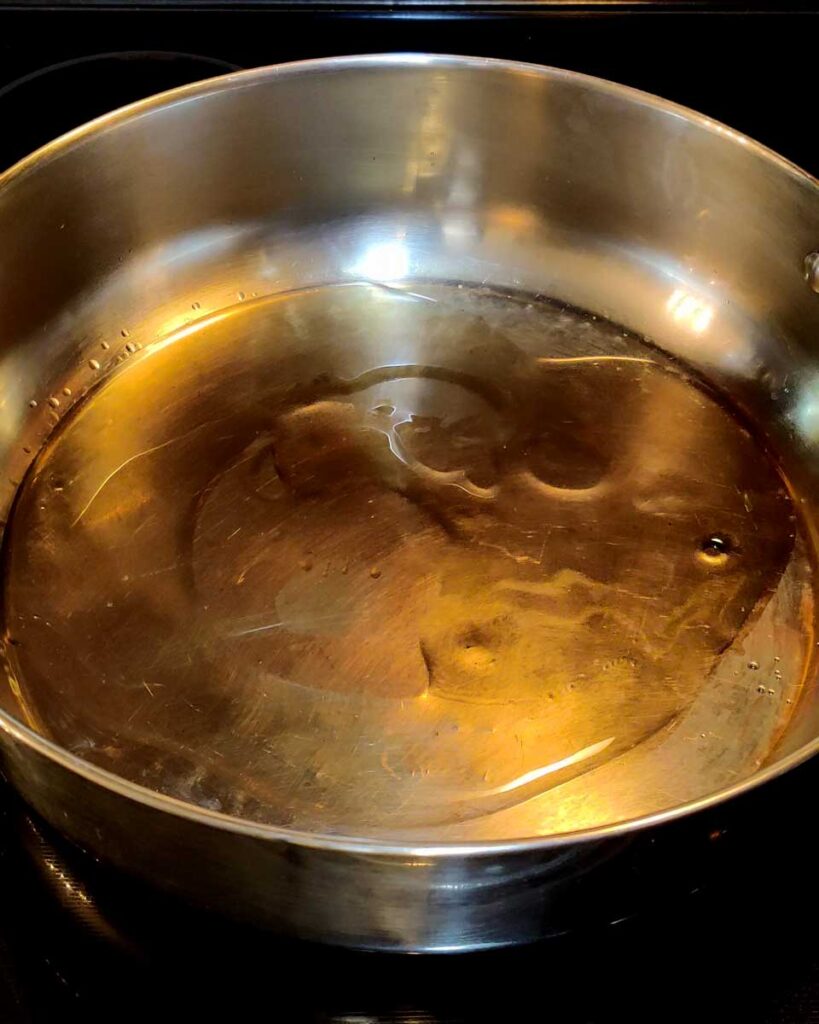
Lightly coat the bottom of a skillet with a thin layer of vegetable oil, and heat over medium heat.
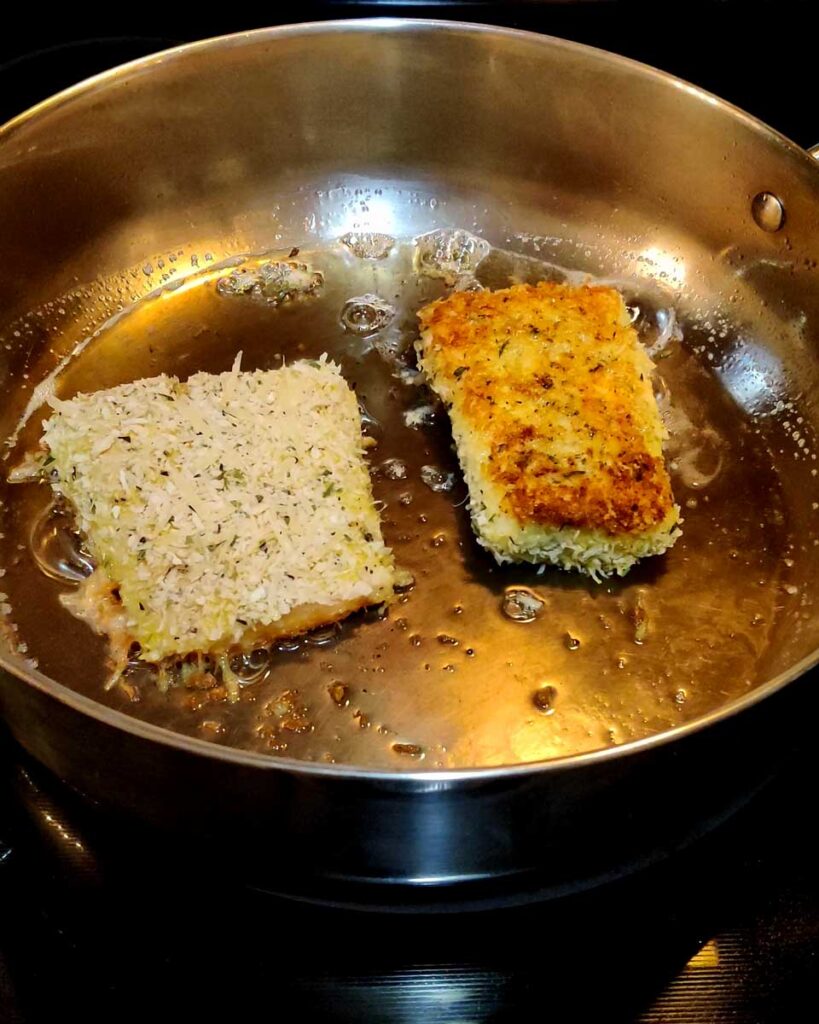
Once the oil is hot and shiny, add the fish. Fry on each side for approximately 4-5 minutes, until golden brown. The time may vary depending on the thickness of your fish. The fish will be translucent; you want to be sure you don’t overcook it.
If the fish is extra thick, after frying place on a lightly parchment paper lined sheet pan in a 350 degree oven for approximately 5 minutes.
Remove from the skillet and serve with the lemon cream sauce.
Lemon Cream Sauce:
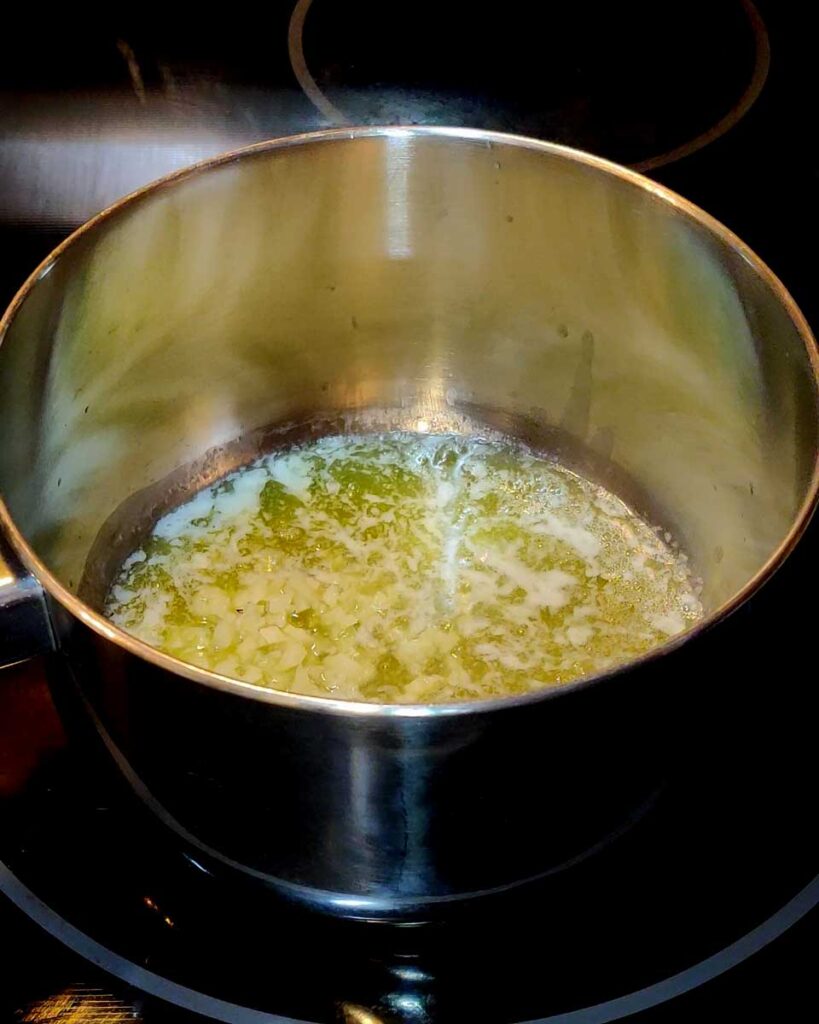
Melt butter in a medium saucepan over low-medium heat. Add the minced garlic and saute until fragrant, about 20 seconds.
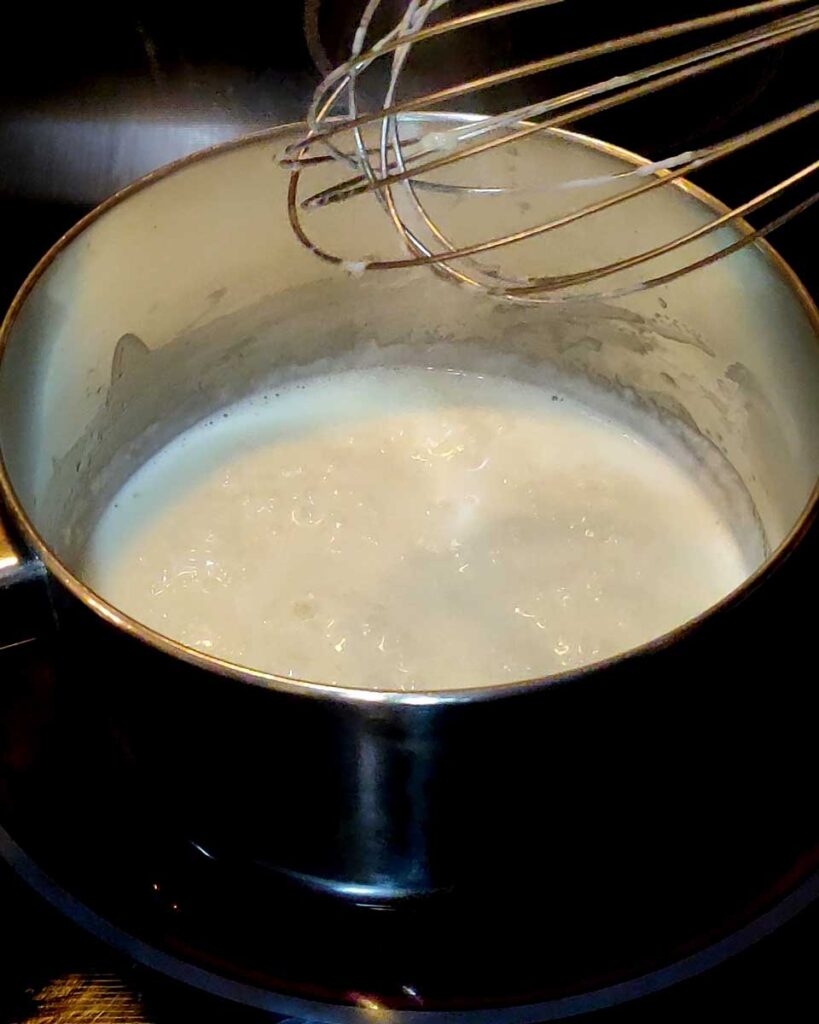
Pour in heavy cream and bring to a boil. The sauce should thicken a little bit. Make sure to whisk constantly to avoid burning.
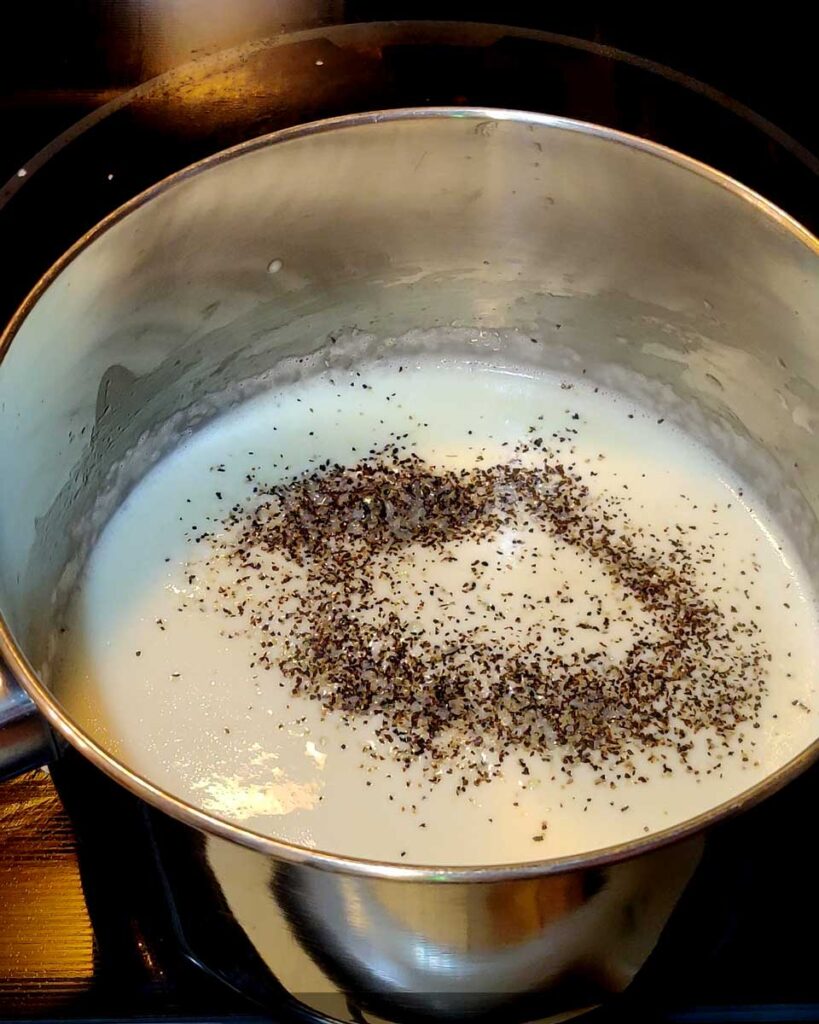
Take off the heat and stir in the lemon juice and season with black pepper and salt to your liking. The reason you turn off the heat before adding the lemon juice is to make sure the acid in it doesn’t break the heavy cream.
In a shallow bowl, stir together panko, salt, pepper, flour, parmesan, rosemary, tarragon, and garlic powder. Set aside. In another shallow bowl, lightly whisk the egg.
Pat the fish fillets dry, as needed, and sprinkle with salt and pepper. Put the 1/4 cup of flour in a shallow bowl. Coat the fish with flour and shake off the excess. Dip the fillets, one at a time, in the egg mixture, and then the panko mixture to coat. Set aside.
Lightly coat the bottom of a skillet with a thin layer of oil, and heat over medium heat. Once the oil is hot and shiny, add the fish. Fry on each side for approximately 4-5 minutes, until golden brown. The time may vary depending on the thickness of your fish. The fish should be slightly translucent.
If the fish is extra thick, after frying place on a lightly parchment paper lined sheet pan in a 350 degree oven for approximately 5 minutes.
Remove from skillet and serve with the lemon cream sauce and/or lemon wedges.
Lemon Cream Sauce:
Melt butter in a medium saucepan over low-medium heat. Add the minced garlic and sauté until fragrant, about 20 seconds.
Pour in heavy cream and bring to a boil, whisking constantly. The sauce should thicken a little bit.
Take off the heat and stir in the lemon juice and season with black pepper and salt to your liking.
Salsa is a variety of sauces used as condiments for tacos and other Mexican and Mexican-American foods, and as dips for tortilla chips. They may be raw or cooked, and are generally served at room temperature. Tortilla chips with salsa are a common appetizer in …
This Four Cheese Mac & Cheese is the perfect comfort food! This’ll be an irresistible side dish at your dinner table or get together. Growing up Kraft macaroni and cheese was my absolute favorite food. It also got me through college and will always have …
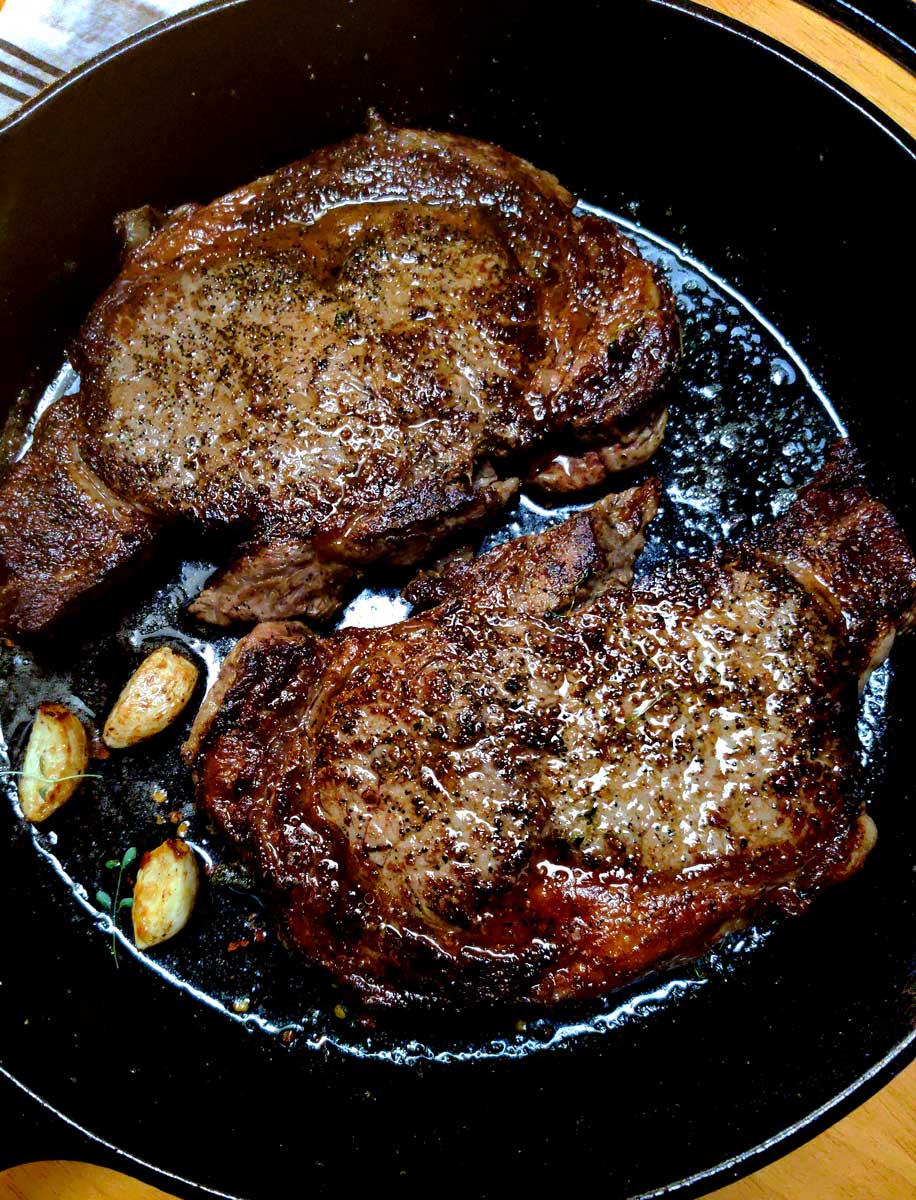
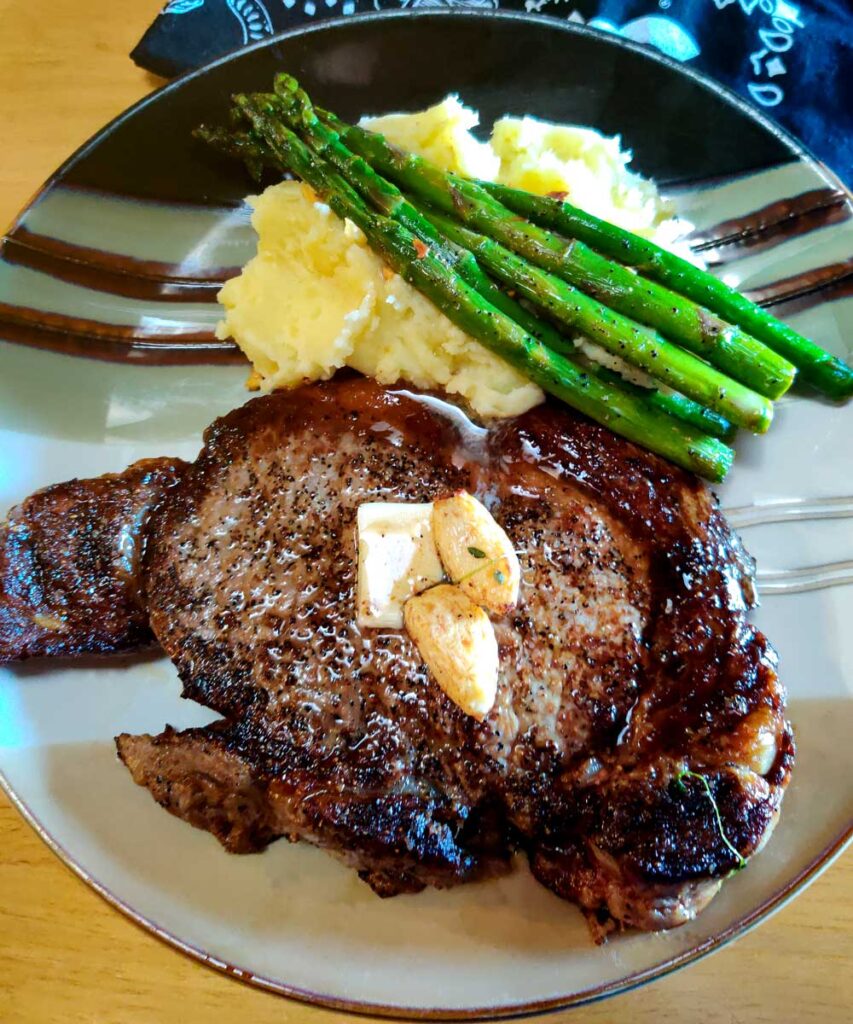
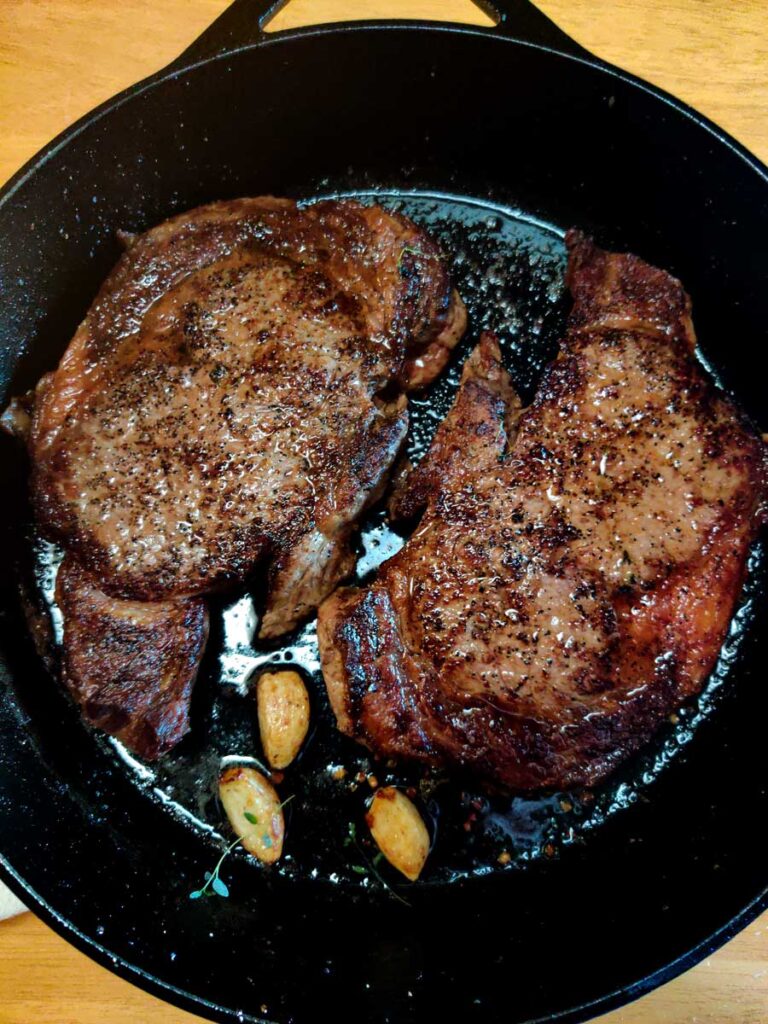
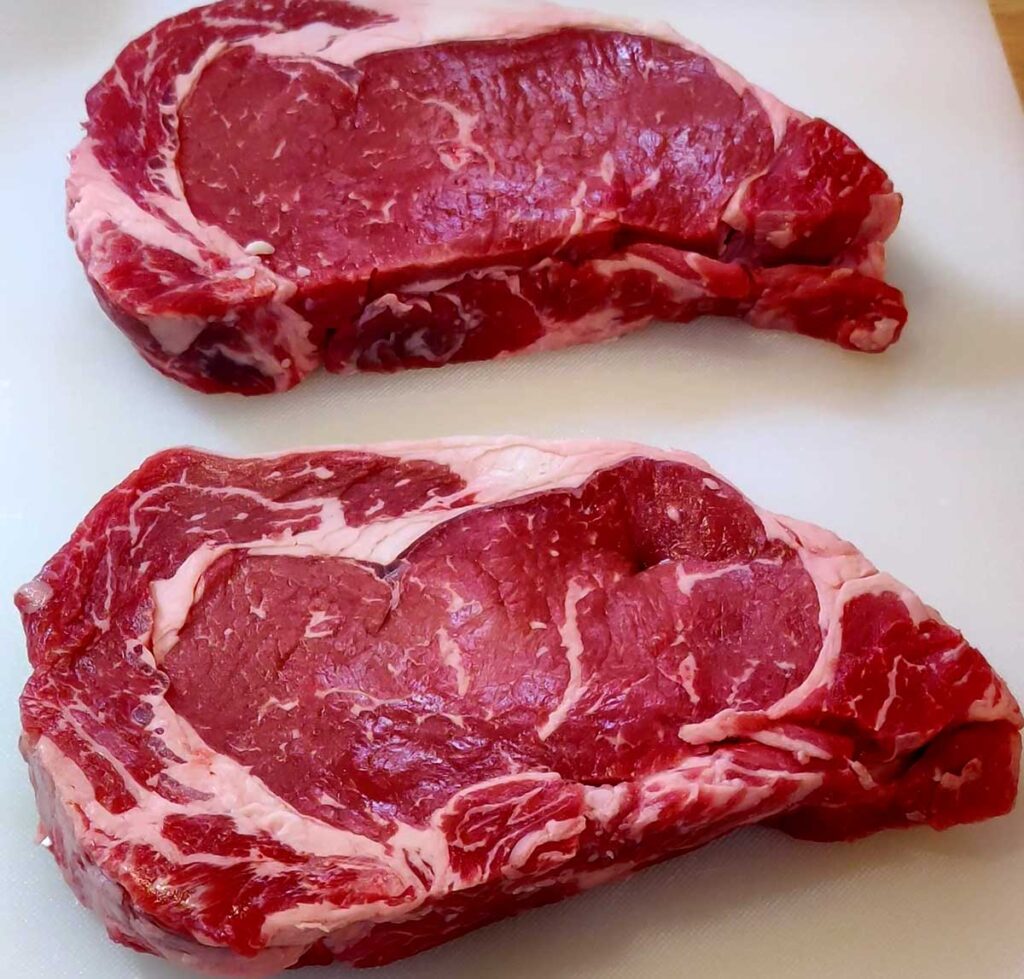
Steak can be an intimidating thing to cook for some. It can also cause family feuds when that one person loves their steak well done! There are many different ways to prepare steaks, but this recipe will cover my favorite method, the cast iron skillet. This 20-minute recipe is done on the stovetop in one pan (no need to finish it in the oven). This is one of my favorite steak recipes and I make it year-round because it’s such a quick and convenient cooking method. So let’s get started and I’ll equip you with all the knowledge you need to make this easy and delicious pan seared steak!
The Technique:
So there are several different cooking methods for steak, as I mentioned before. There’s just something irresistible about cooking it in a well seasoned cast iron skillet. Plus the cleanup is a lot easier than grilling them and you don’t have to worry about the weather!
Skillet:
If you don’t already own a cast iron skillet, then what are you waiting for? Go buy one! I have many recipes on here that use a cast iron and that’s because it is one of the most versatile and reliable cooking vessels you can have in your kitchen. If you treat it right, your cast iron skillet can last several lifetimes.
The reason a cast iron is perfect for steak, is because it heats evenly, quickly and can get super hot. Which is perfect for getting a beautiful crust on your steak. If seasoned properly it’s also non-stick and requires only a little oil to help it along.
Basting:
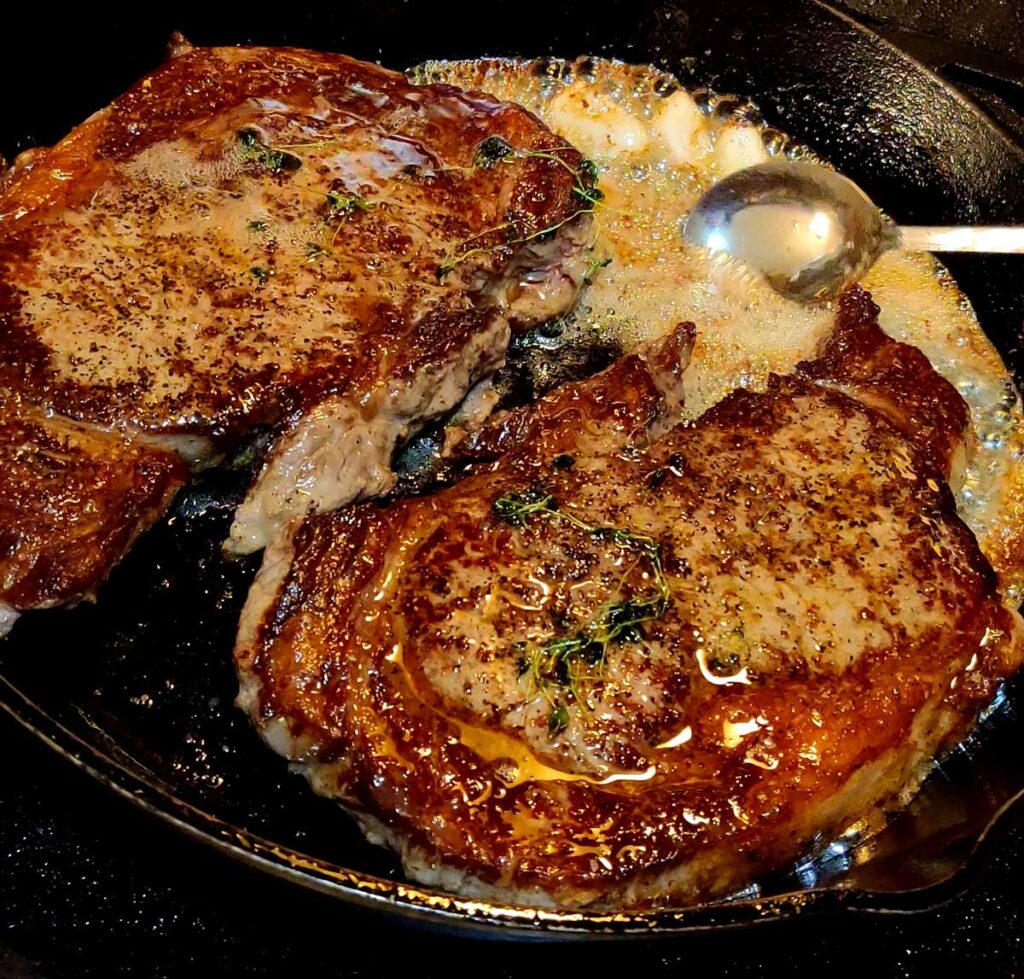
But what really makes this method foolproof is the butter basting. Basting your steaks after they are seared allows all the fat and flavor from the butter and aromatics to infuse the entire steak. This is because when you rest the steak it reabsorbs all of its juices and it will also soak up some of that delicious butter. Basting it with butter also deepens the crust on the outside and helps the steak cook more quickly.
Searing:
Getting a good crust on a steak is paramount. Starting off with a dry pan and turning it to a higher heat will allow you to sear the steaks quickly. This is especially useful for thinner cuts like top sirloin. If you are cooking with, say a rib-eye, I would put the heat at medium high instead of high. This will allow the steak to have longer contact with the pan and cook correctly on the inside.
Cooking Temp and Time:
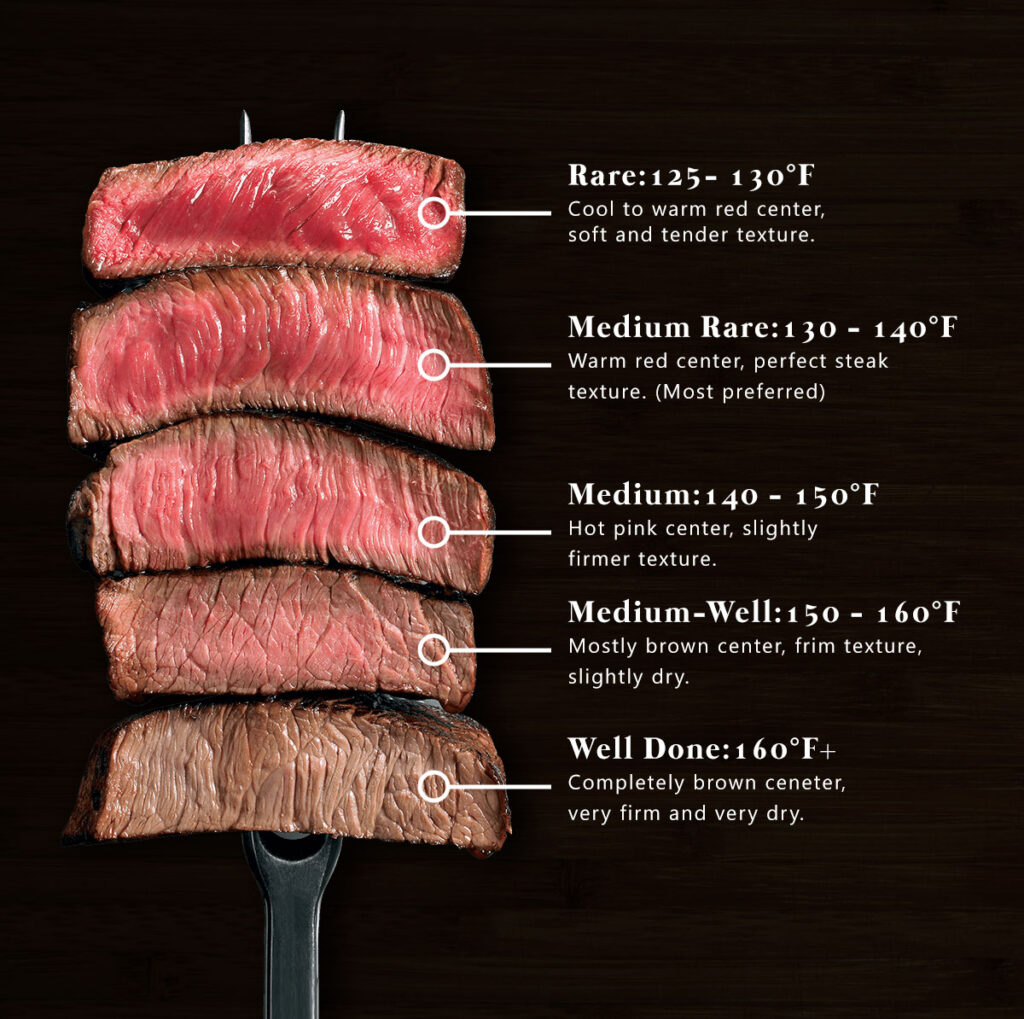
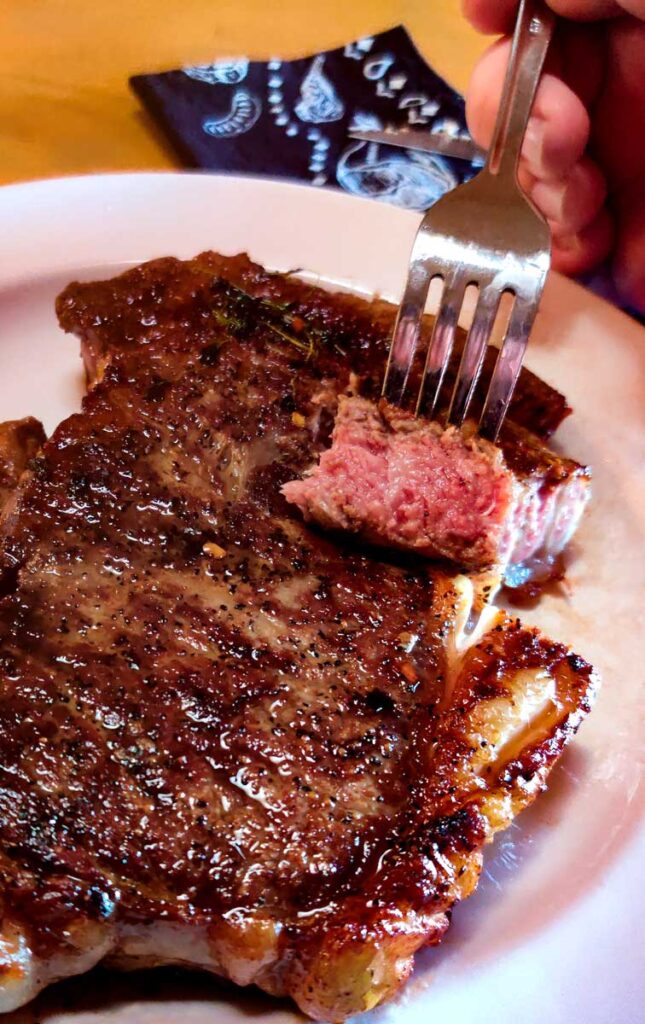
Everyone has their preferred temperature on a steak, however if it isn’t medium rare, then they’re wrong! Most people don’t know that the “blood” that you see in lower temp steaks isn’t actually blood. The “juice” in your steak is called myoglobin, and it’s a protein that’s only found in muscle tissue. You want to see this, because that means that you’ll be getting one tender and juicy bite out of that steak.
A steak’s internal temperature continues to rise as it rests, so remove steaks from the pan about 5-10 degrees before reaching your desired doneness. You can determine a steak’s doneness by testing with aninstant read thermometer. Or if you’re practiced enough you can tell by the way as steak feels on the outside. The more done it is, the more firm it feels. Be careful when poking your steak. Too many holes and all the juices will run out and we definitely don’t want that!
Here is a visual guide for doneness and temp on pan seared steaks:
Pan Seared Steak Step by Step:
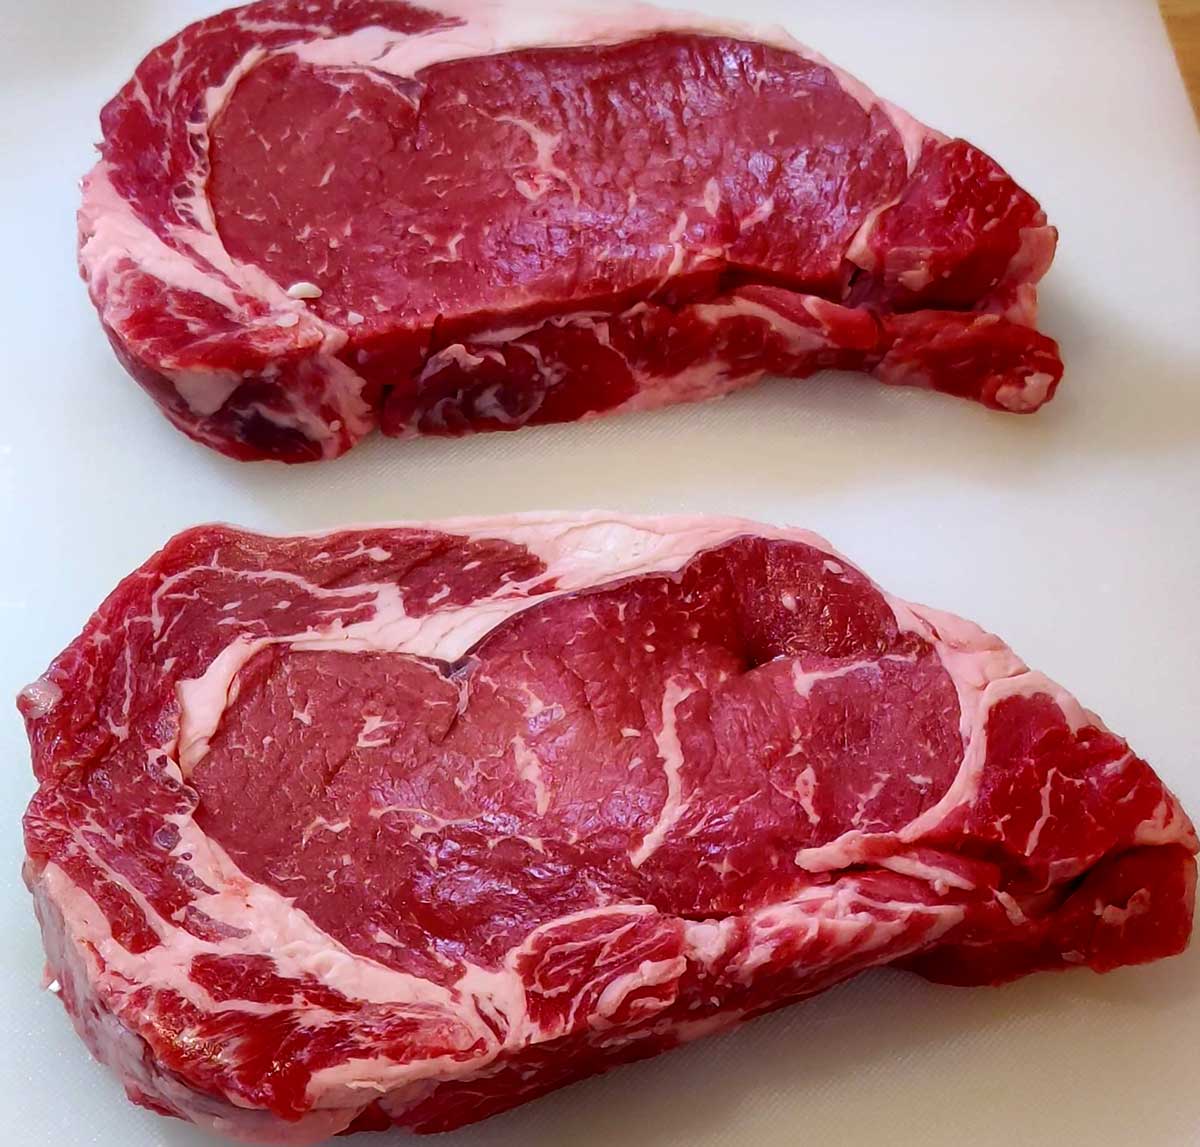
Let steaks stand for 30 minutes at room temperature. This will help ensure the proper internal temperature when cooking the meat. This is not from frozen, this is from the refrigerator. You must let your steaks thaw completely before cooking.
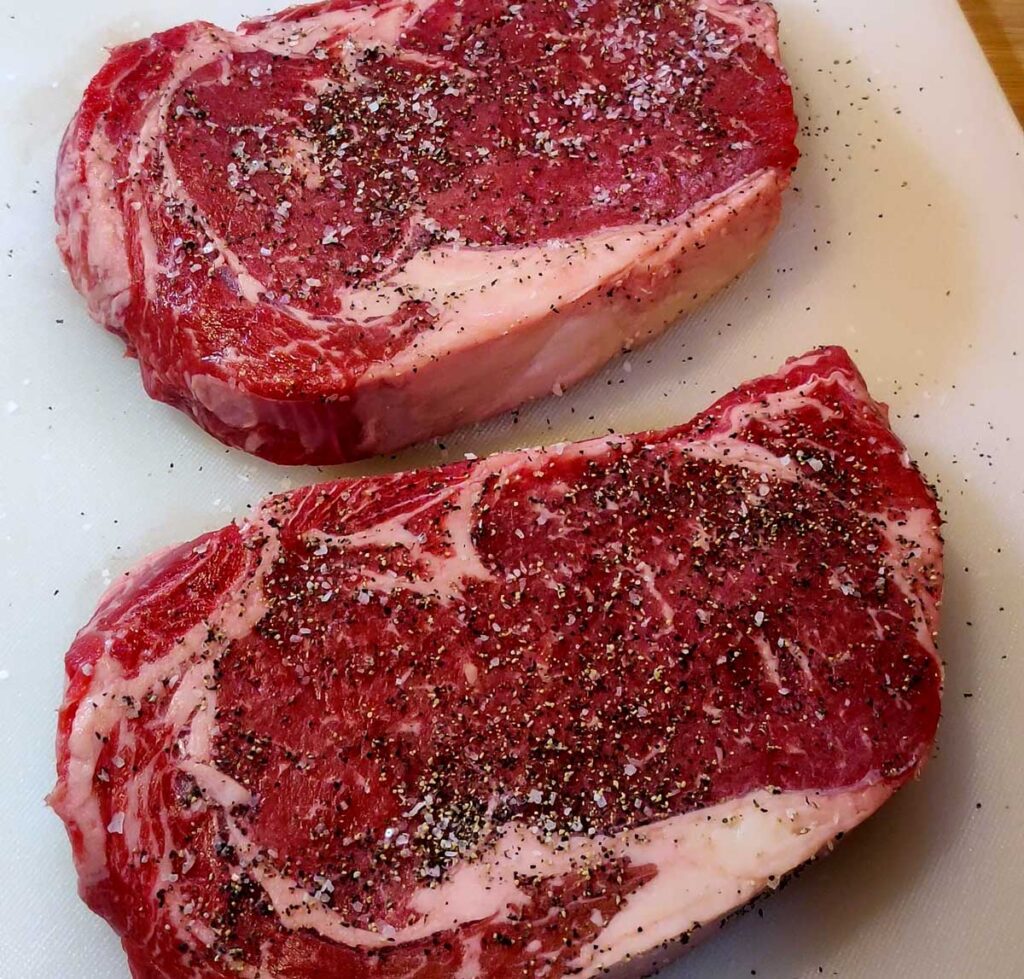
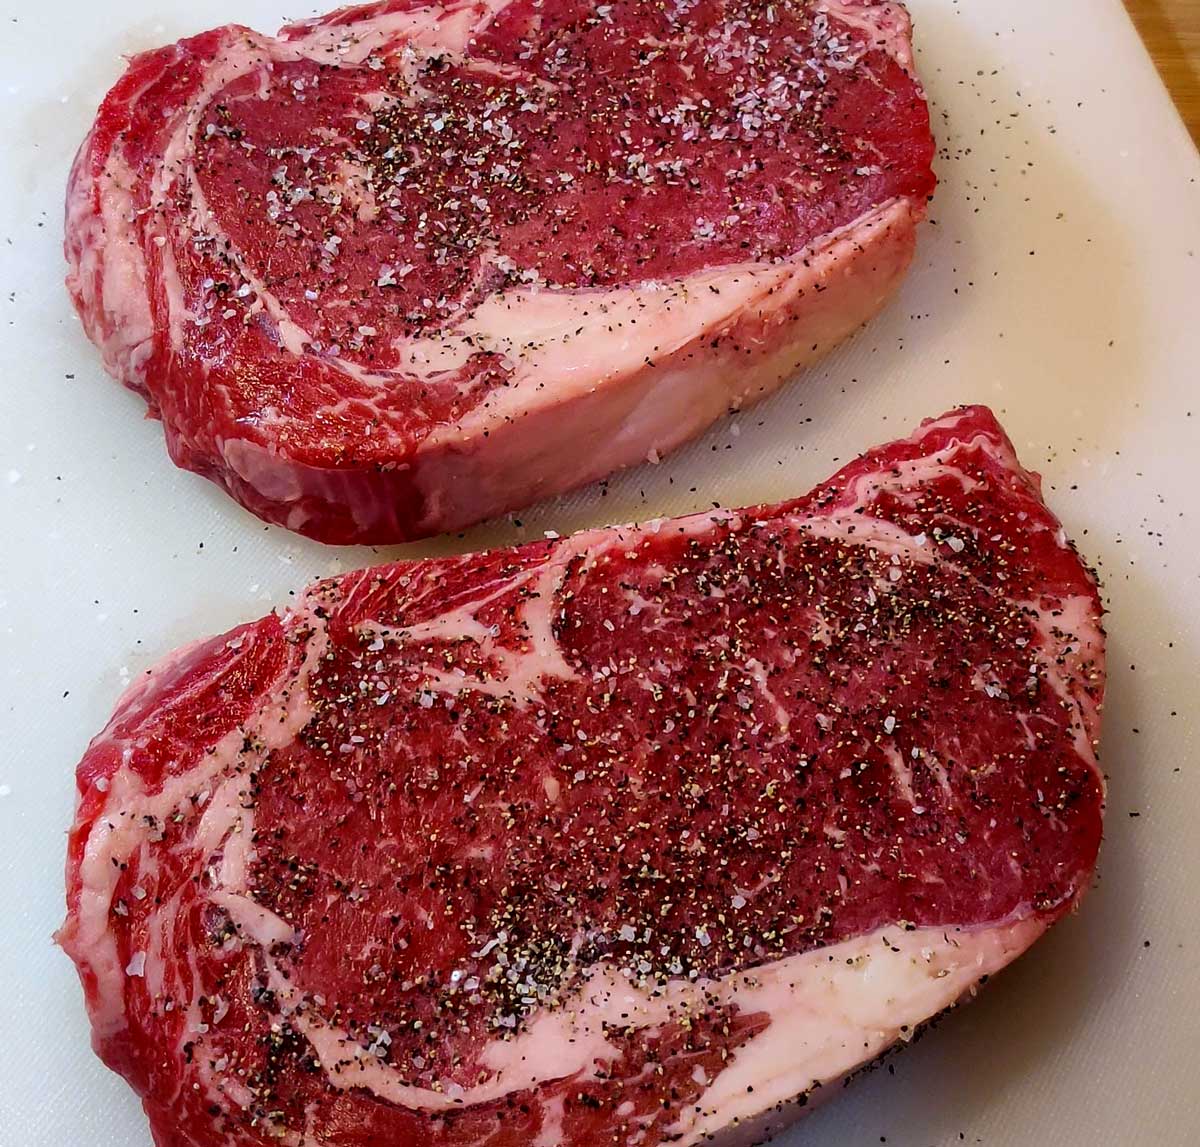
Sprinkle salt and pepper evenly over steaks. I also like to use rubs on my steaks. Just try to avoid seasonings that turn bitter when hit with high heat, like paprika.
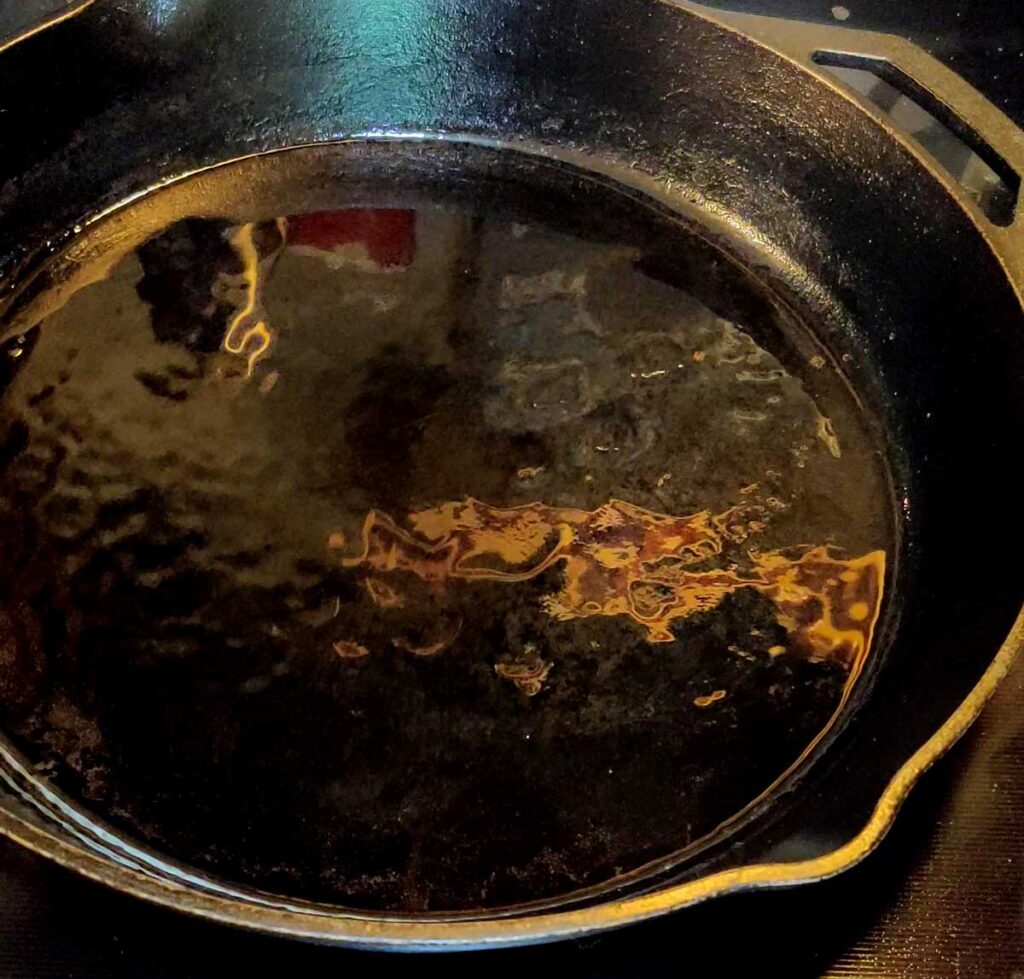
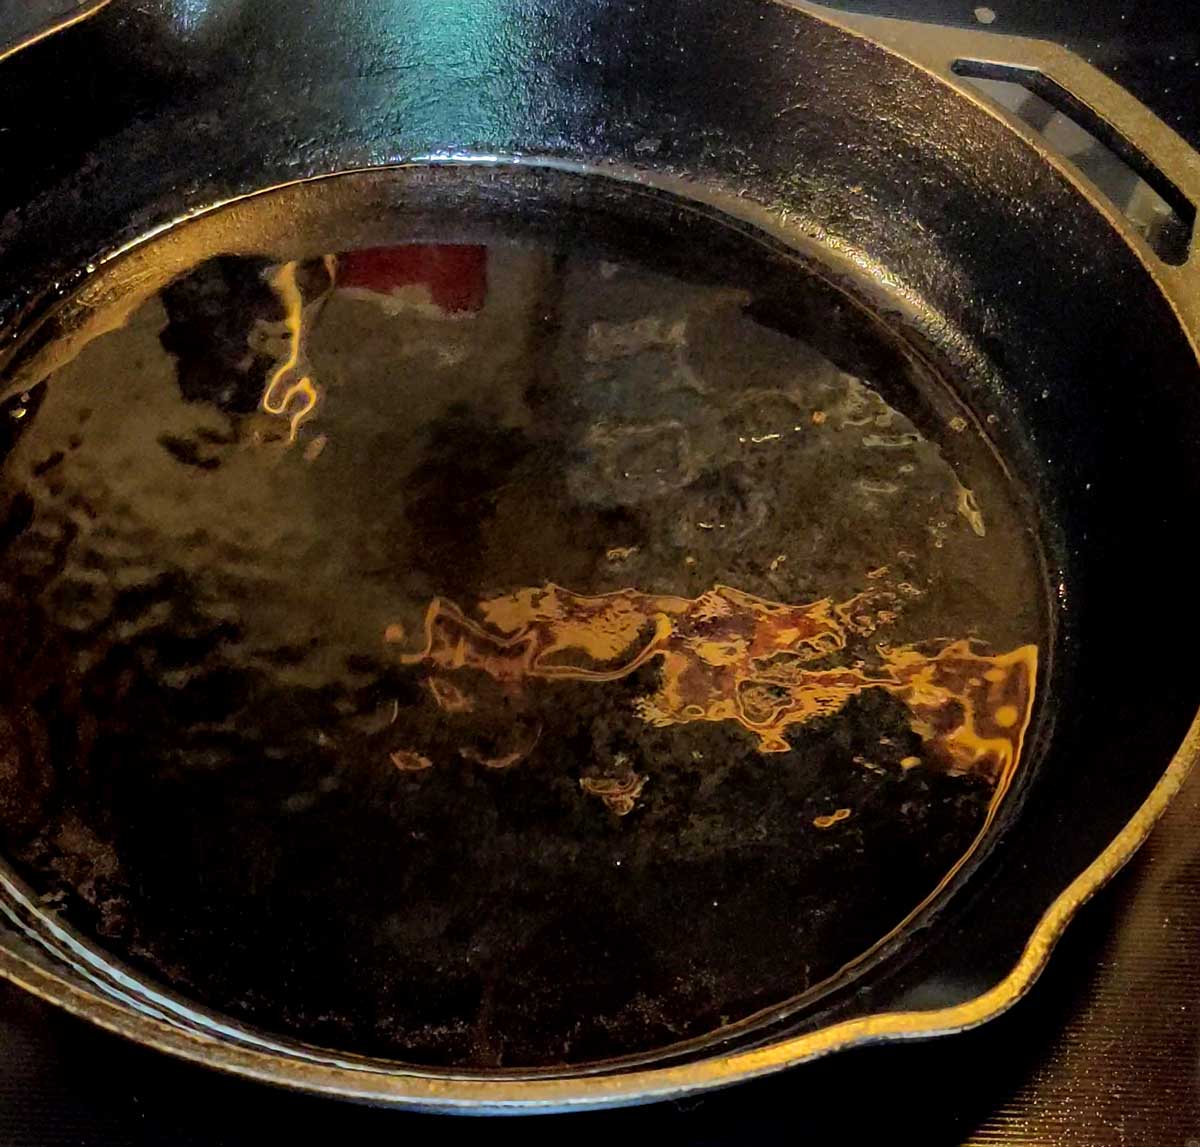
Heat a large cast-iron skillet over medium high heat. Add oil to pan; swirl to coat. You should only need about 1 or 2 tablespoons of oil to evenly coat the bottom of the pan. You do not want too much oil.
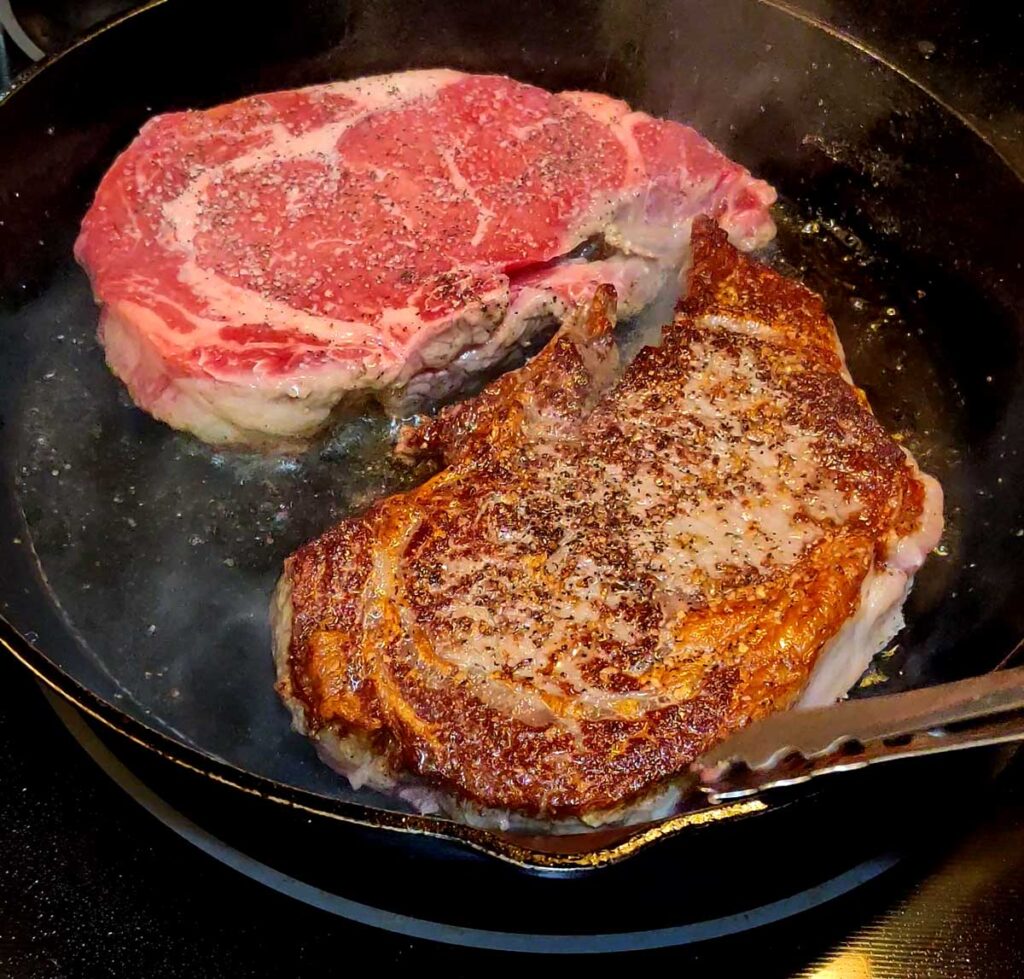
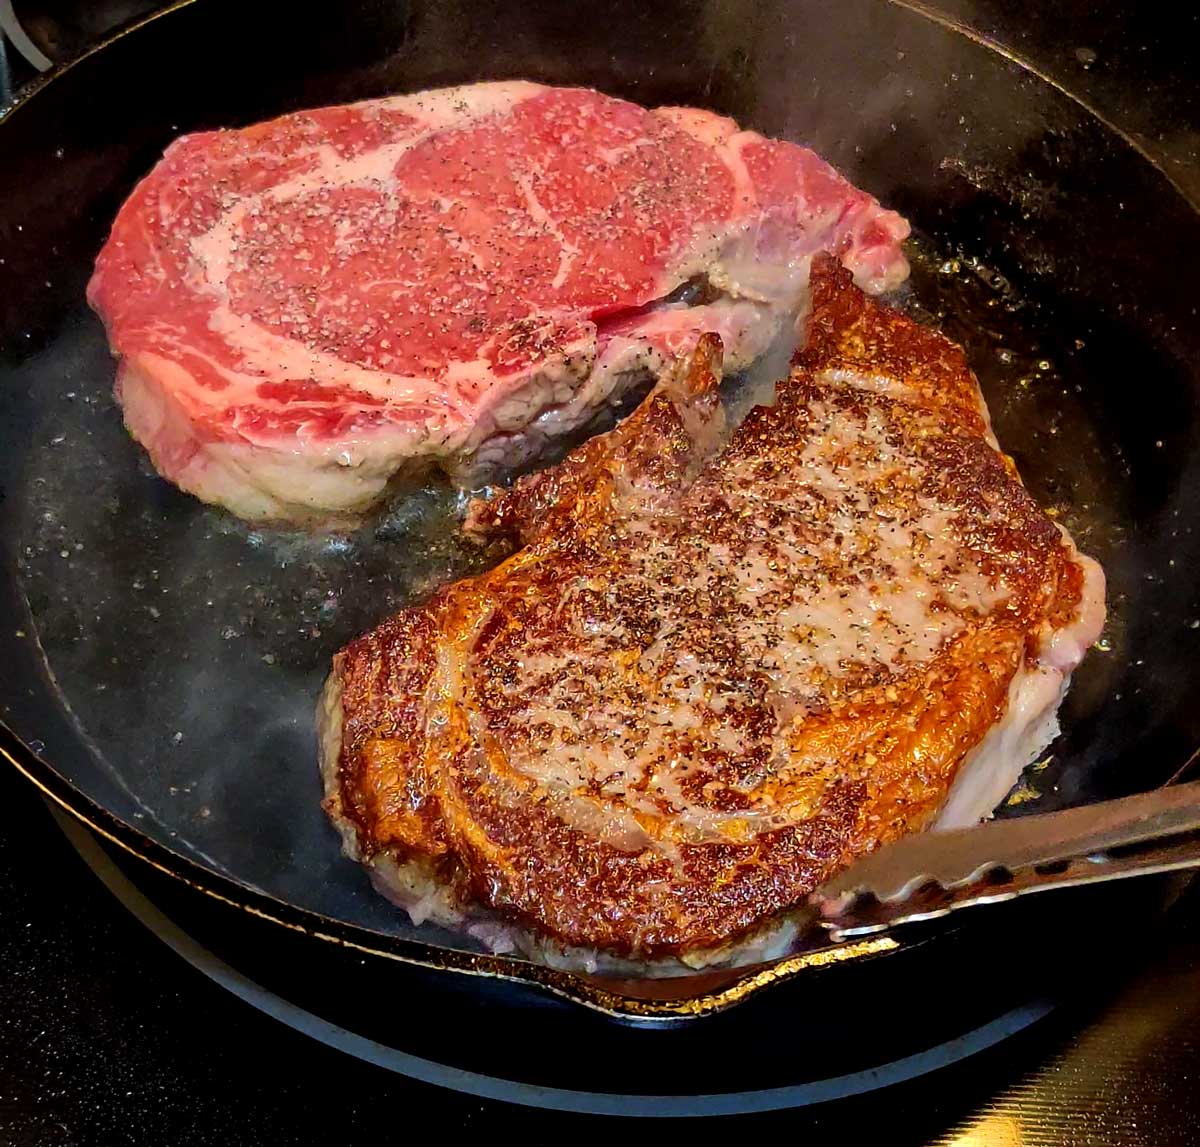
Add steaks to pan; cook 3 minutes on each side or until browned. This time is for rib eye steak at about 1 -1 ½ inch thickness. You will have to adjust the time and heat depending on the cut of meat. Feel free to use a quick read thermometer to get an accurate reading.
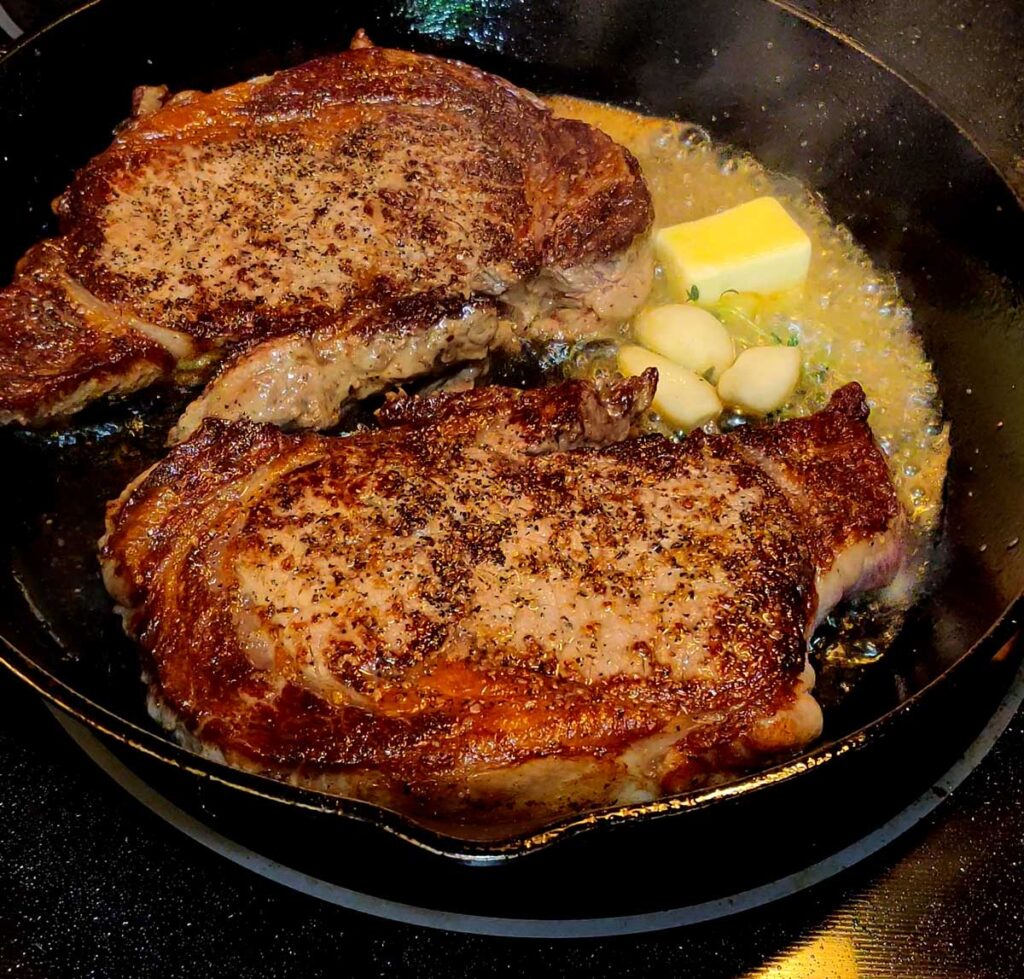
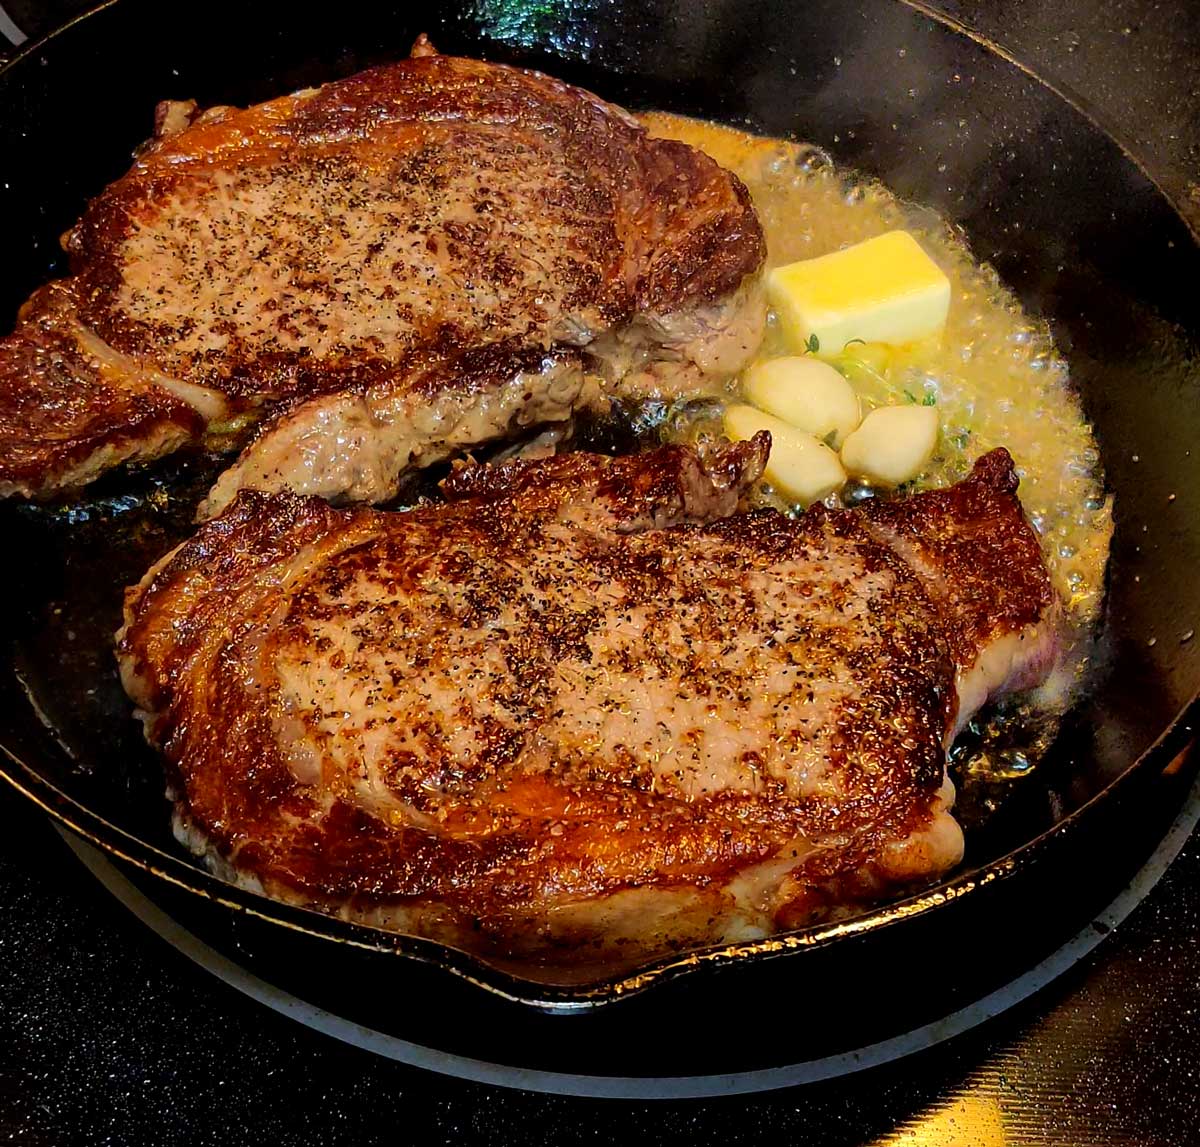
Reduce heat to medium-low; add butter, thyme, and garlic to pan. Carefully grasp the pan handle using an oven mitt or folded dish towel.
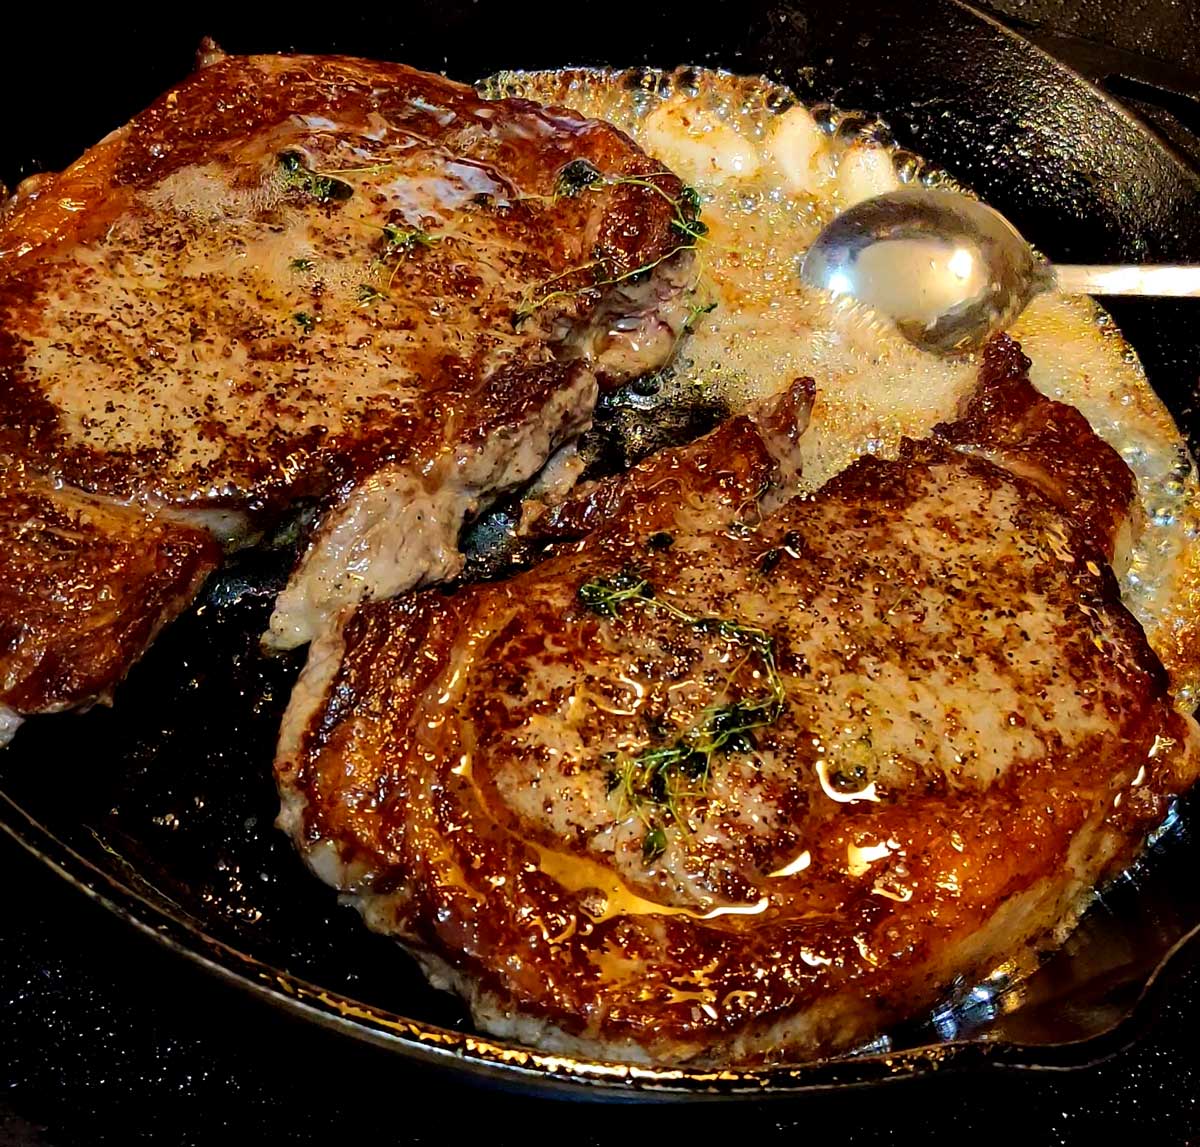
Tilt pan toward you so butter pools; cook 1 1/2 minutes, basting steaks with butter constantly.
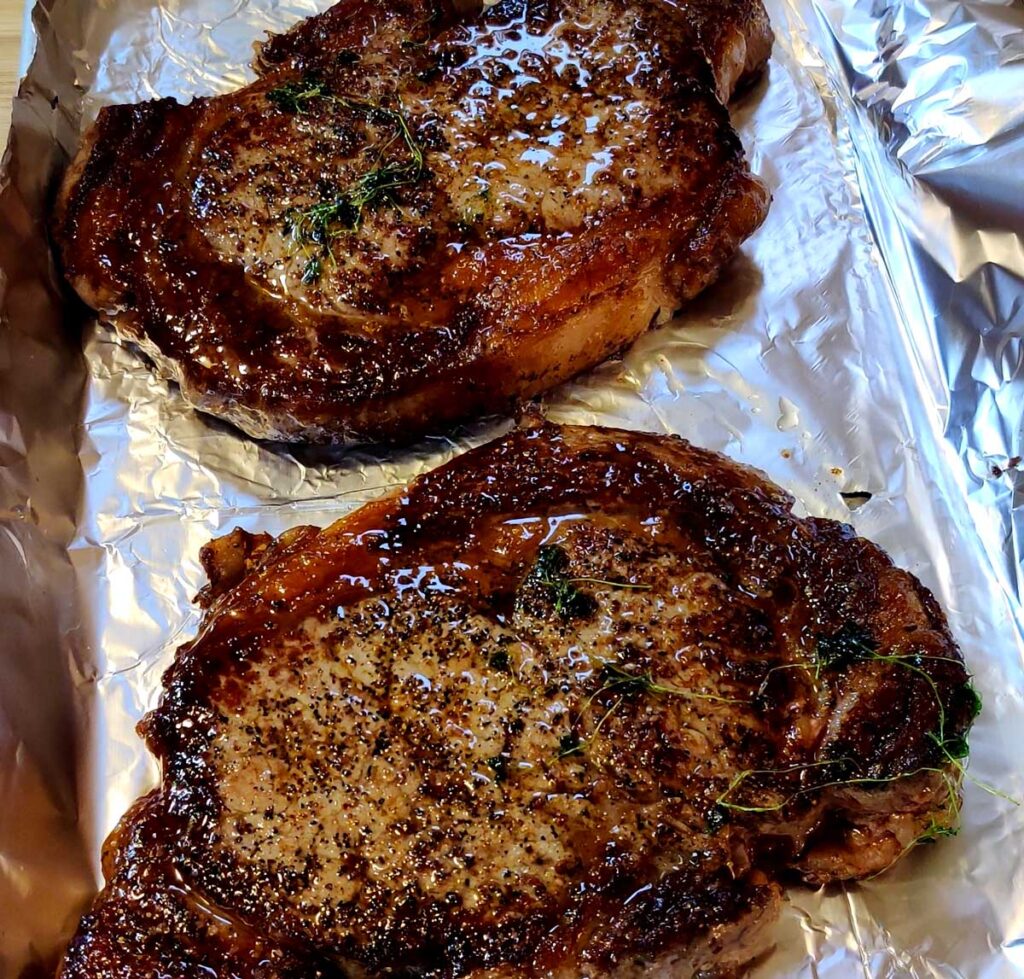
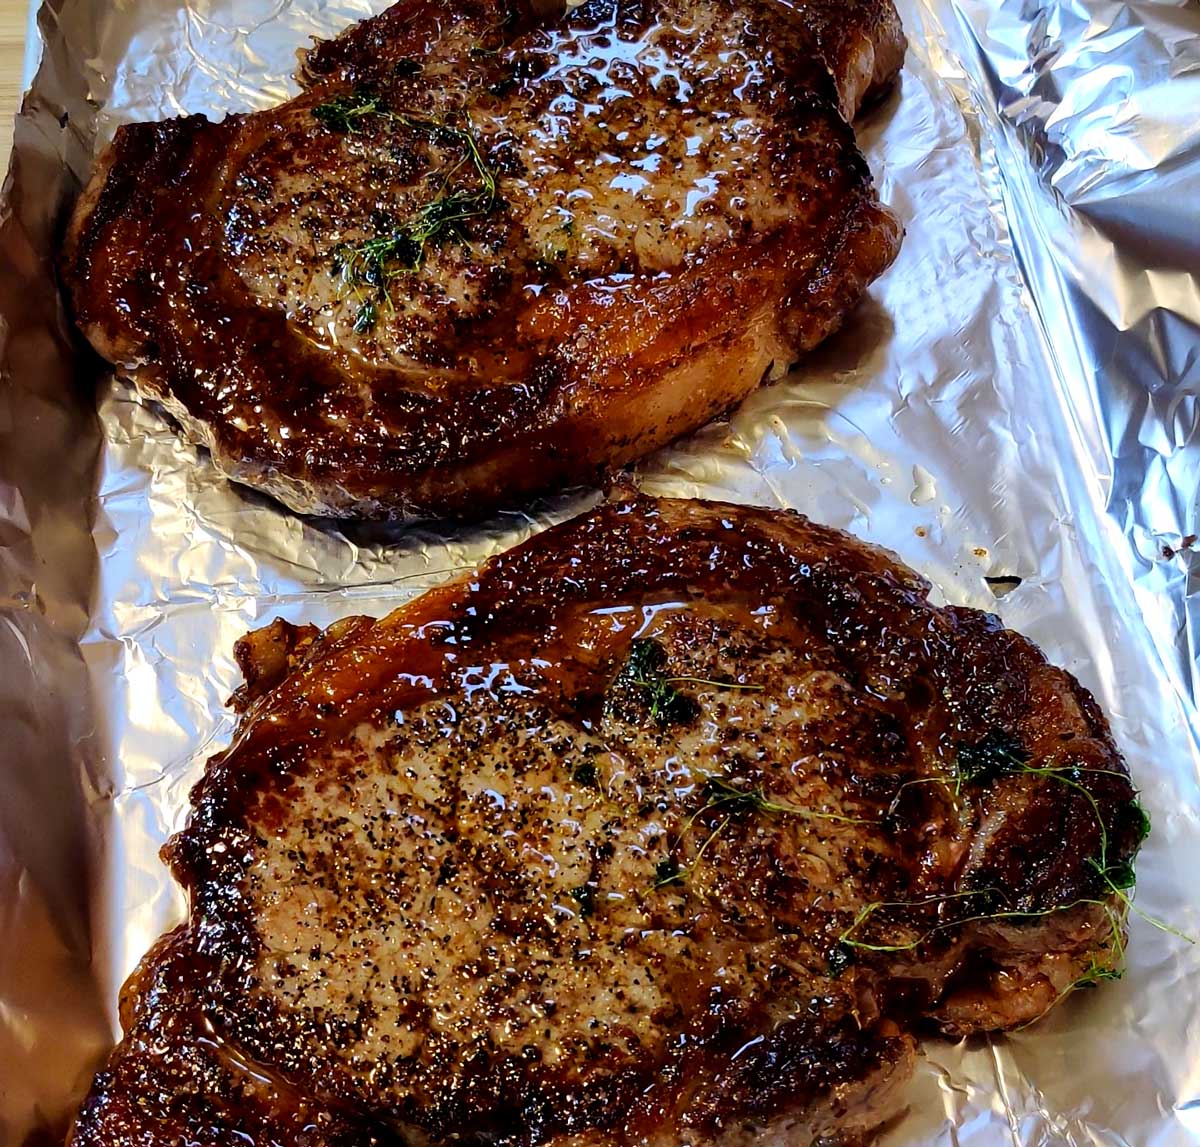
Remove the steaks from pan; cover loosely with foil. Let stand for 10 minutes. Reserve butter mixture. Letting your steaks rest is a super important step. This will allow all the juices to evenly distribute throughout the steak. If you cut a steak prematurely all those juices will run out over your cutting board, drying out the steak.
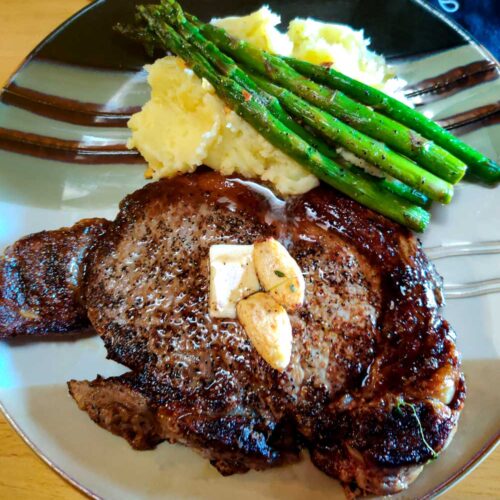
Cut steak diagonally across grain into thin slices, optional. Discard thyme and garlic; spoon reserved butter mixture over steak.
This is a cooking technique that is essential for anyone who loves beef. Making steak is not as hard or scary as it may seem. In just a few steps you can have, juicy perfectly cooked steak.
Let the steaks rest for 30 minutes at room temperature. Pat them dry if necessary.
Sprinkle salt and pepper evenly over steaks. Heat a large cast-iron skillet over high heat. Add oil to pan; swirl to coat. Add steaks to pan; cook 3 minutes on each side or until browned. Make sure to render an extra fat on the sides, if necessary.
Reduce heat to medium-low; add butter, thyme, and garlic to pan. Tilt the pan so the butter pools; cook 1 1/2 minutes, basting steaks with butter constantly.
Remove the steaks from pan; cover loosely with foil. Let stand for 10 minutes. Reserve butter mixture.
Cut steak diagonally across grain into thin slices, optional. Discard thyme and garlic; spoon reserved butter mixture over steak.
Notes
The 3 minute cooking time will vary, this is an estimate for steaks that are approximately 1-1 1/2 inches thick at medium rare. Adjust according to your steaks thickness and personal preference for doneness.
About this recipe: This Roasted Vegetable Quinoa Salad is probably one of my favorite veggie creations. Its amazing to me, because I hated vegetables as a kid. This isn’t anything unique but I definitely love them now. My mother was a great cook but a poor …
This is one of those meals where you can really impress your friends and family. The final result of salmon wellington is stunning and who wouldn’t love digging into that golden puff pastry? The secret is that it’s actually really easy to execute. It is …
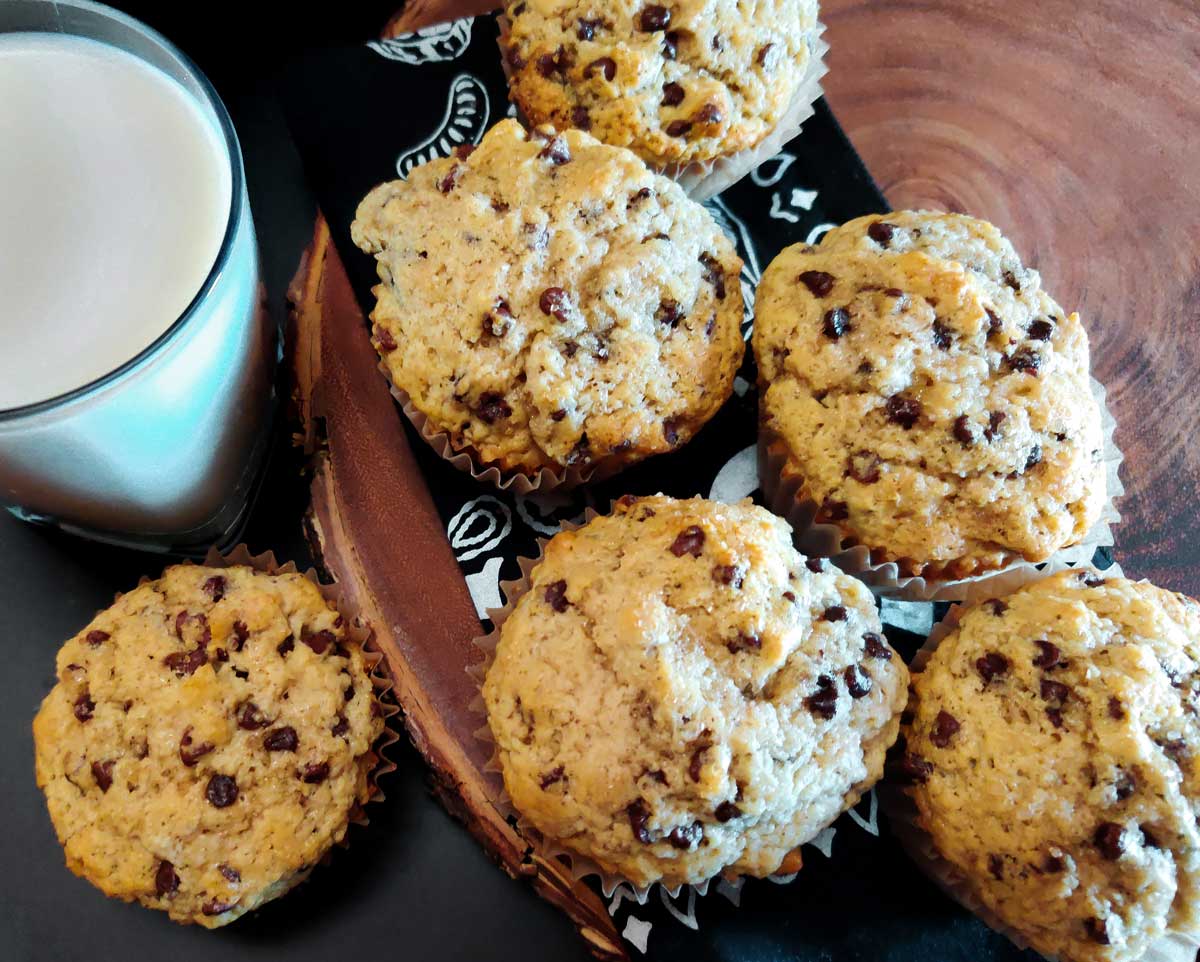
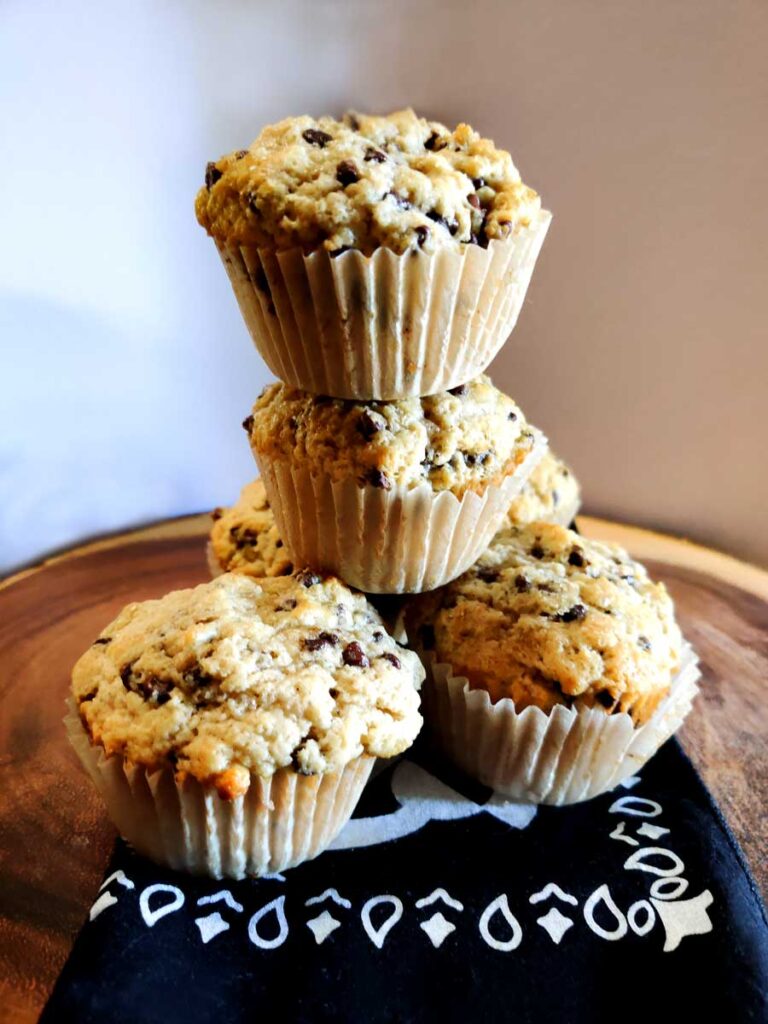
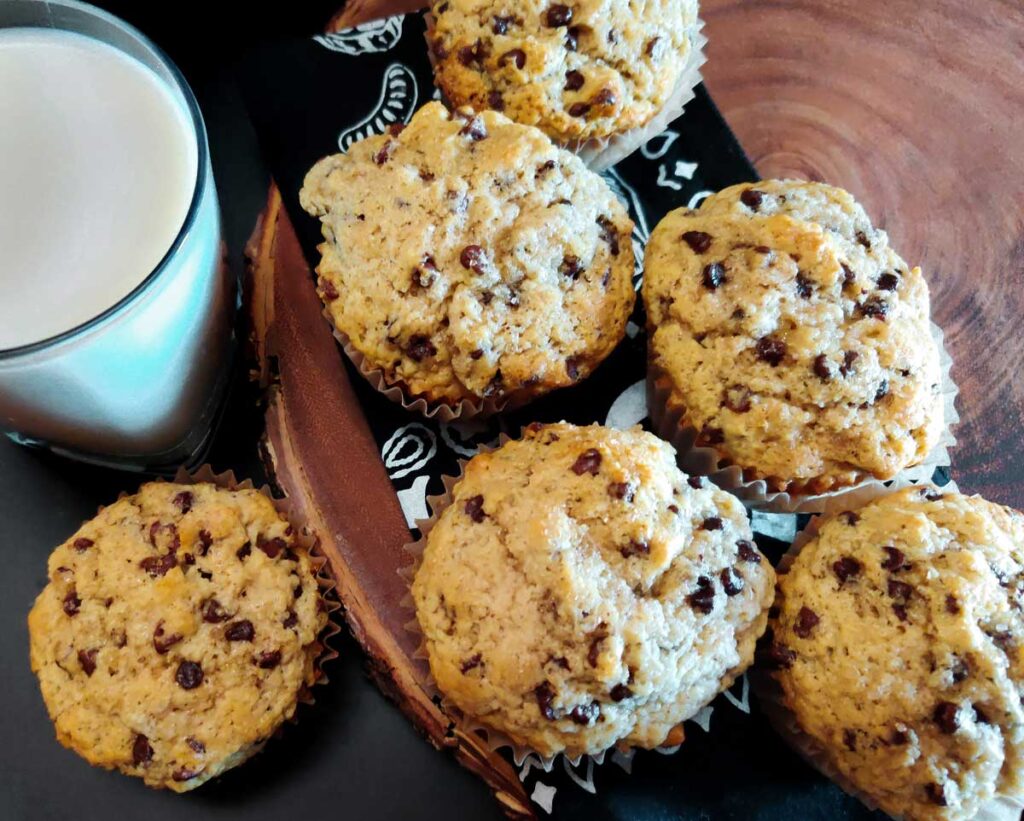
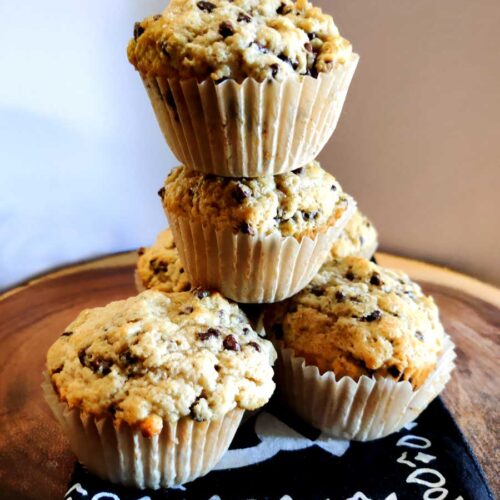
World peace is a long way from happening but if you give a stranger a muffin, how could they not be happy? These particular spiced chocolate chip muffins are deliciously soft and moist with a crunchy muffin top. The cinnamon and nutmeg work together to make the chocolate stand out. I’ve tried many different combinations of ingredients and techniques and this one is by far the best.
This muffin recipe couldn’t be any easier. You can bang these out in less than an hour. The batter comes together in minutes, so you just have to wait and watch them floof in the oven. Try not to drool when the smell of these little treats hits your nose.
Why two oven temperatures?
So the reason you want to start your bake at a higher temperature is to ensure that you get that quintessential muffin top that everyone loves. You essentially shock the dough and cause the leavening agents inside to rise rapidly and crisp on top. However you don’t want it to burn, 5 minutes is usually enough time to achieve this.
Do I have to use buttermilk?
Buttermilk isn’t always a common household ingredient. Unless you love making fried chicken as much as I do. The reason I use buttermilk is because the acidity in it makes that wonderful fluffy yet crumbly texture that makes a muffin taste like a muffin. If you don’t have any, you can easily substitute this for another dairy; milk, sour cream, yogurt, or even heavy cream are all viable options.
You can also make a “quick” buttermilk if you have whole milk. Just add a tablespoon of lemon juice or white vinegar to 1 cup of milk and allow it sit for about 10 minutes. You should see the milk start to curdle.
Spiced Chocolate Chip Muffins Step by Step:
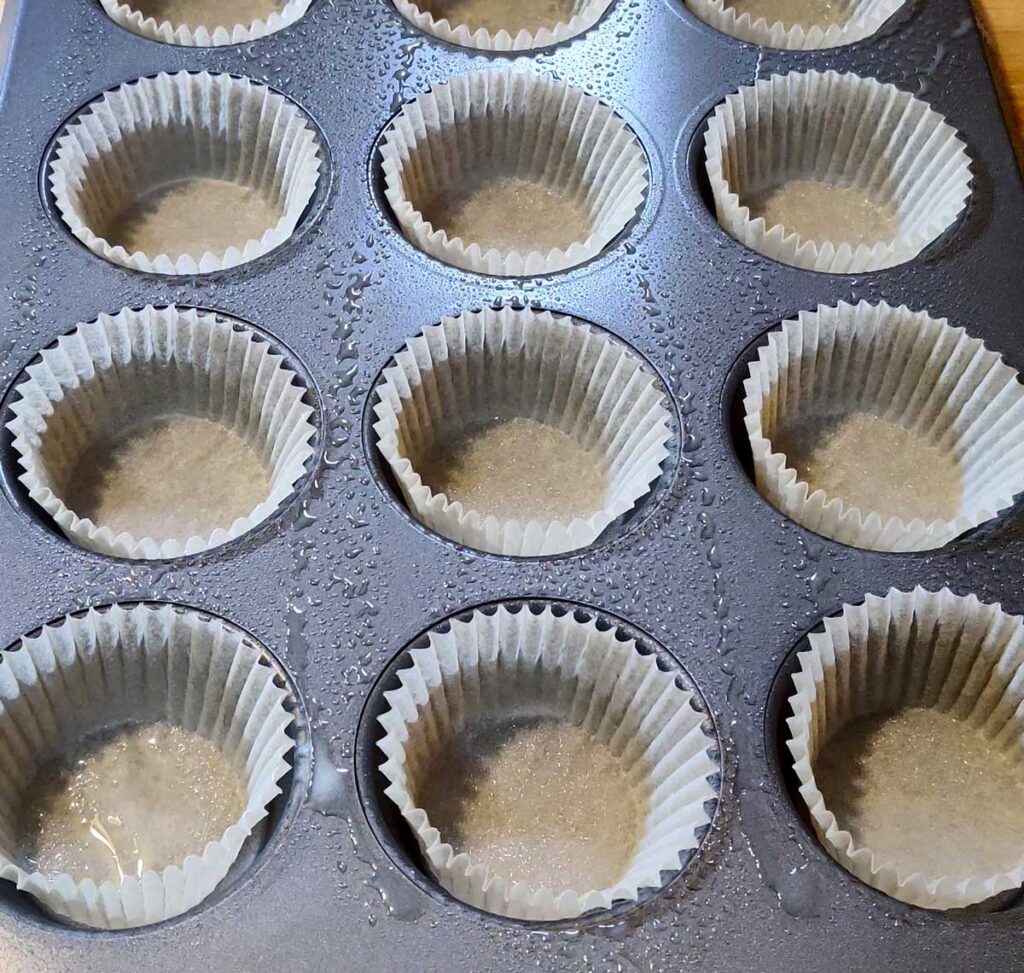
Preheat the oven to 425 degrees F. Line muffin cups with liners. Spray the liners with cooking spray. Set aside. Place the butter into a microwave safe bowl and melt. Set aside and allow to cool.
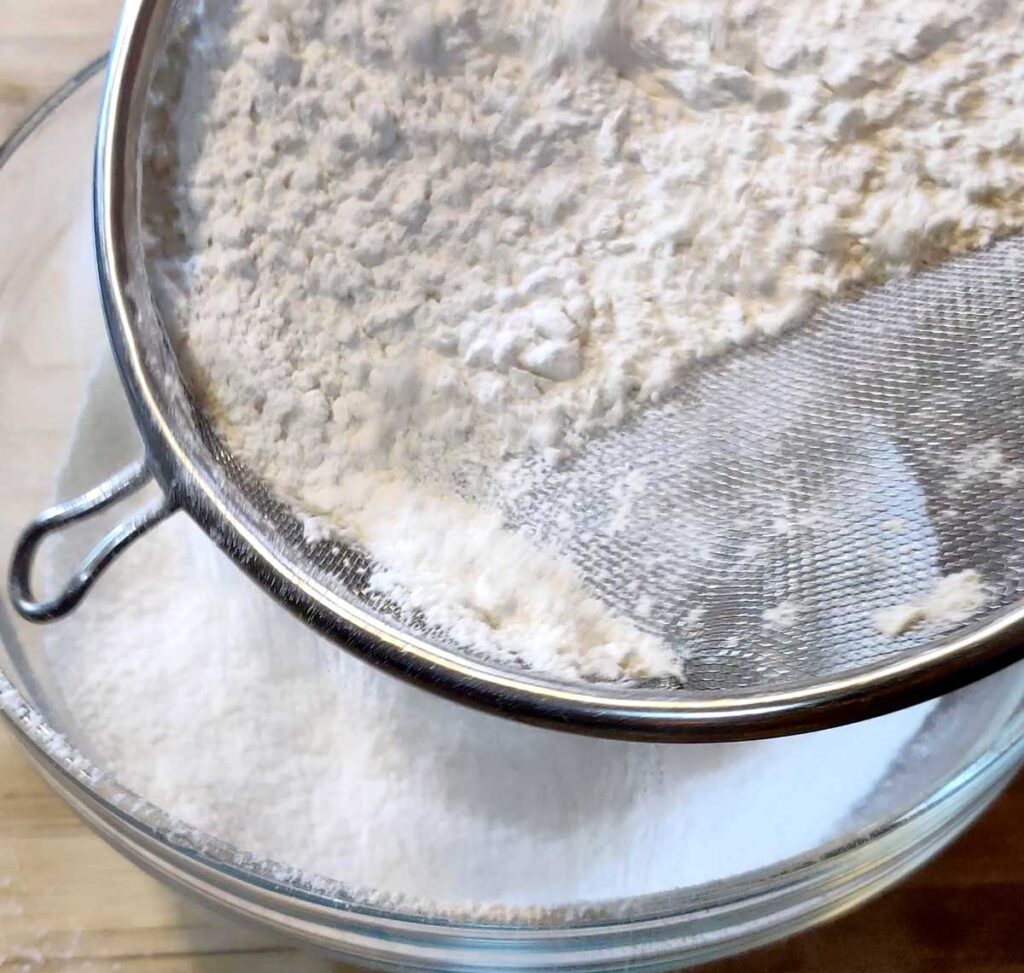
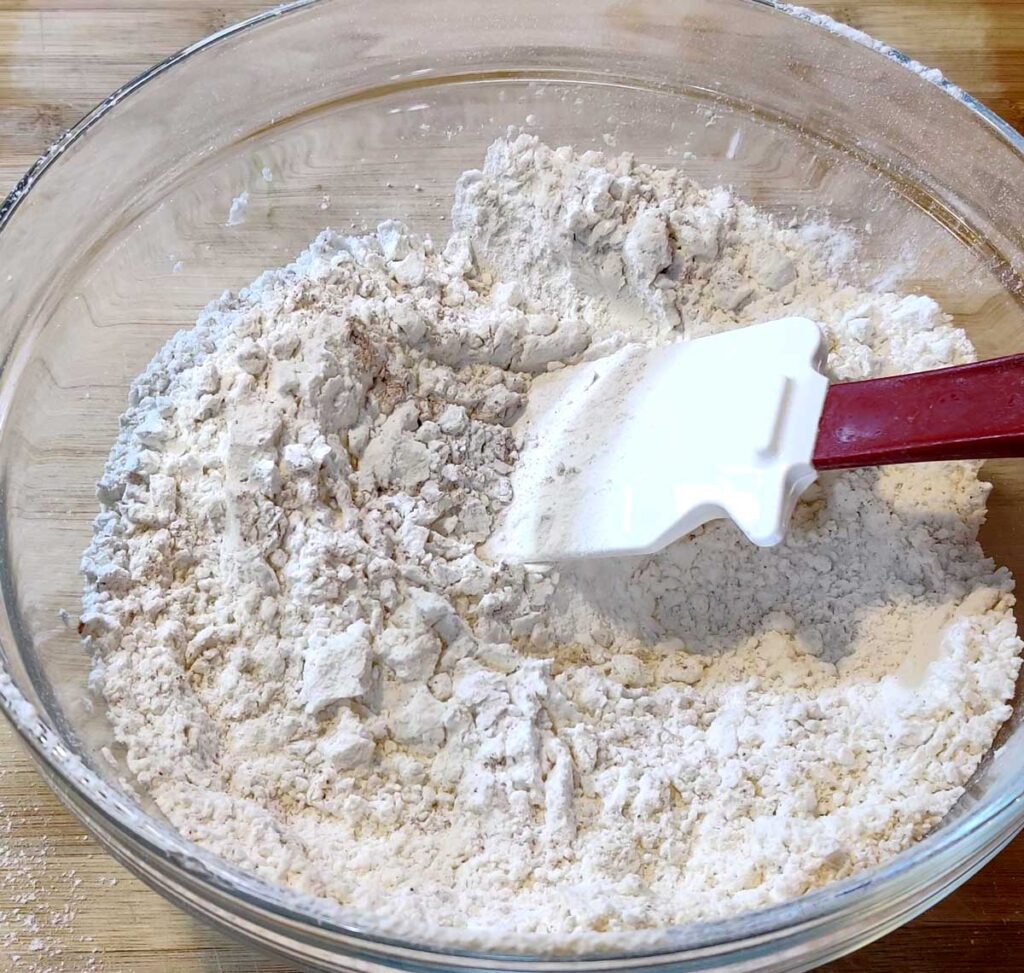
In a large bowl, sift together flour, baking powder, and baking soda.
Then add the sugar, cinnamon, nutmeg, and salt. Set aside.
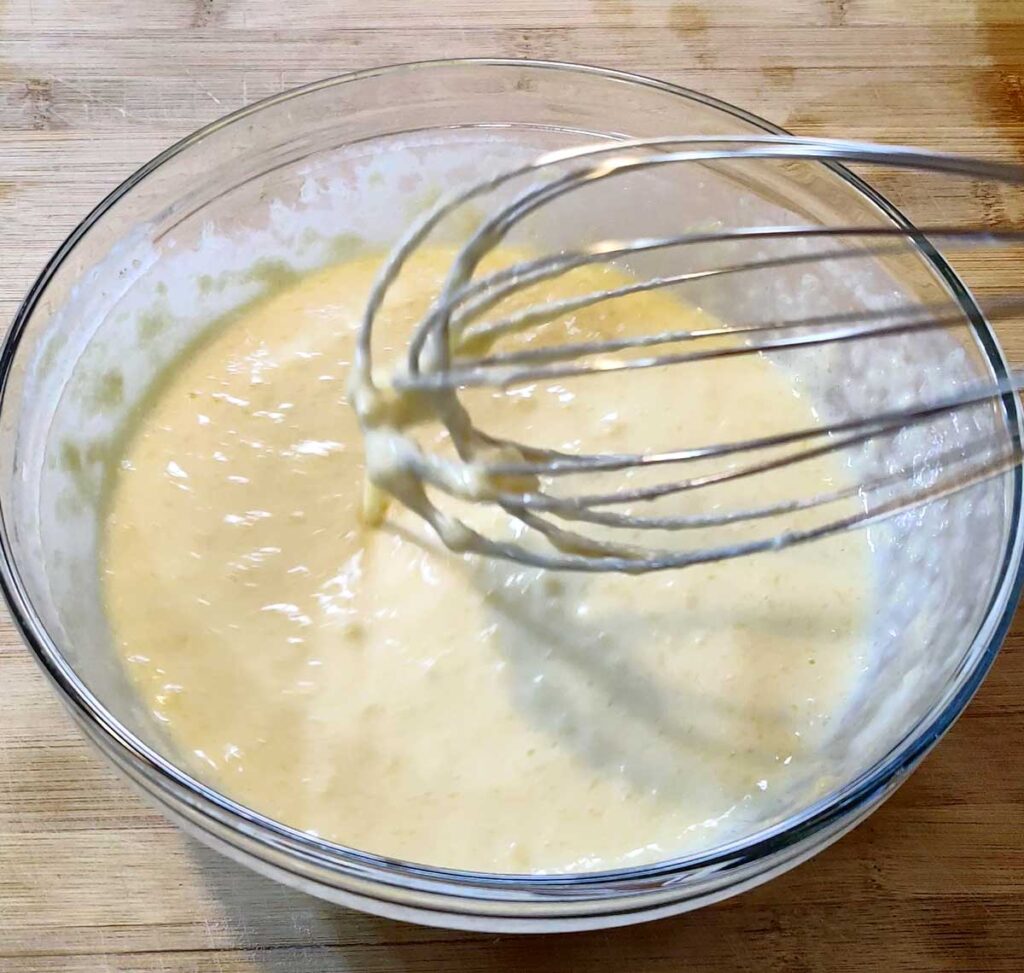
In a small bowl, whisk together melted & cooled butter, vanilla extract, eggs, and buttermilk until egg yolks are broken and blended. Mixture may be lumpy – this is okay.
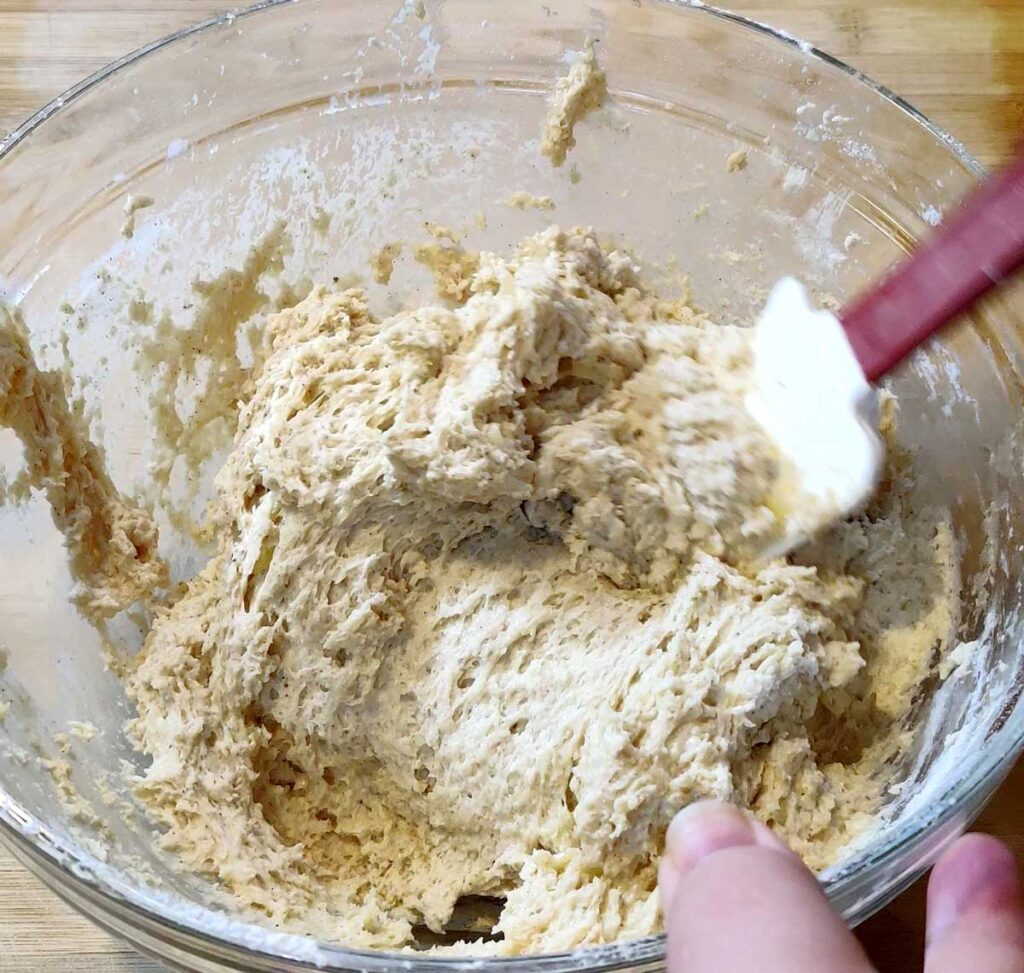
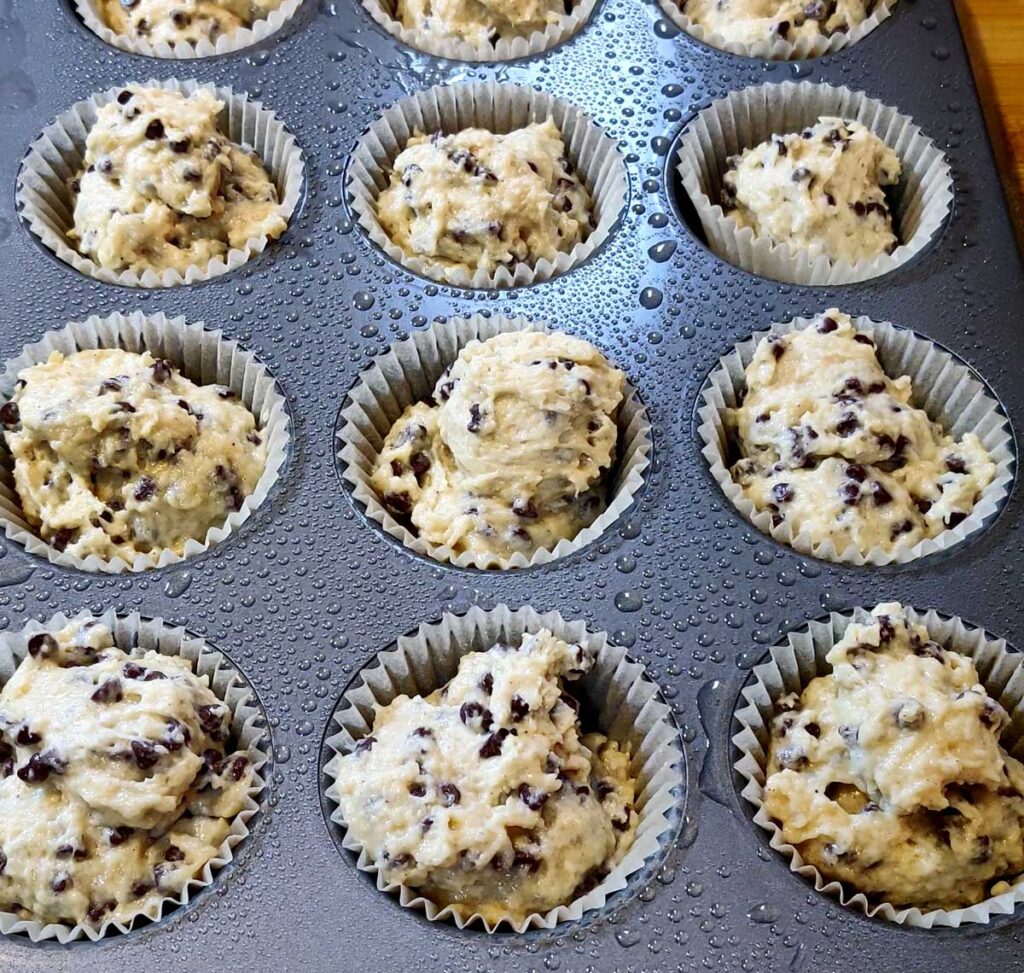
Pour wet ingredients into dry ingredients. Use a spatula to stir, scraping along the bottom and pressing down on top. Stop mixing as soon as the dry ingredients have all been moistened. Batter should be very thick (like cookie dough) and a little lumpy. It is super important that you don’t overmix the dough.
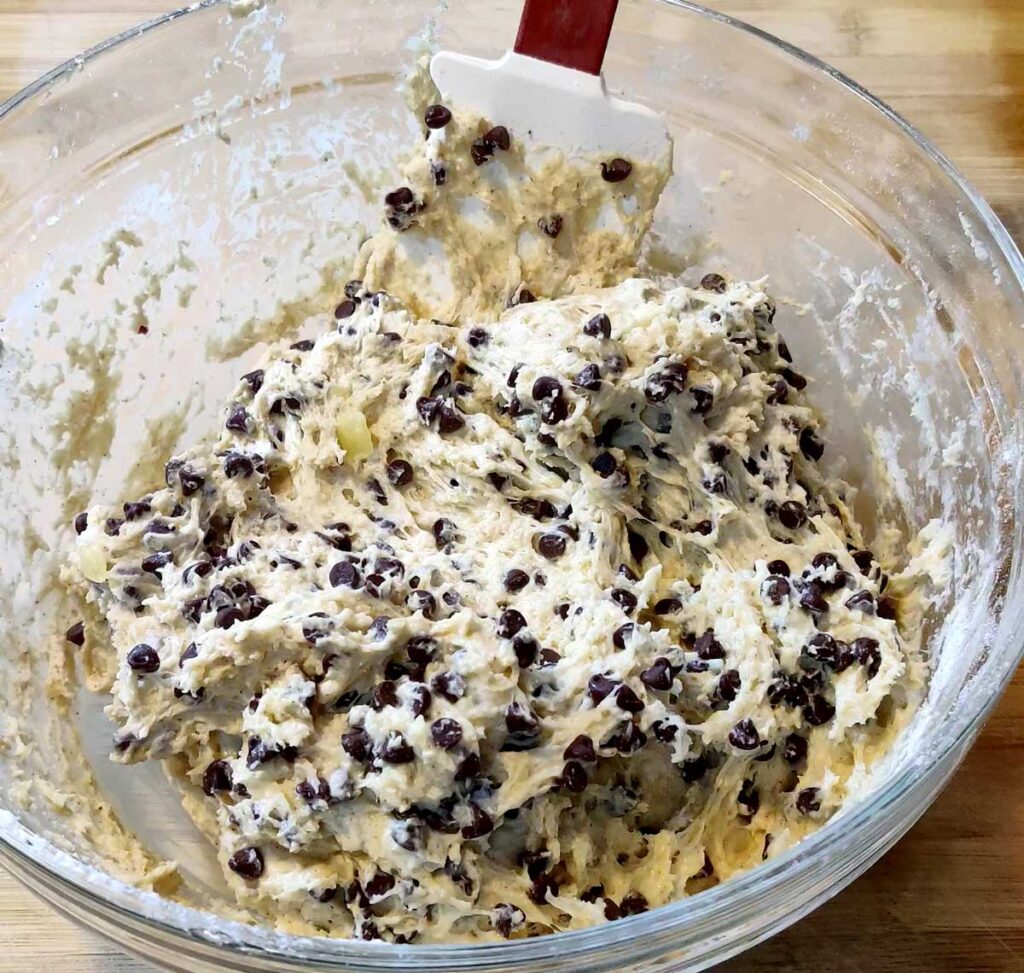
Once combined, mix in chocolate chips.
Fill each cup in the muffin tin to be completely full, roughly 1/4 to 1/3 cup of muffin mix. If desired, press extra chocolate chips on top of the batter and sprinkle with coarse sugar.
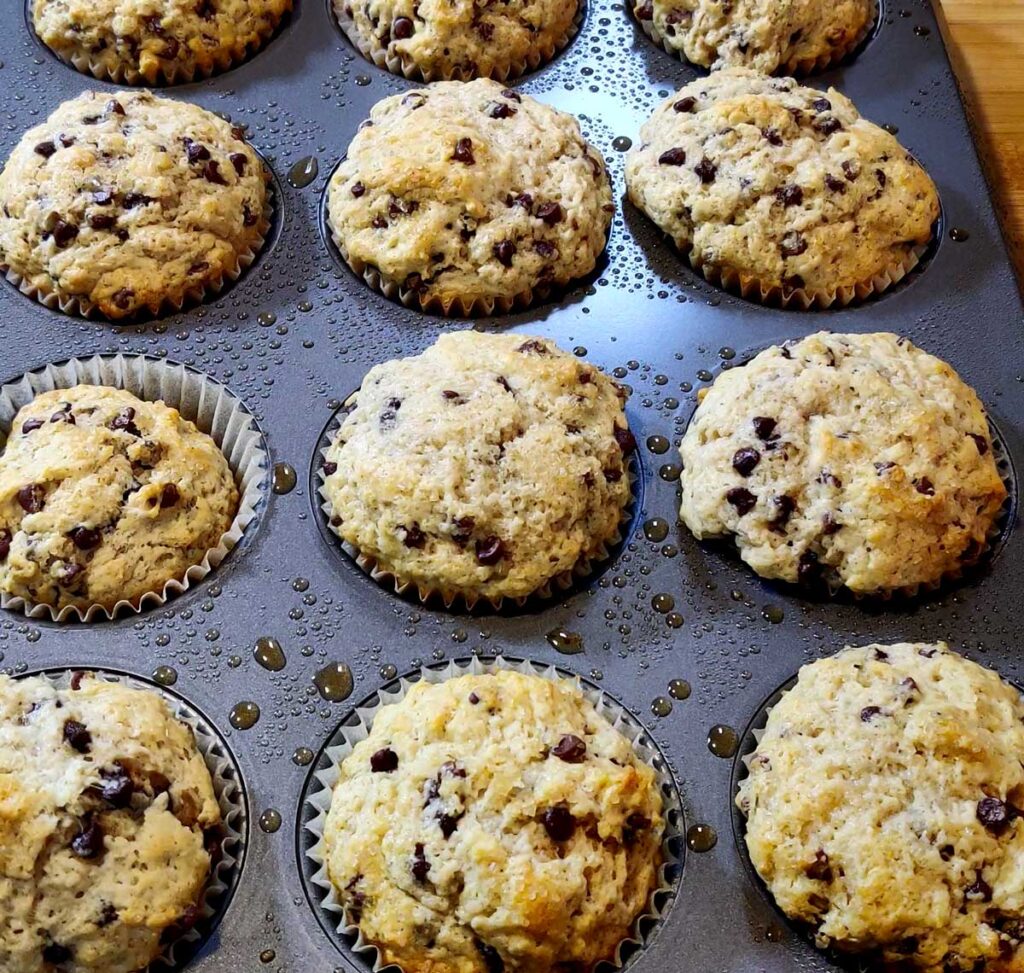
Bake for 5 minutes then lower the temp to 350 degrees F and bake another 13 -15 minutes or until tops of muffins are puffed and golden brown.
Let muffins cool for a few minutes before removing them from the muffin tin. Serve immediately.
Spiced Chocolate Chip Muffins
Megan Lowery
These moist and chewy muffins are elevated by the cinnamon and nutmeg, which also pair great with the chocolate. You won't be able to just eat one!
Preheat oven to 425 degrees F (218 C). Line muffin cups with liners. Spray the liners with cooking spray. Set aside. Place the butter into a microwave safe bowl and melt. Set aside and allow to cool.
In a large bowl, sift together flour, baking powder, and baking soda. Then add the sugar, cinnamon, nutmeg, and salt. Set aside.
In a small bowl, whisk together melted & cooled butter, vanilla extract, eggs, and buttermilk* until egg yolks are broken and blended. Mixture may be lumpy, but this is normal.
Pour wet ingredients into dry ingredients. Use a spatula to stir, scraping along the bottom and pressing down on top. Stop mixing as soon as the dry ingredients have all been moistened. Batter should be very thick (like cookie dough) and a little lumpy. Once combined, mix in chocolate chips.
Fill each cup in the muffin tin to be completely full, roughly 1/4 to 1/3 cup of muffin mix. If desired, press extra chocolate chips on top of the batter and sprinkle with coarse sugar.
Bake for 5 minutes then lower the temp to 350 degrees F (176 C) and bake another 13 -15 minutes or until tops of muffins are puffed and golden brown.
Let muffins cool for a few minutes before removing them from the muffin tin. Serve immediately or store in an airtight container for about a week.
Notes
* If you don’t have any buttermilk, use the same amount of milk with 1 tablespoon vinegar or lemon juice. Allow the milk to sit for about 10 minutes with the acid, it should start to curdle slightly.
I am so excited to share this recipe with you! I got the base of this recipe for Karaage or Japanese Fried Chicken from one of my all time favorite sushi restaurants in Denver, CO. One of my favorite pastimes is sitting at the sushi …