These summer fruit popsicles are the perfect treat for a hot day. They whip up super fast and are way healthier than what you can pick up in the store. You can use any fruit or even other ingredients like yogurt or chocolate. My favorite …
If you love fish you definitely have a favorite. Most people tend to go for the classic fish and chips and don’t get me wrong I love a good fried fish, but this parmesan crusted cod with lemon butter sauce beats them all! It’s flaky …
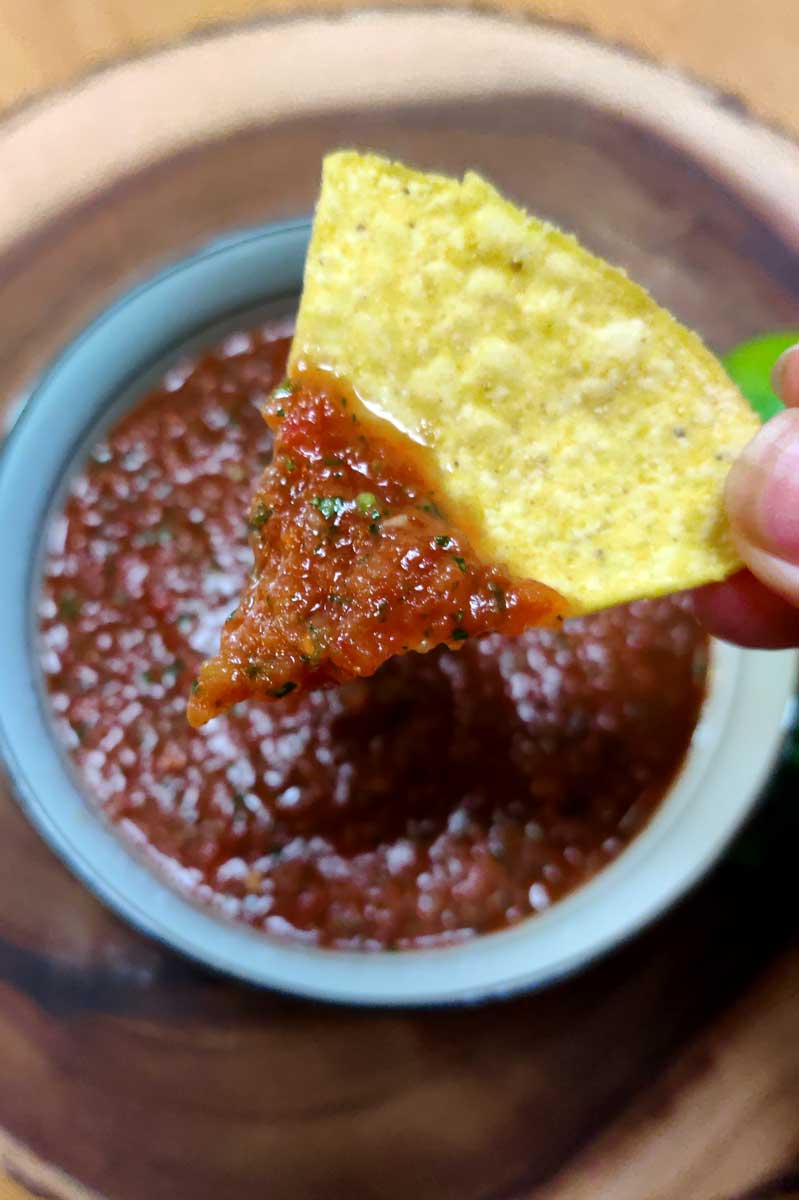
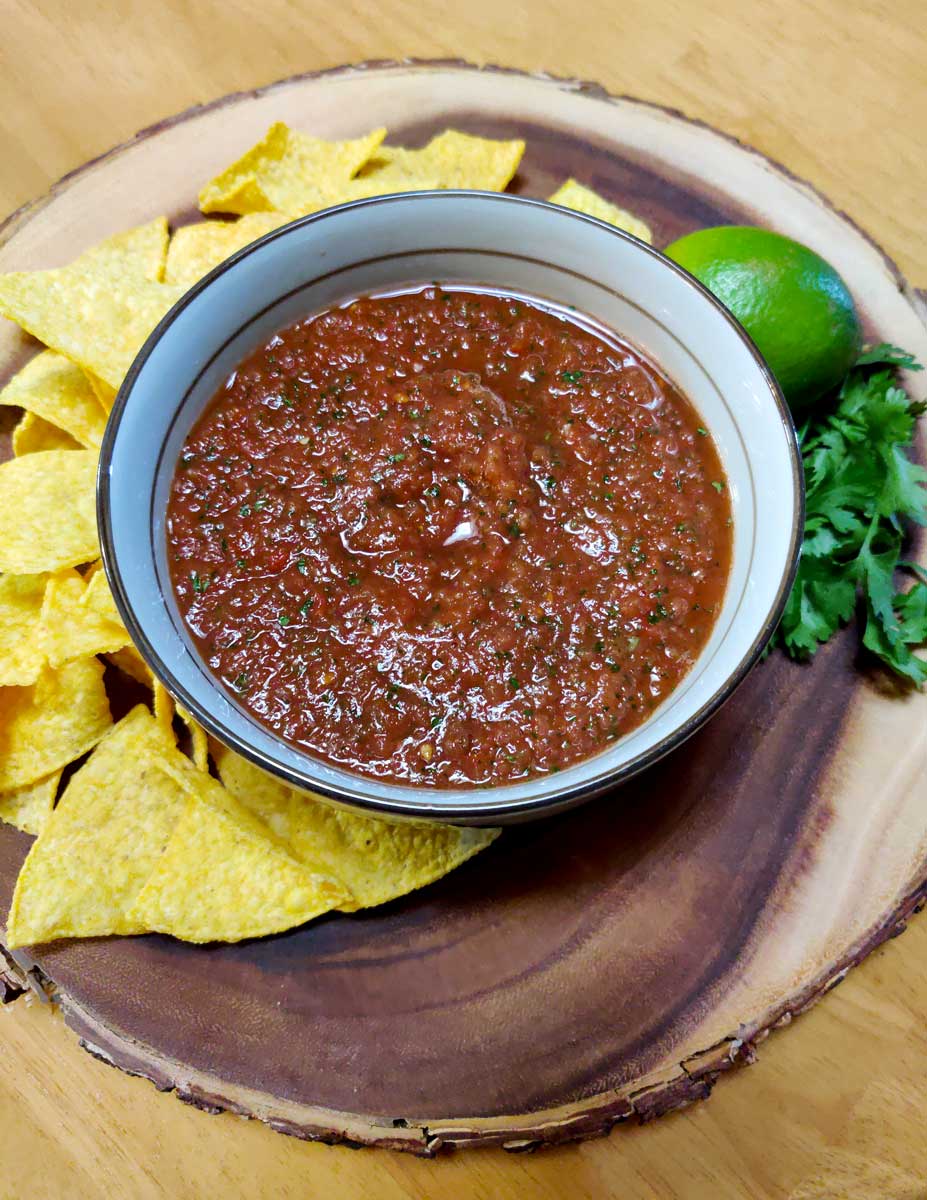
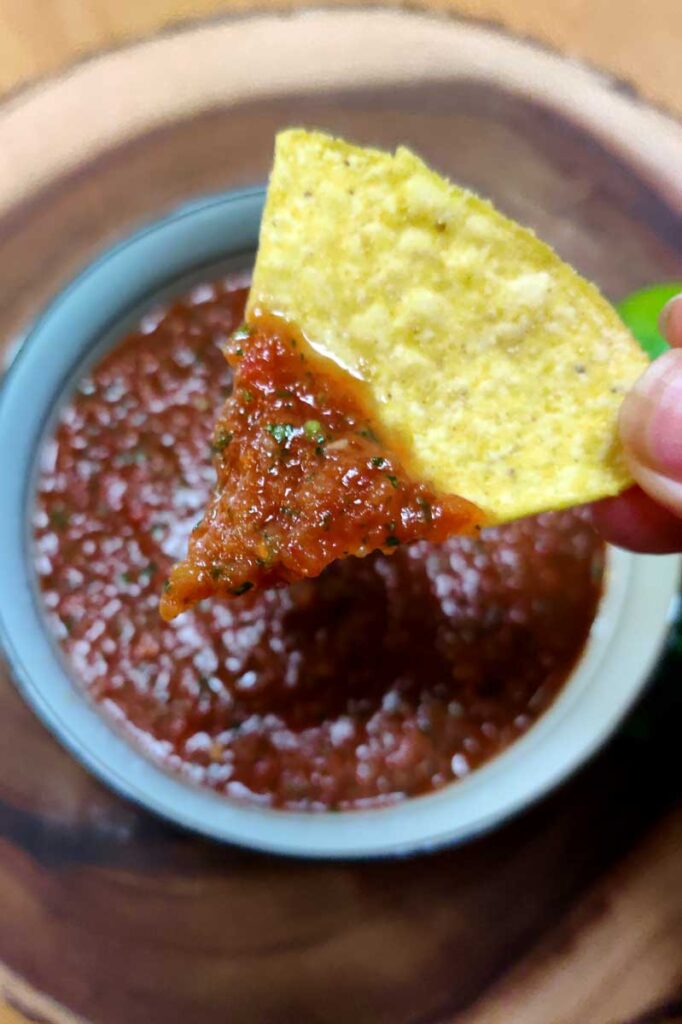
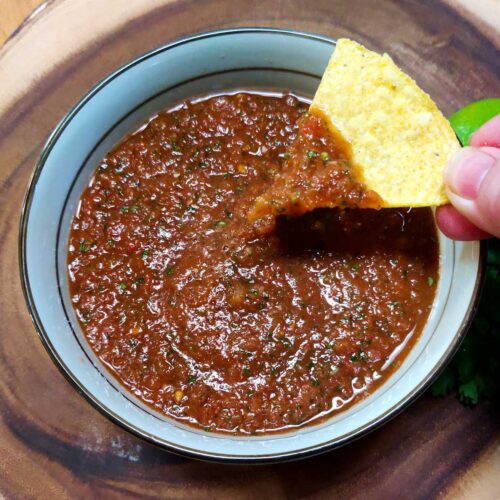
Salsa is a variety of sauces used as condiments for tacos and other Mexican and Mexican-American foods, and as dips for tortilla chips. They may be raw or cooked, and are generally served at room temperature. Tortilla chips with salsa are a common appetizer in Mexican-American restaurants, but not in Mexico, which is interesting. The quick restaurant style salsa tastes just like those endless salsa and chips that you eat too much of, but is super easy to make. So you can stop buying premade salsa at the store, cause once you start making it fresh you’ll never want it any other way!
Though the word salsa means any kind of sauce in Spanish, in English, it refers specifically to these Mexican table sauces, especially to the chunky tomato-and-chili-based pico de gallo, as well as to salsa verde.Salsa is a common ingredient in Mexican cuisine, served as a condiment with tacos, stirred into soups and stews, or incorporated into tamale fillings. Salsa fresca is fresh salsa made with tomatoes and hot peppers.
About this Quick Restaurant Style Salsa recipe:
This recipe is the most common salsa “salsa roja”. Salsa roja, “red sauce”, is used as a condiment in Mexican and Southwestern (U.S.) cuisines; it usually includes cooked tomatoes, which is what makes it red, chili peppers, onion, garlic, and fresh cilantro (coriander). It’s pretty basic, but so delicious!
Salsas used to be made using a mortar and pestle, nowadays blenders are more common. Blenders can be a bit rough on the ingredients, so I like to let my salsas rest before serving them. It allows the flavors to be properly distributed and also will let the color be more vibrant. You can totally still use a mortar and pestle, especially if you skipped arm day at the gym. I personally think it does taste better, but if you’re pressed for time like I usually am, a blender is perfectly fine.
About the ingredients:
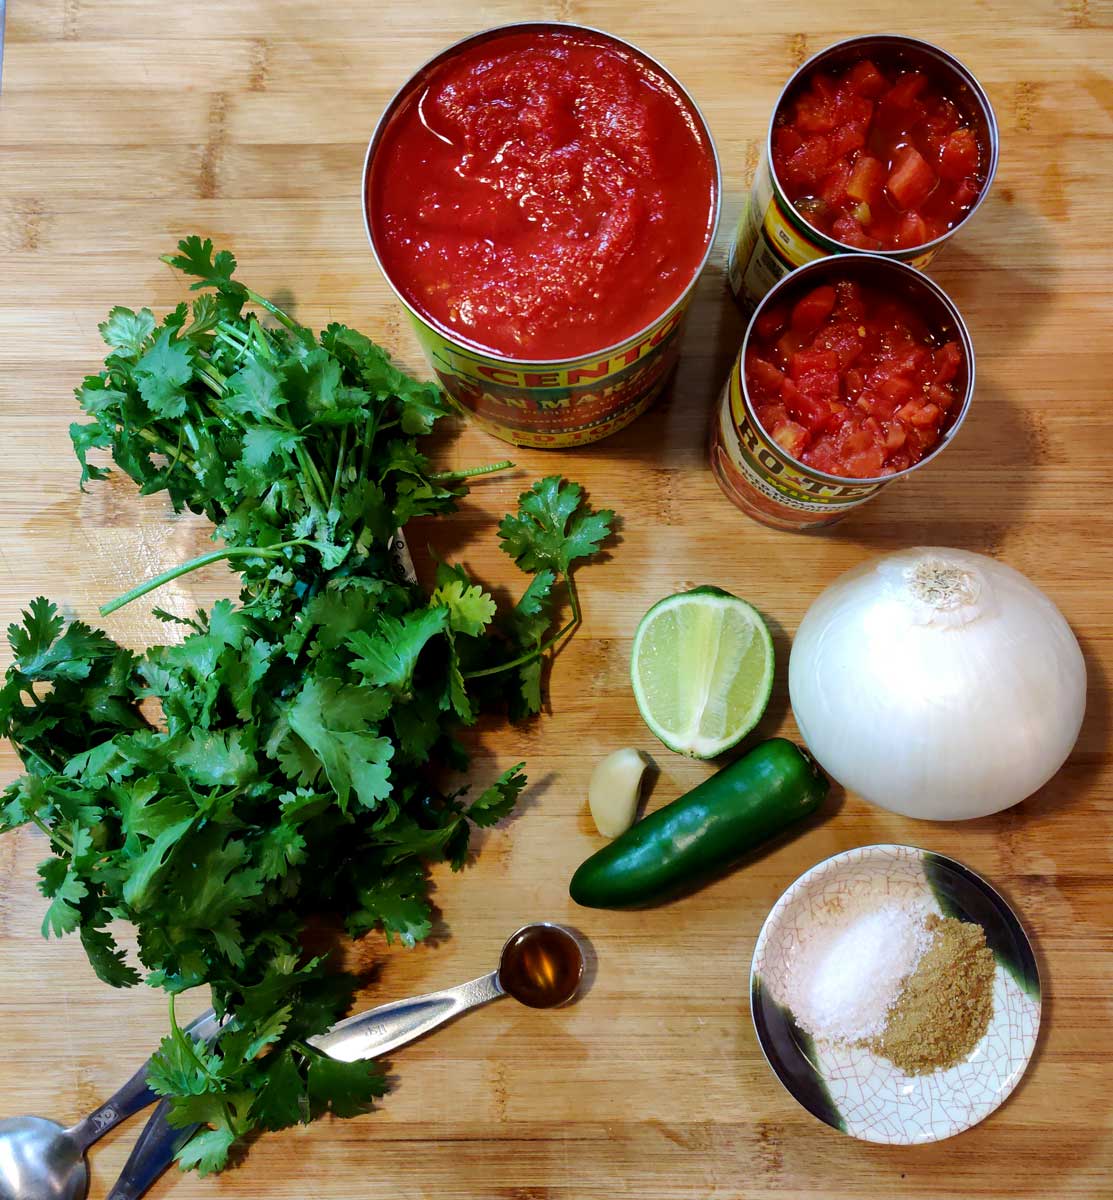
Fresh tomatoes are always recommended but then I wouldn’t be able to put “quick” in front of this recipe. I recommend when you use canned tomatoes to use whole tomatoes as the base. My personal favorite is the San Marzano brand. It’s the closest to homemade roasted tomatoes you can get in my opinion. I add the canned tomatoes and peppers but it gives it some extra acid since the peppers are almost pickled.
Fresh ingredients are extremely important to a good salsa but sometimes time constraints make it hard to go that route. This recipe gets a ton of flavor even with cutting a few corners, however nothing can replace the fresh herbs or peppers that are the base of any good salsa. Luckily with the few replacements I made you can just toss everything into a blender with very little prep.
Make sure the cilantro is as fresh as possible. Try to avoid it if it’s browning or wilting. You will lose a ton of flavor if the cilantro is older.
What about the Spice?
I like spice, but a lot of my family and my doctor want me to tone it down. So this recipe is only a mild level of spice. Feel free to not remove the seeds in the jalapeno or even add spicier peppers like serrano’s if you want to feel the heat more. You could even split the batch up and add in more spice to half of it if your family is picky like mine.
How to serve it?
You can serve salsa in a variety of ways as I mentioned before. This recipe is intended to be a kind of copycat of restaurant style salsas that are served tableside in America. I love it with homemade tortilla chips, but it can be used as an ingredient in Mexican dishes or as a condiment for tacos, quesadillas etc. Use it as you see fit.
Quick Restaurant Style Salsa Step by Step:
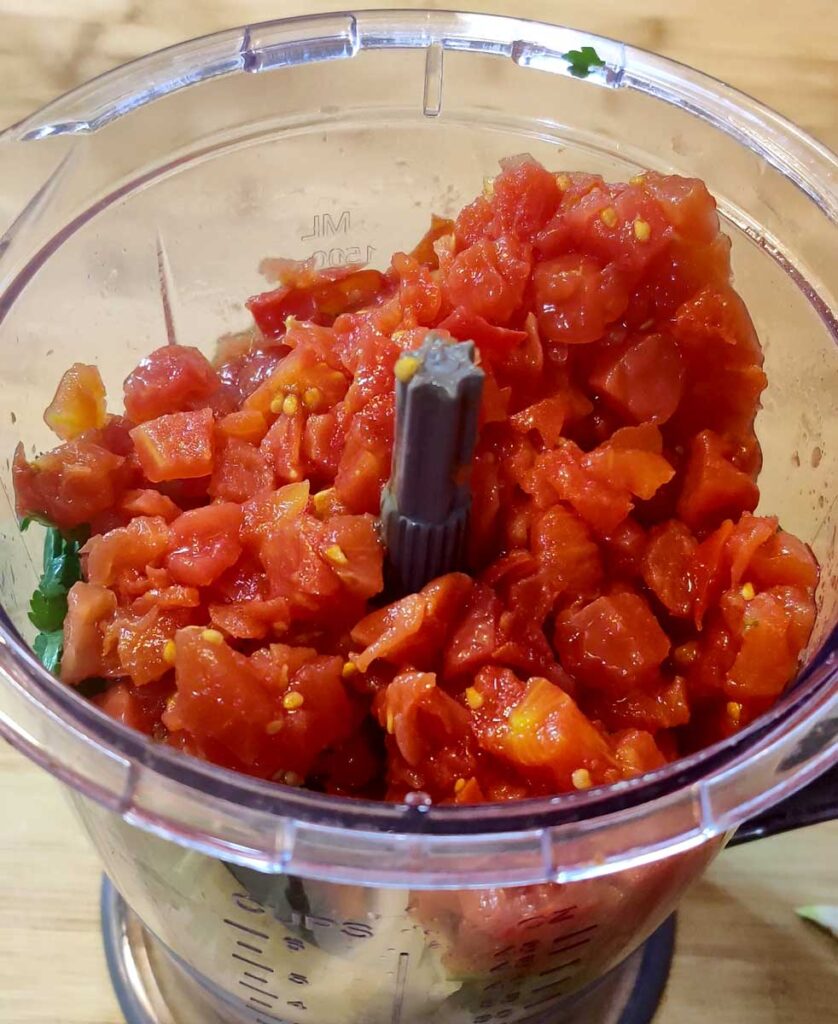
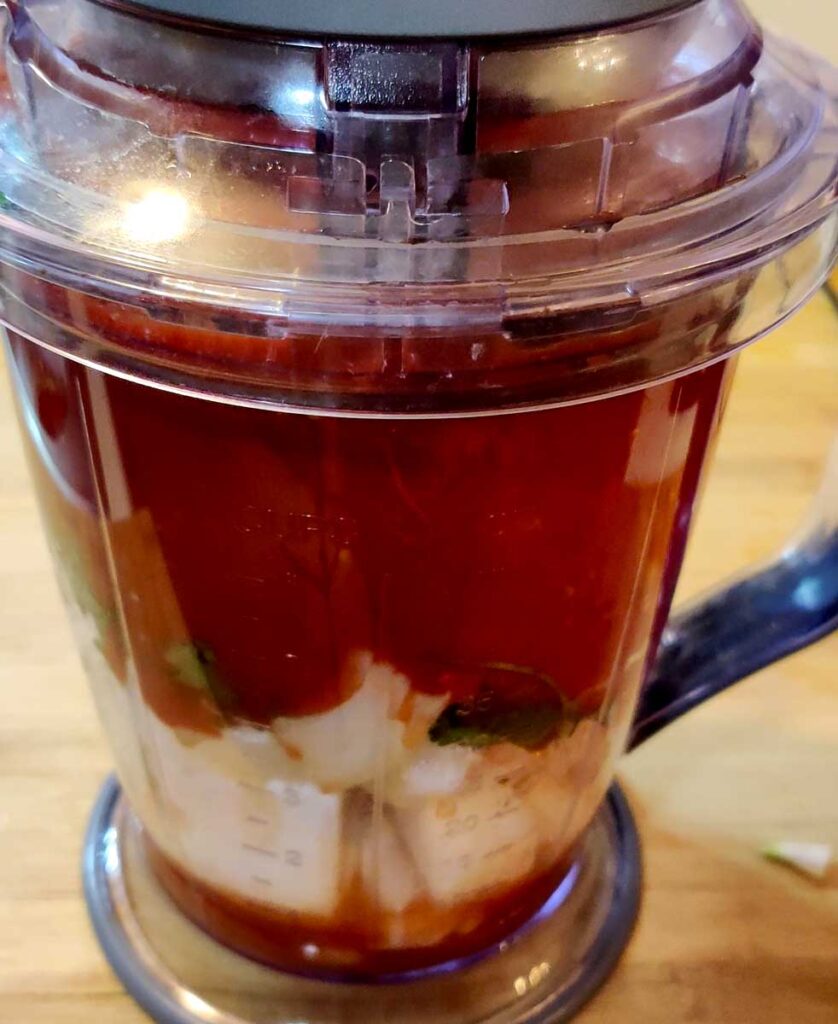
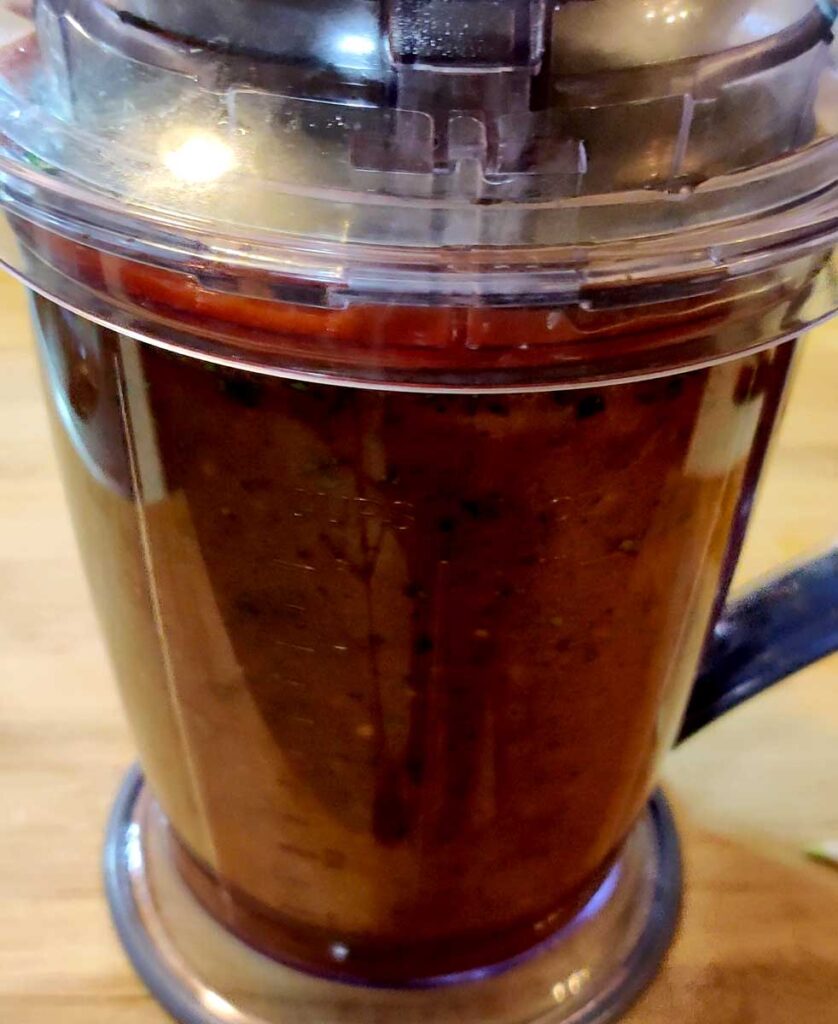
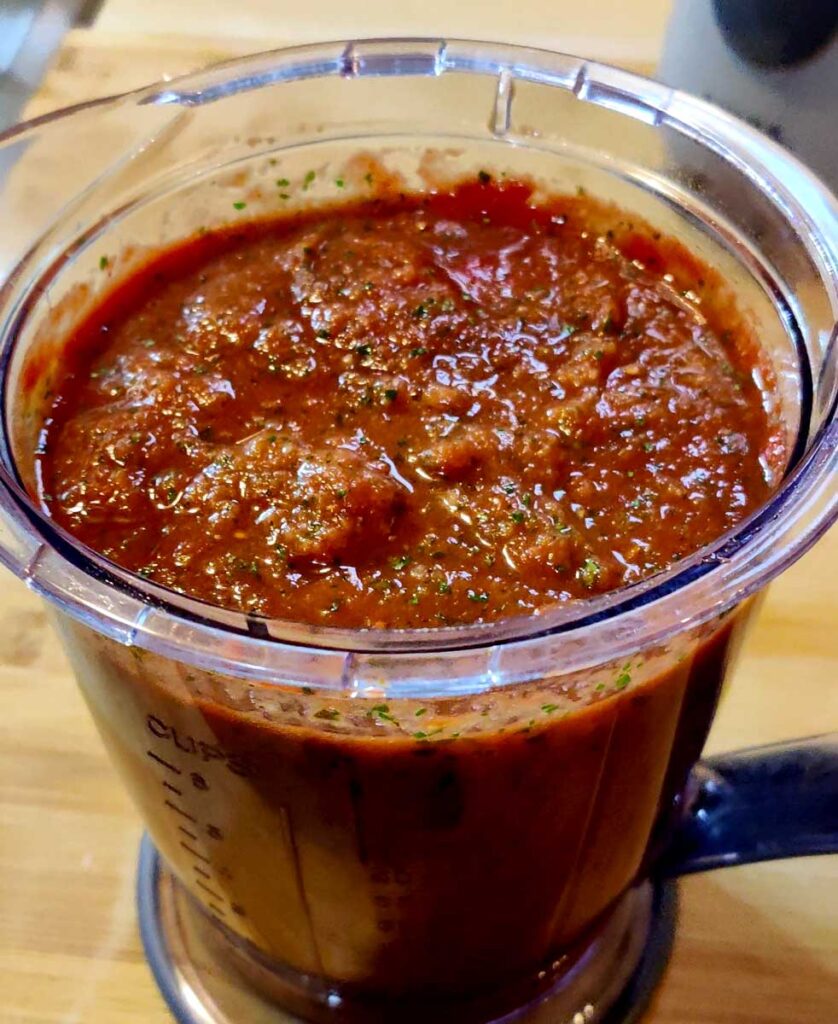
Put all ingredients into a blender or food processor and pulse to desired consistency. Test salsa and adjust seasonings to taste.
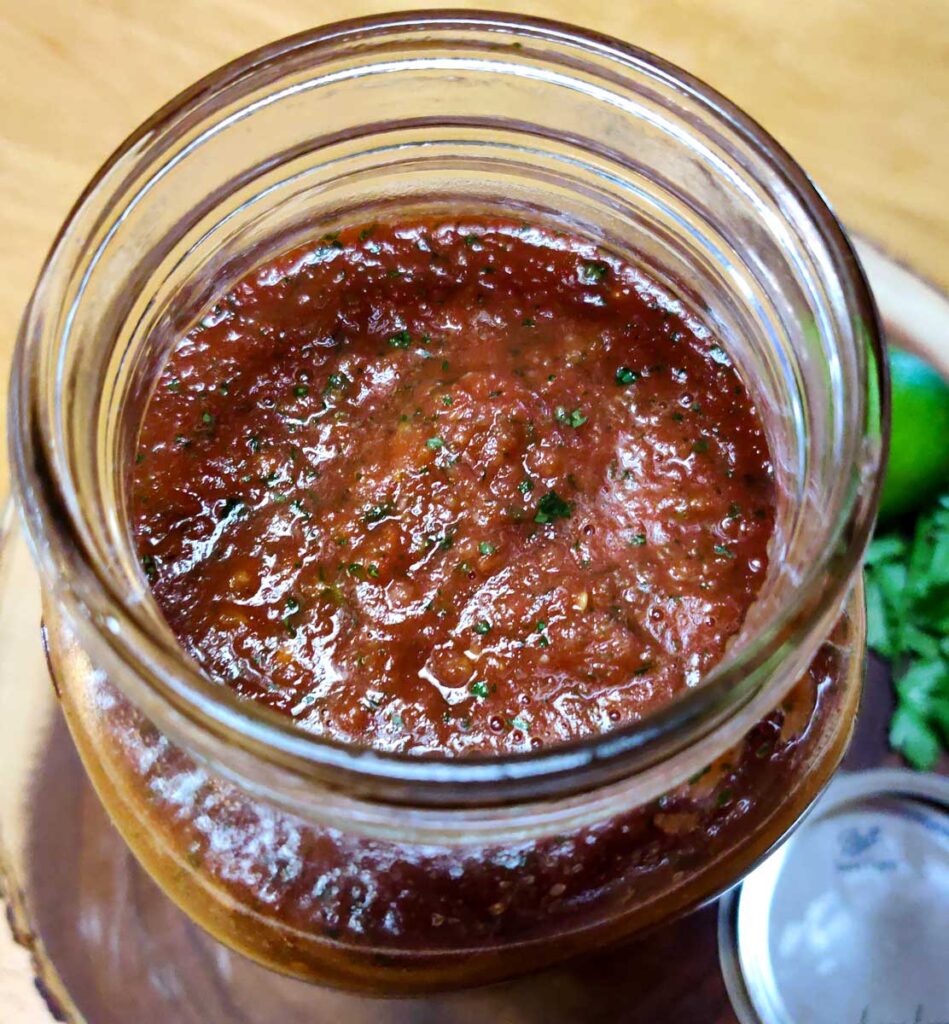
Refrigerate at least an hour before serving, but overnight is even better. This allows all the flavors to incorporate and will enhance the red color of the salsa as well.
This makes a really large batch and may need to be made in smaller batches, depending on the size of your blender. This can be kept in a sealed container in the fridge for up to a month.
Quick Restaurant Style Salsa Video Tutorial
Quick Restaurant Style Salsa
Megan Lowery
The quick restaurant style salsa tastes just like those endless salsa and chips that you eat too much of, but is super easy to make. So you can stop buying premade salsa at the store, cause once you start making it fresh you’ll never want it any other way!
1-28ouncecan whole roasted tomatoes,San Marzano is the best
2-10ouncecans diced tomatoes and green chilies
1/2white onion,chopped
1clove garlic,roughly smashed
1jalapeno,roughly chopped (seeded or not, depends on your spice preference)
1teaspoonsugar or honey
1teaspoonsalt
1/4teaspooncumin
1handful cilantro
juice of 1 lime
Instructions
Put all ingredients into a blender or food processor and pulse to desired consistency. Test salsa and adjust seasonings to taste.
Refrigerate at least an hour before serving, but overnight is even better. This allows all the flavors to incorporate and will enhance the red color of the salsa as well.
Notes
This makes a really large batch and may need to be made in smaller batches, depending on the size of your blender. This can keep in a sealed container in the fridge for up to a month.
Pan Seared Steak Breakdown Steak can be an intimidating thing to cook for some. It can also cause family feuds when that one person loves their steak well done! There are many different ways to prepare steaks, but this recipe will cover my favorite method, …
About this recipe: Carnitas, literally meaning “little meats”, is a dish in Mexican cuisine. They are traditionally made by braising or simmering pork in oil or preferably lard until tender. Carnitas, unlike pulled pork, are finished by roasting the meat in the oven until browned …
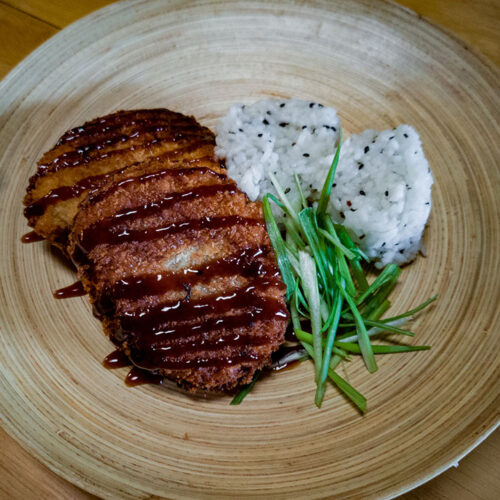
Croquettes come in all shapes, sizes and fillings. Potato croquettes have always been a personal favorite of mine. They are easy, cheap and delicious, my favorite trinity. Many countries all over the world have their own interpretation of this recipe. The Japanese version (called Korokke) and the Italian version are my top two croquettes. Since fusion is my jam, I decided to combine them in my own version of this recipe.
The Japanese really know how to create a delicious crust which is why I went with their panko breading. Adding mayo instead of eggs makes for a nice thick crunchy crust as well. I also like the chives and seasonings used in italian cuisine which is why my mashed potatoes make a perfect base for this recipe, as they have browned butter and parmesan in them. Then it’s back to japan with some tonkatsu sauce. This savory but acidic sauce is the perfect compliment to the rich and heavy croquettes. I like to add meat and veggies to mine (in this instance ground beef and carrots)but even without them these make a delicious dish.
I like to make these as a snack but they can easily be an entree with a salad or something else light and fresh. I like to use leftover mashed potatoes for this recipe but if you don’t have any feel free to make some fresh. It’s important that the mashed potatoes are thick and smooth.
Potato Croquettes Step by Step:
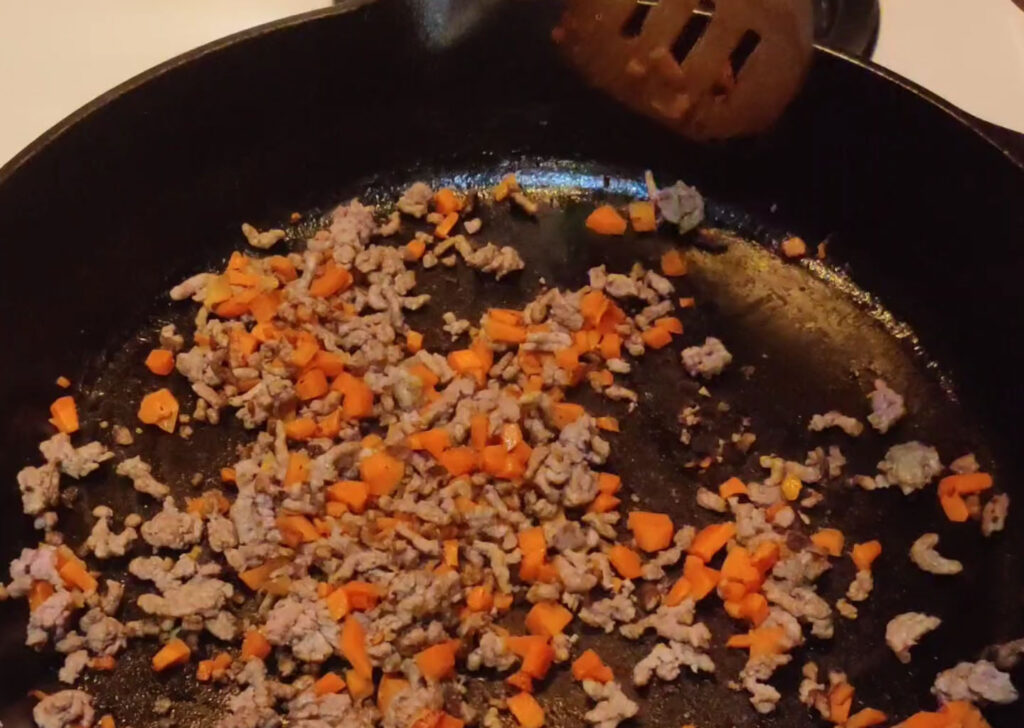
Heat 1 tsp olive oil in a frying pan over high heat and add the ground beef to cook. When the color of most of the ground beef changes from pink to brown, add the carrot to cook for about more 5 minutes. Season with salt and pepper. Set aside.
Make sure you are using thick mashed potatoes, too thin and the consistency will be off. Feel free to make them for this recipe or use leftovers. You can find my favorite mashed potato recipe here:
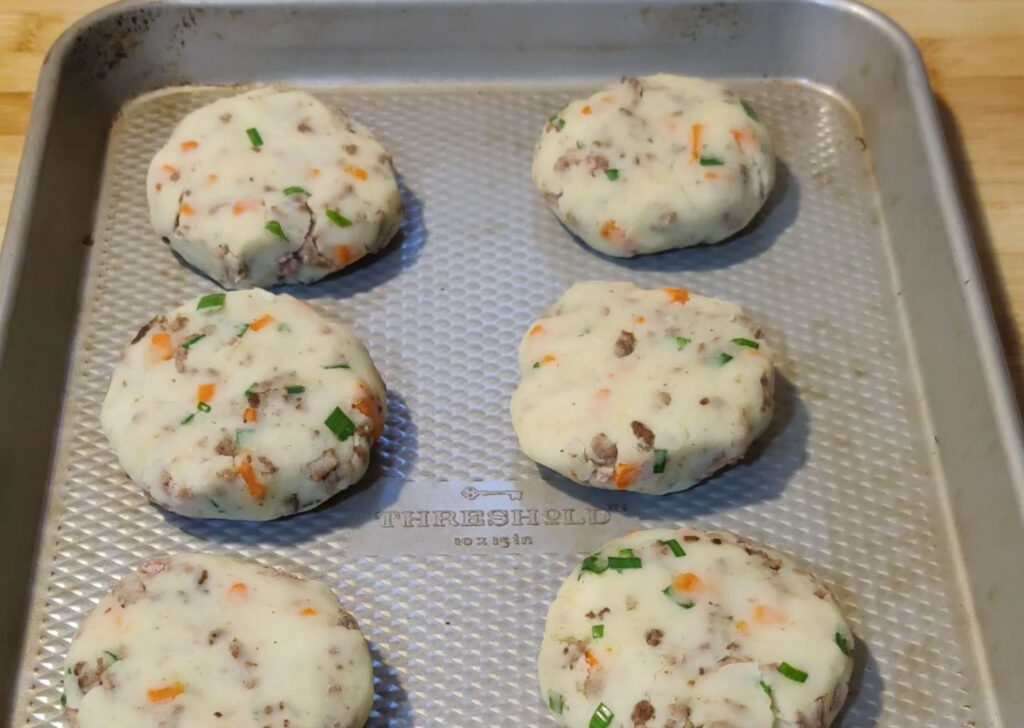
Add cooked ground beef, carrot, flour and chives to the mashed potato and combine them all well. Form into a large disc and use a bench scraper or knife to divide into 8 equal sized flat ovals. Freeze for about 10 to 15 minutes.
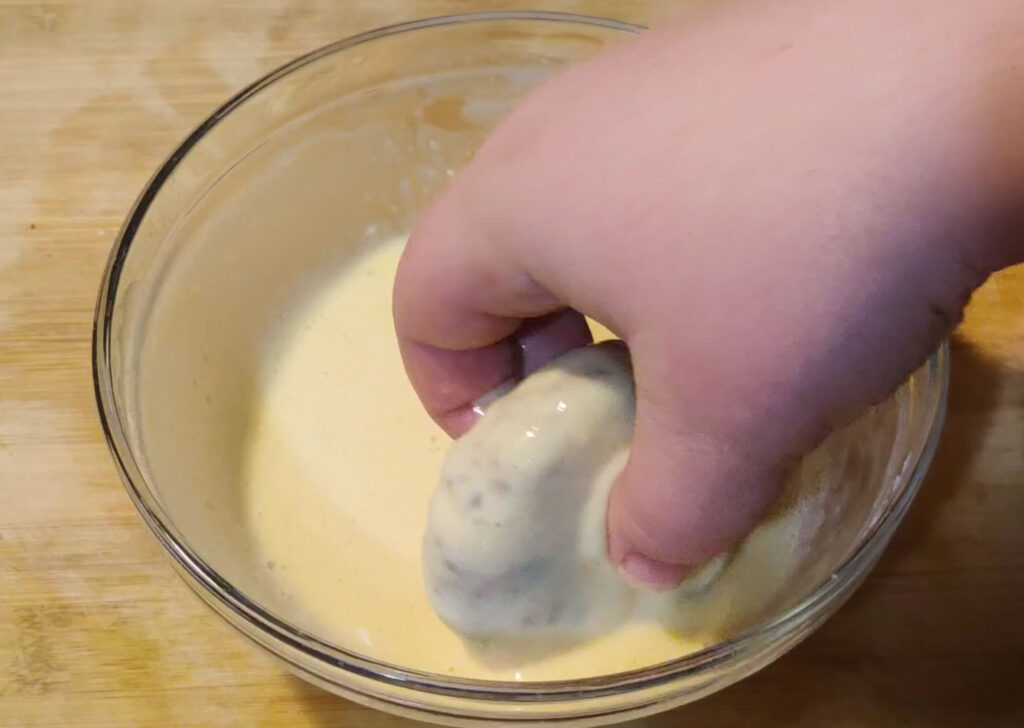
Combine the egg, water, mayonnaise, salt and flour in a small bowl to make the batter. Coat each of the ovals with the batter, then place the potato oval into the panko crumbs and coat evenly
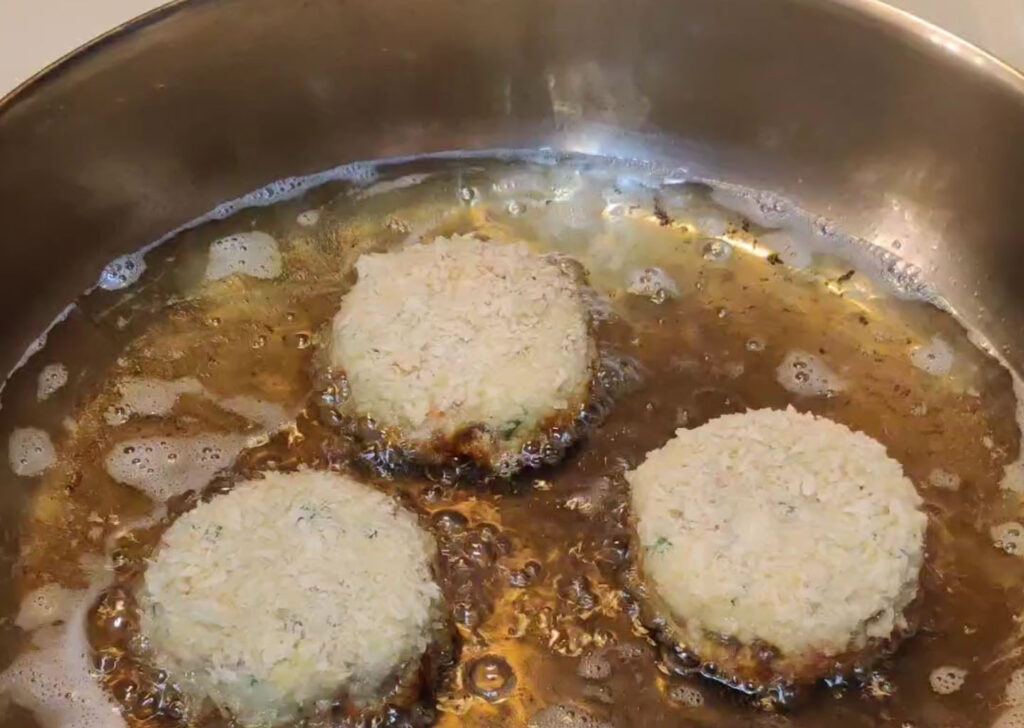
Heat frying oil in a deep pan until it reaches around 350°F (180°C). Fry each of the potato ovals until crispy and golden brown, approximately 5 – 6 minutes each side.
Serve croquettes with the quick Tonkatsu drizzled on top. You can serve as an appetizer or with any side dish of your choice.
Potato Croquettes Video Tutorial
Potato Croquettes (Korokke)
Megan Lowery
These Japanese inspired potato cakes are a great way to use up leftover mashed potatoes and create a crispy and delicious meal or snack!
I like to use leftover mashed potatoes for this recipe but if you don't have any feel free to make some fresh. It's important that the mashed potatoes are thick and smooth.
Heat 1 tsp olive oil in a frying pan over high heat and add the ground beef to cook. When the color of most of the ground beef changes, add the carrot to cook for about more 5 minutes. Season with salt and pepper. Set aside.
Add cooked ground beef, carrot, flour and chives to the mashed potato and combine them all well. Form into a large disc and use a bench scraper or knife to divide into 8 equal sized flat ovals. Freeze for about 10 to 15 minutes.
Combine the egg, water, mayonnaise, salt and flour in a small bowl to make the batter. Coat each of the ovals with the batter, then place the potato oval into the panko crumbs and coat evenly*
Heat frying oil in a deep pan until it reaches around 350°F (180°C). Fry each of the potato ovals until crispy and golden brown, approximately 5 – 6 minutes each side.**
Serve croquettes with the quick Tonkatsu drizzled on top. You can serve as an appetizer or with any side dish of your choice.***
Tonkatsu Sauce:
In a medium sized bowl, mix all ingredients until smooth. You can store this in a squeeze bottle and drizzle it on top of the Croquettes before serving.
Notes
* After coating with panko you can then freeze the croquettes for up to a month in the freezer and cook them as you please. ** If you are frying from the freezer you may have to cook them in the oven to warm them through. Just preheat your oven to 350 degrees F. and cook them for about 5 to 10 minutes on a sheet pan. ***These croquettes are really hearty and filling so I like to use them as an entrée with a light salad.